Archive | January 2023

Tips and Tea on Tuesdays

On Tips and Tea on Tuesdays, I will cover a topic and hopefully provide you with some tips that will be helpful! And just as an afterthought, tea may occasionally be a cup of Joe!

tea on tuesday old movies

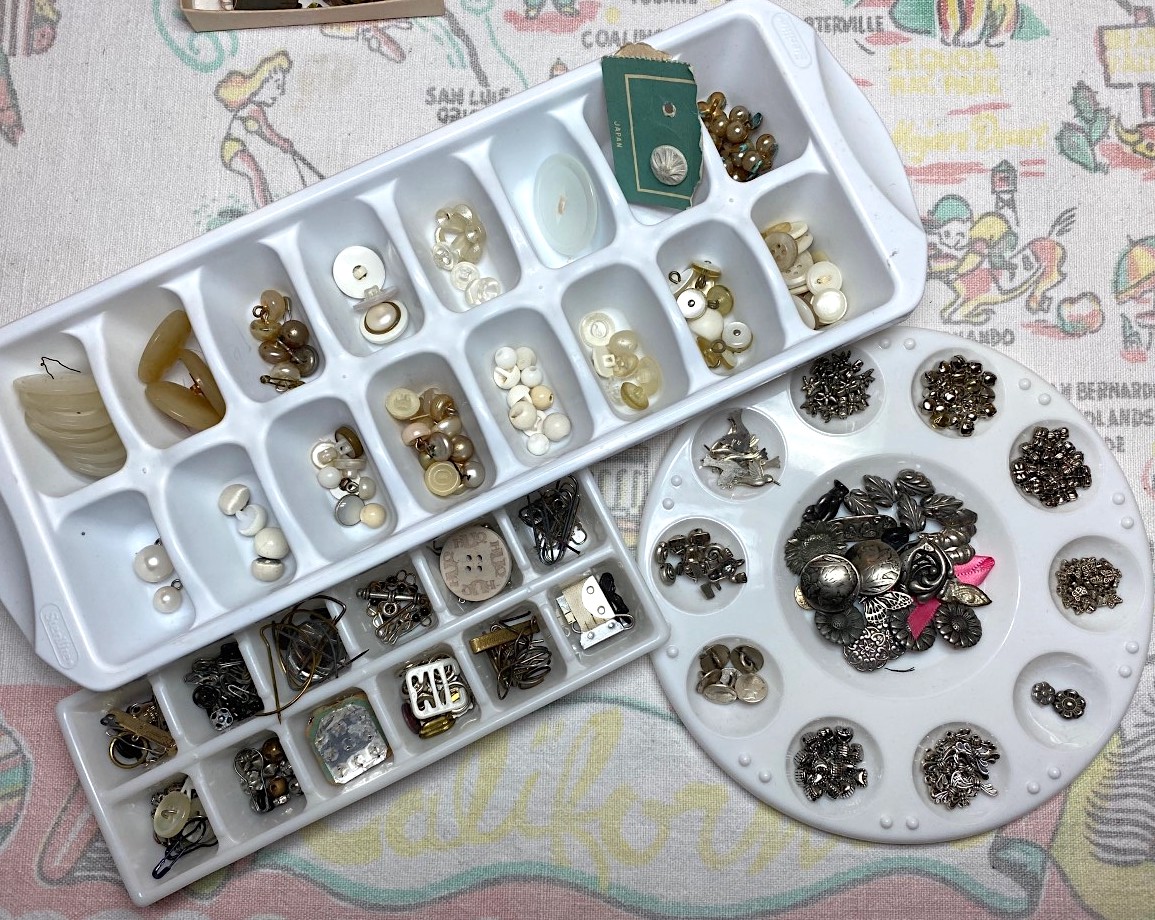
Tea today, is actually a cup of coffee. Feeling a bit cold, and this always warms me up. As I was sipping, I decided to go through a group of trims and buttons that I purchased on eBay. I came across this beautiful lavender hem tape, and noticed the rust spot left by the pin. UGGGHHH, if only I had thought to ask more questions before buying!

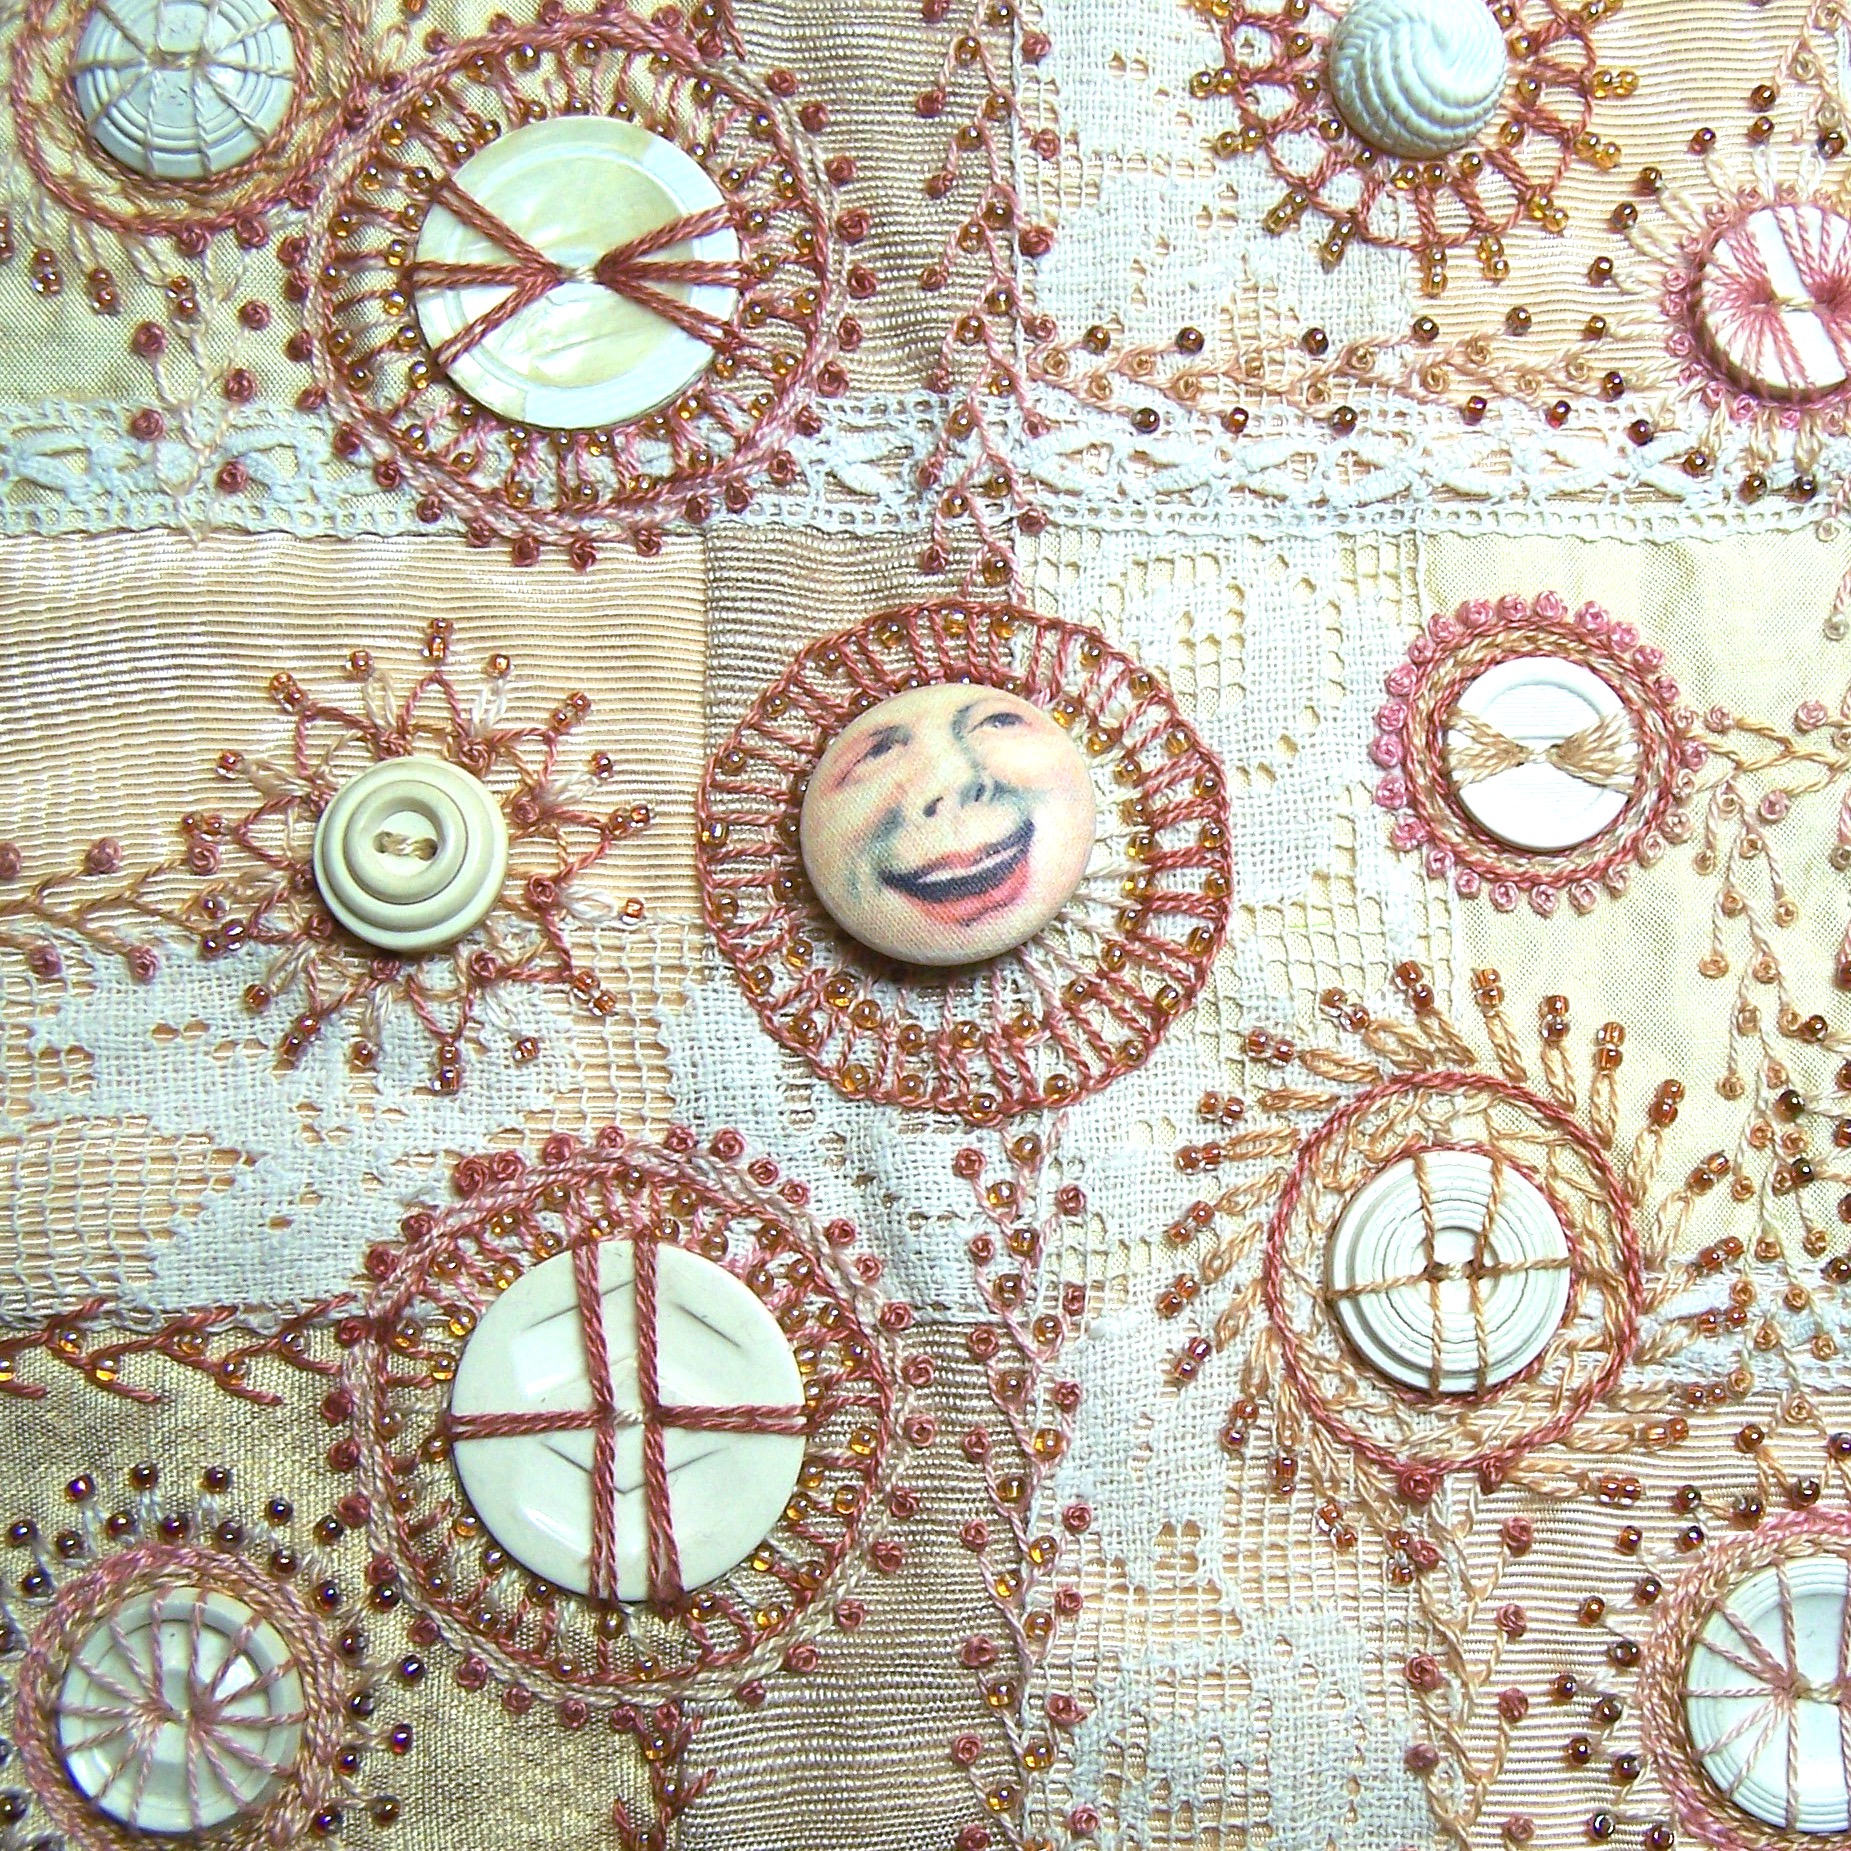
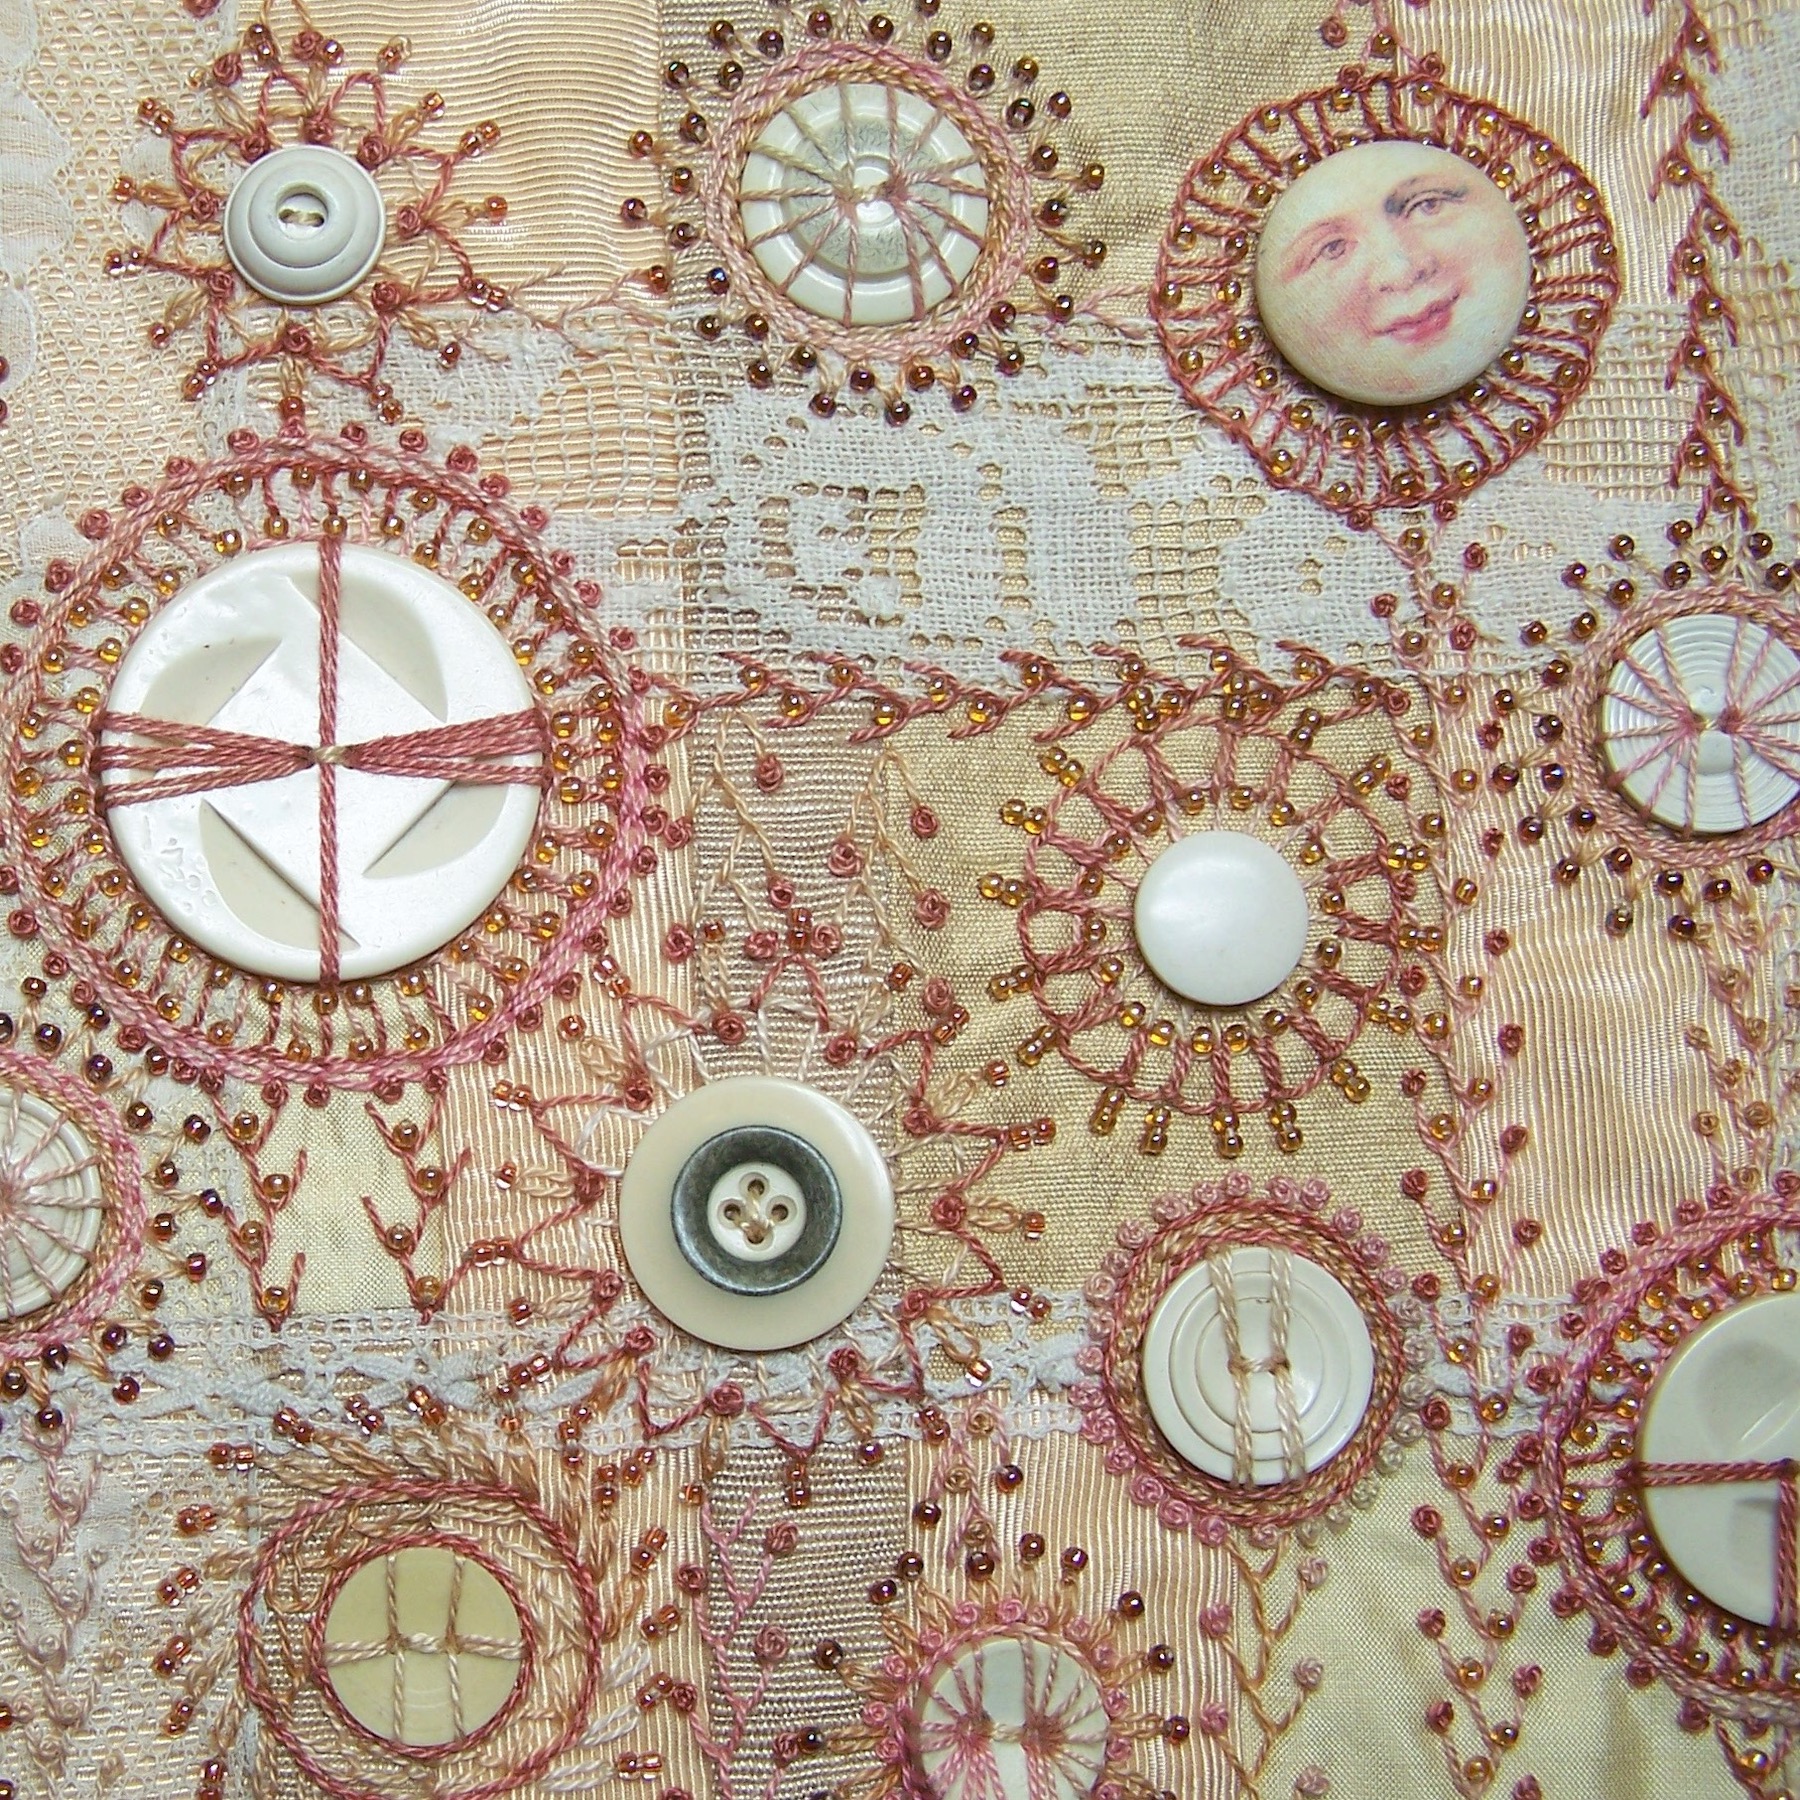
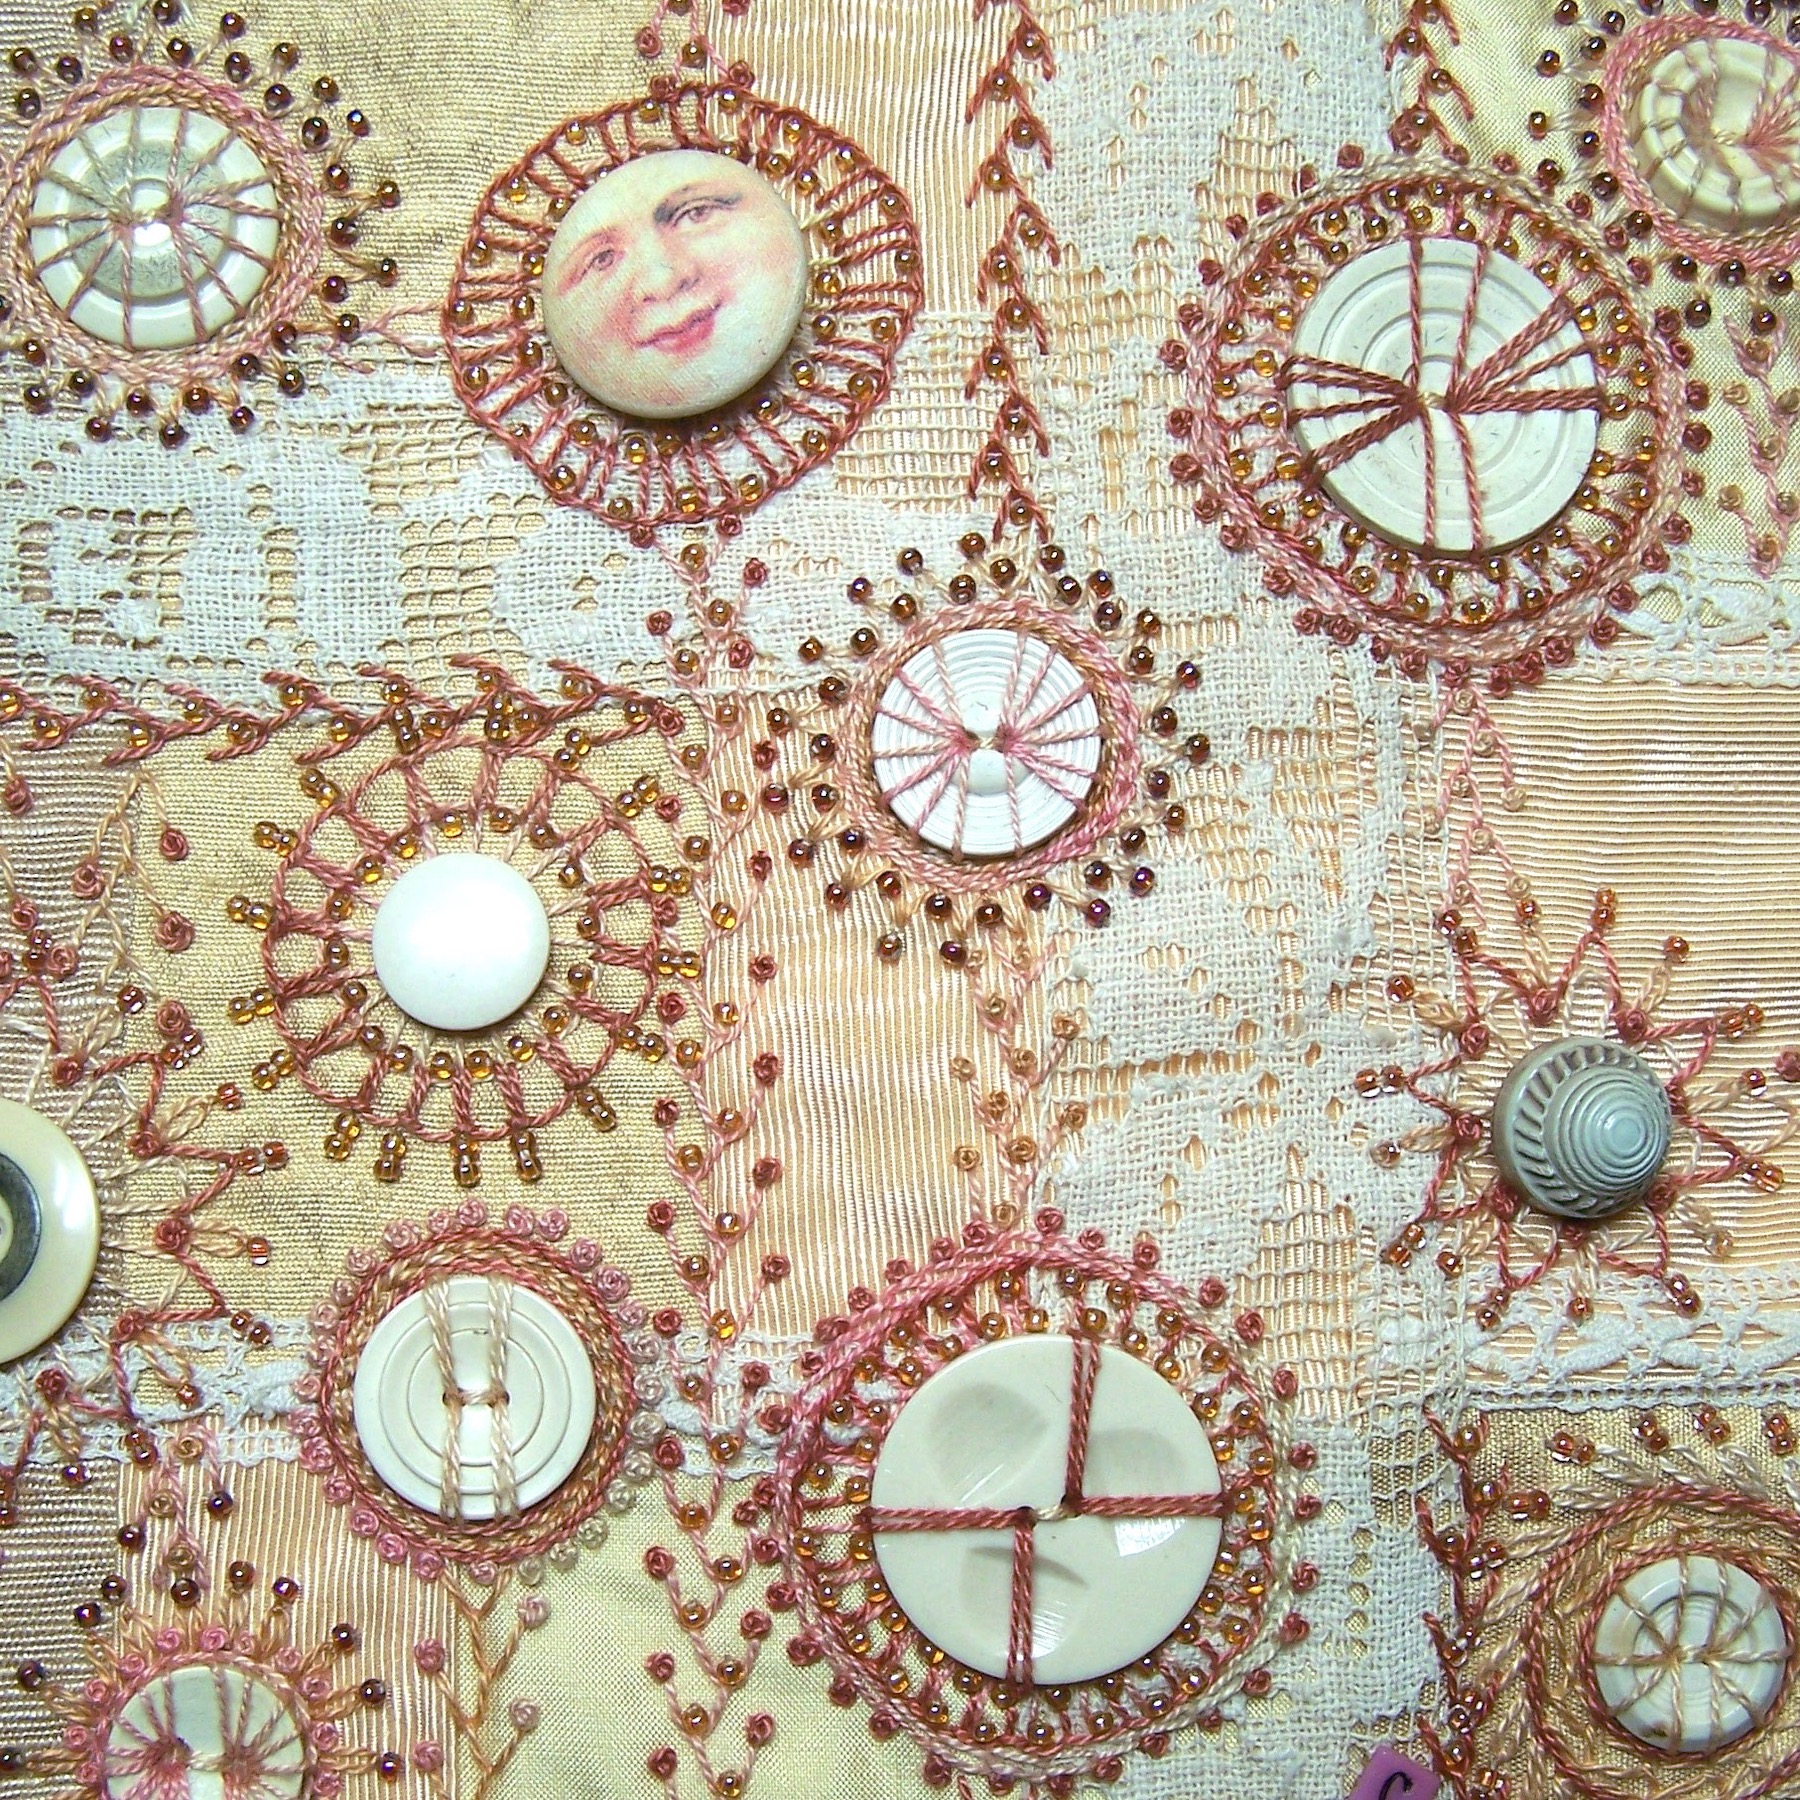
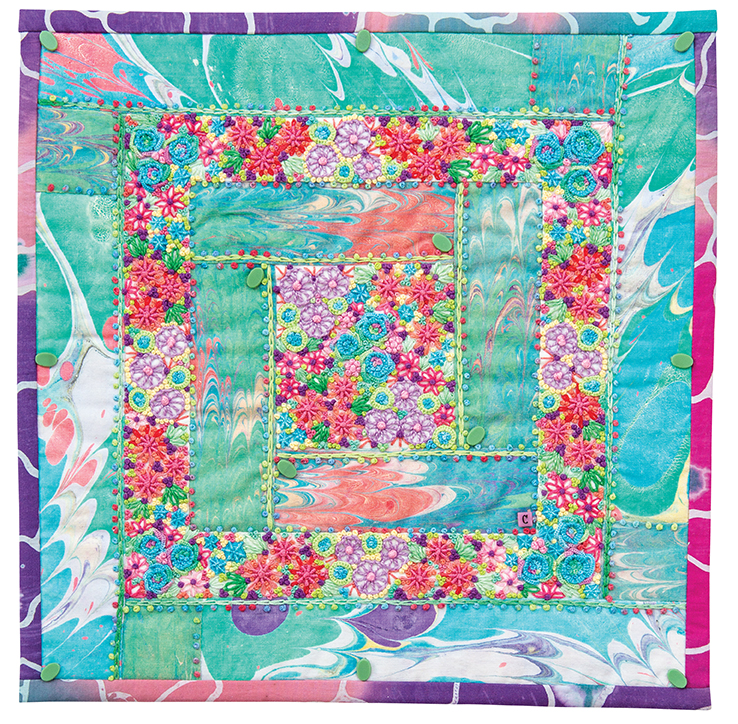
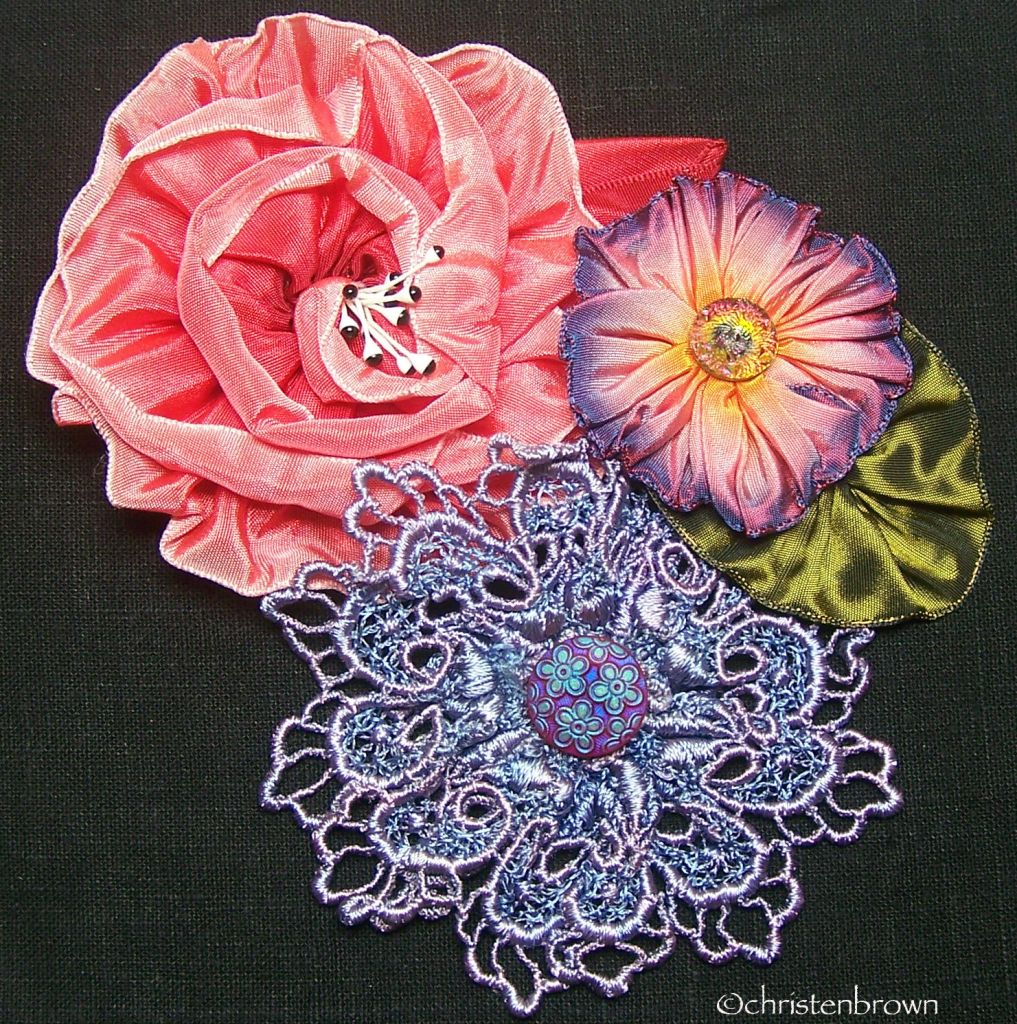
Rust is such a universal problem, it happens everywhere. So let me show you a few items of mine that have some rust damage, and what I will do about it.

Finding rust spots on your fabric, ribbons, or trims is a bummer! The rust will continue to rust, and no matter how small the spot is, it has already deteriorated the fiber that it is touching.

Tip: My recommendation is to remove the pin or needle, and discard it somewhere where no one will prick themselves. Then, if possible, cut the fabric, ribbon, or trim so that you avoid using the rust spot. If you can’t just cut off that area, cut out a hole around the spot, then cover the hole with an applique, yo-yo, button or some other type of embellishment.

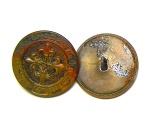
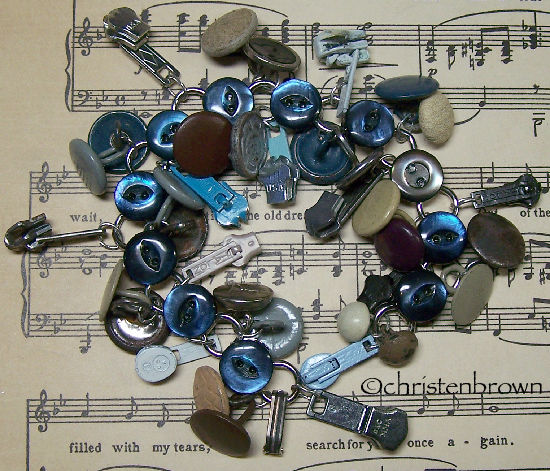
Rusted metal buttons, yikes! Metal buttons can rust for all types of reasons. Typically a two-part button has a piece of cardboard between the two layers as a filler, if the cardboard gets wet, well you can imagine what happens to the metal. Regardless of the type of metal, or amount of rust, it is permanent.

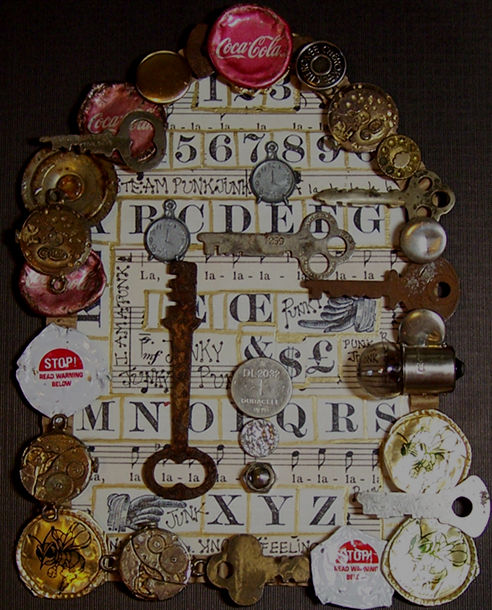
Tip: Some people may give you advice on removing the rust, like using baking soda, or lemon juice, and steel wool. But if you think of the rust as a bit of mold on a piece of fruit, you remove the mold, but you also took a good chunk out of that peach, right? So scrubbing the rust off down to the metal, exposes the raw metal, and probably any design. At some point, I might use these buttons in a mixed media collage project, where the rust will enhance the project, but not damage any fibers. Until then though, I keep these buttons away from the good (non-rusted) buttons, and put them in a jar of their own to admire, and treasure. They earned it!

Happy tea drinking and stitching to you! ~Christen

PS: If you have any questions or thoughts, just leave a comment! See Tips, Tricks, the Basics, for more helpful ideas.

Slow Stitchin’ on Sunday Morning

In these posts I want to share some of my favorite pieces, which will include wall hangings, small works, pillows, purses, and just because pieces, enjoy!

Gentle Ladies Needle Keep

The needle keep and pincushion roll were created for my book, Hand Embroidery Stitching, by C&T Publishing. The crazy-pieced needle keep is comprised of both solid and cotton prints with grosgrain ribbon and rickrack trim. The embroidery stitches were worked in cotton floss, perle cotton #8 and #12, and glass seed beads. Additional embellishments include fun novelty shaped buttons. The pincushion and roll are made from felt, with a wooden spool as the base. Both are embellished with rickrack trim, seed beads, and novelty shaped buttons. Here is a handout for Free Pincushion Instructions.

Needle Keep: Embroidery Stitches Used

  • Border rows: feather stitch with chain-stitch edge, fern stitch modern, running stitch, chain stitch feathered, blanket stitch short-long, blanket stitch, chevron stitch, cross stitch row, blanket stitch locked zipper, stem stitch, herringbone stitch overlaid, blanket stitch crossed, petal stitch, backstitch, string of pearls stitch, fly stitch netted, fishnet stitch, blanket stitch angled, rickrack trim with straight stitch details
  • Decorative stitches: Fly stitch, lazy daisy tulip stitch, straight stitch, fly stitch with lazy daisy stitch, lazy daisy stitch
  • Detail stitches: French knot stitch, straight stitch
  • Vignette stitches: Spiderweb corner stitch, button spider, grouped French knot and straight stitches, stacked bead stitch, clustered buttons

Pincushion Roll: Embroidery Stitches Used

  • Border row: rickrack trim with bell flower stitch, seed bead details
  • Stem and flowers: chain stitch, lazy daisy stitch, buttons

Happy Stitching to You! Christen

PS: If you wish to see more of my work, check out the Gallery section.

Friday’s Favorites: the Junk Drawer

Well in this case, well organized boxes of junk, collected ephemera: some new, some found in the street, some found in the craft section of my favorite haunts.

And more boxes and containers of the stuff I just can’t seem to discard, and thankfully no one has asked me to yet either!

Junk-Man Series: All manner of collected ephemera, cast away junk, and fun stuff.

Junk Jewels: Gathered and collected bits, odd singles, old earrings, watches, zipper pulls, and other treasures.

Junked-Up Mixed Media: Assorted small wall decorations, made from paper, glue, and found treasures.

Happy Stitching, or in this case, searching, gathering, and gluing! ~Christen

Tips and Tea on Tuesdays

On Tips and Tea on Tuesdays, I will cover a topic and hopefully provide you with some tips that will be helpful! And just as an afterthought, tea may occasionally be a cup of Joe!

feeling groovy tea

Sitting here and listing to Simon and Garfunkel, with my cup of Darjeeling, thinking, hmm everything IS Groovy! Today I want to share some before and after pics of one of my favorite pieces, Bouncing Button Balloons. This piece was featured in my book, The Embroidery Book, by C&T Publishing.

Tip: Take photos before, during, and after.

I always, well almost always, take a picture of the finished base, and then the threads and embellishments I have set aside to use on it. The focus of this piece, was going to be the buttons, which are two fabric, and vintage celluloid. Here you can see all of the different fabrics, and vintage laces that were used to create the base. The embroidery for this piece was worked in three colors of Wildflower Thread, by the Caron Collection, with seed bead embellishments.

Tip: Before you stitch buttons and embellishments in place, audition them on the base. Once you have your design, and the audition is complete, take a photo with your phone, that way when you go to stitch them in place, you will have something to refer to.

7 5/8″ x 16 1/4″

Tip: When embroidering around a button, use stitches that will curve easily, like the blanket and the chain stitches. Here, I embroidered through the buttonholes first, then around the base of each button. I stitched the detail stitches with the lazy daisy, fly, French knot, and single bead stitches Then I embroidered the feather stitch coming out of each balloon, to look like the attached string.

Here is a close-up of the embroidery and embellishment stitches. This was a fun piece to work on, and it gave a new life to some old, funky, buttons!

Happy tea drinking and stitching to you! ~Christen

PS: If you have any questions or thoughts, just leave a comment! See Tips, Tricks, the Basics, for more helpful ideas.

Slow Stitchin’ on Sunday Morning

In these posts I want to share some of my favorite pieces, which will include wall hangings, small works, pillows, purses, and just because pieces, enjoy!

5″ x 5 1/2″

Sweet Caroline

This little purse was created for my book, Beaded Embroidery Stitching, by C&T Publishing. The base was created using my Scrumptious Scraps technique, along with a piece of silk habotai fabric, that I pleated and then dyed. The embroidery was worked in vignettes, vines, and border row sections, with couched cord finishing details. I used glass seed beads in sizes 6°, 8°, 11°, and 15°, and three sizes of flower rondelles.

Embroidery Stitches Used

  • Vignette stitches: French rose stitch, chain stitch continuous loops, stacked bead stitch (large and medium rondelles)
  • Decorative stitches: flower with petite petals, lazy daisy stitch with loop, lazy daisy stitch
  • Detail stitches: hippie flower stitch, floret stitch, stacked bead stitch (small rondelles and stacked seed beads)
  • Border rows: Spine vine stitch, even peyote stitch row curved, continuous bead stitch curved

Happy Stitching to You! Christen

PS: If you wish to see more of my work, check out the Gallery section.

Friday’s Favorites: Scarves

I love scarves! And with the cold weather still out, I am constantly in search of that little bit of extra warmth and color. Being allergic to wool can sometimes be a challenge to find just the right thing for an outfit, so I am always on the lookout, and often I make my own accessories or re-style or revamp an already made item.

This chiffon scarf was a gift from my husband and daughter, along with a box of Godiva chocolates. How could you go wrong with yummy chocolate and my favorite color purple! I added satin rosettes and posies using the directions from my book Ribbonwork Gardens, by C&T Publishing.

This is a scarf that is entirely made from Hanah Silk bias ribbon. Several different widths were used, and stitched together on the sewing machine. The ruffled roses are hand-stitched, and are also made from silk bias ribbon.

This is a scarf that I knit, using yarn that was made from silk sari borders. It has a lively color combination, lots of colors and fun nubby sections. I made folded edge rosettes from hand-dyed silk velvet ribbon. The centers of the flowers are abalone shell buttons.

This scarf was purchased many years ago at Cost Plus, now it is called World Market. It is incredibly detailed with rickrack ribbon stitched into flowers, sequins, and beads! To top it off I made another flower from my book Ribbonwork Gardens, using ribbon that came off another box of Godiva chocolates.

Happy Stitching to you all, and Enjoy~ Chisten

Straight From the Heart Sampler

Straight From the Heart Sampler is a sampler that I created for Joggles, over 10 years ago. I was asked to create a simple pattern with a simple stitch. I used a variegated cotton floss, and the running stitch, pretty simple, and doable! It is my pleasure to offer this as a fee gift to you, from my heart to yours.

Happy stitching! ~Christen

Tips and Tea on Tuesdays

On Tips and Tea on Tuesdays, I will cover a topic and hopefully provide you with some tips that will be helpful! And just as an afterthought, tea may occasionally be a cup of Joe!

tea cup

While I was sipping my chamomile tea today, I got to thinking about crochet lace gloves and accessories, imagining a ladies’ tea from an era when you actually wore gloves. What a nice thought to have! I was lucky enough to find the gloves and reticule on eBay, for a moderately reasonable price. I was also lucky that they were not discolored in anyway, which I can’t say for other pieces that I have rescued! That brings me to today’s tip, cleaning your vintage laces.

Tip: Cleaning Your Cotton Laces

Clean like colors together in the same wash bath. Use a medium/warm water for light colors, warm/cool water for bright colors, and cold water for dark colors. Use a delicate cleaner such as Restoration Linen Cleaner or Mama’s Miracle Linen Soak.

  1. Fill a tub full of water, add the cleaning product, swish the water.
  2. Place the lace in the water, making sure there is room for the bits and pieces to move around.
  3. Soak the items for 25-30 minutes, then RINSE well.
  4. If the water is still dirty, repeat the wash and soak process.
  5. Once the lace is clean, drape each length over a plastic hanger, or lay out on a cotton bath towel.
  6. If pressing is necessary, use distilled water in the spray bottle with your iron set on the lowest temp.
  7. Press with the wrong side down, and be mindful to not crush any raised pattern.

Happy tea drinking and stitching to you! ~Christen

PS: If you have any questions or thoughts, just leave a comment! See Tips, Tricks, the Basics, for more helpful ideas.

Slow Stitchin’ on Sunday Morning

In these posts I want to share some of my favorite pieces, which will include wall hangings, small works, pillows, purses, and just because pieces, enjoy!

11 1/4″ x 11 1/4″

California Dreamin’

This piece was created for my book, The Embroidery Book, by C&T Publishing. The inspiration for the base were the two hand-dyed marbleized fabrics, and I used every last bit here! I cut them into strips, and pieced the remaining sections with bleached muslin fabric. I used left-over strips of a batik fabric for the binding and back. The center square, and the third row of muslin fabric is where the bulk of the embroidery stitches are worked, I love how only a bit of that fabric shows through the stitches. The stitches are worked in four skeins of perle cotton #5 and nine skeins of cotton floss, using solid and variegated colors. Vintage green glass beads were used for the accents.

Embroidery Stitches Used

  • Decorative stitches: Gwen’s rose stitch, Jill’s flower stitch, lazy daisy stitch flower, French knot flower, fly stitch side-by-side, buttonhole circle stitch, barnacle stitch, whip-stitch star
  • Detail stitches: French knot stitch, lazy daisy stitch, fly stitch
  • Border rows: chain stitch, French knot stitch

Happy Stitching to You! Christen

PS: If you wish to see more of my work, check out the Gallery section.

3 Hours of Flowers: class/tutorial

3 Hours of Flowers: 1 lesson/ $25.00

This a great sampling of corsages, ones that will look great on any jacket form jean to velvet! These also make a great gift, for that special someone, and the bonus is that they are fast to make. The flowers include: Rose ‘N Bud Brooch, Rosette with Leaf, and the Lacey Flower.

Skill Level Beginning: hand-sewing and some ribbonwork skills a must

Class Information

This class can be purchased at any time, there is no set schedule. The class can be ordered by contacting Christen: thestoreonthecorner@gmail.com. She will send you an invoice through PayPal.

Once the class is paid for, the supply list and handout/s will be sent out.

A high-speed internet connection is recommended, and you must have basic computer and internet skills. You will need to be able know how to download and save a document to your computer’s hard drive, open it, and print out a copy.

You can contact Christen with any questions pertaining to the class/class information throughout the length of the class.

Class fees will not be refunded.

Happy Stitching! ~Christen