Earth Week April 2024: Day Seven

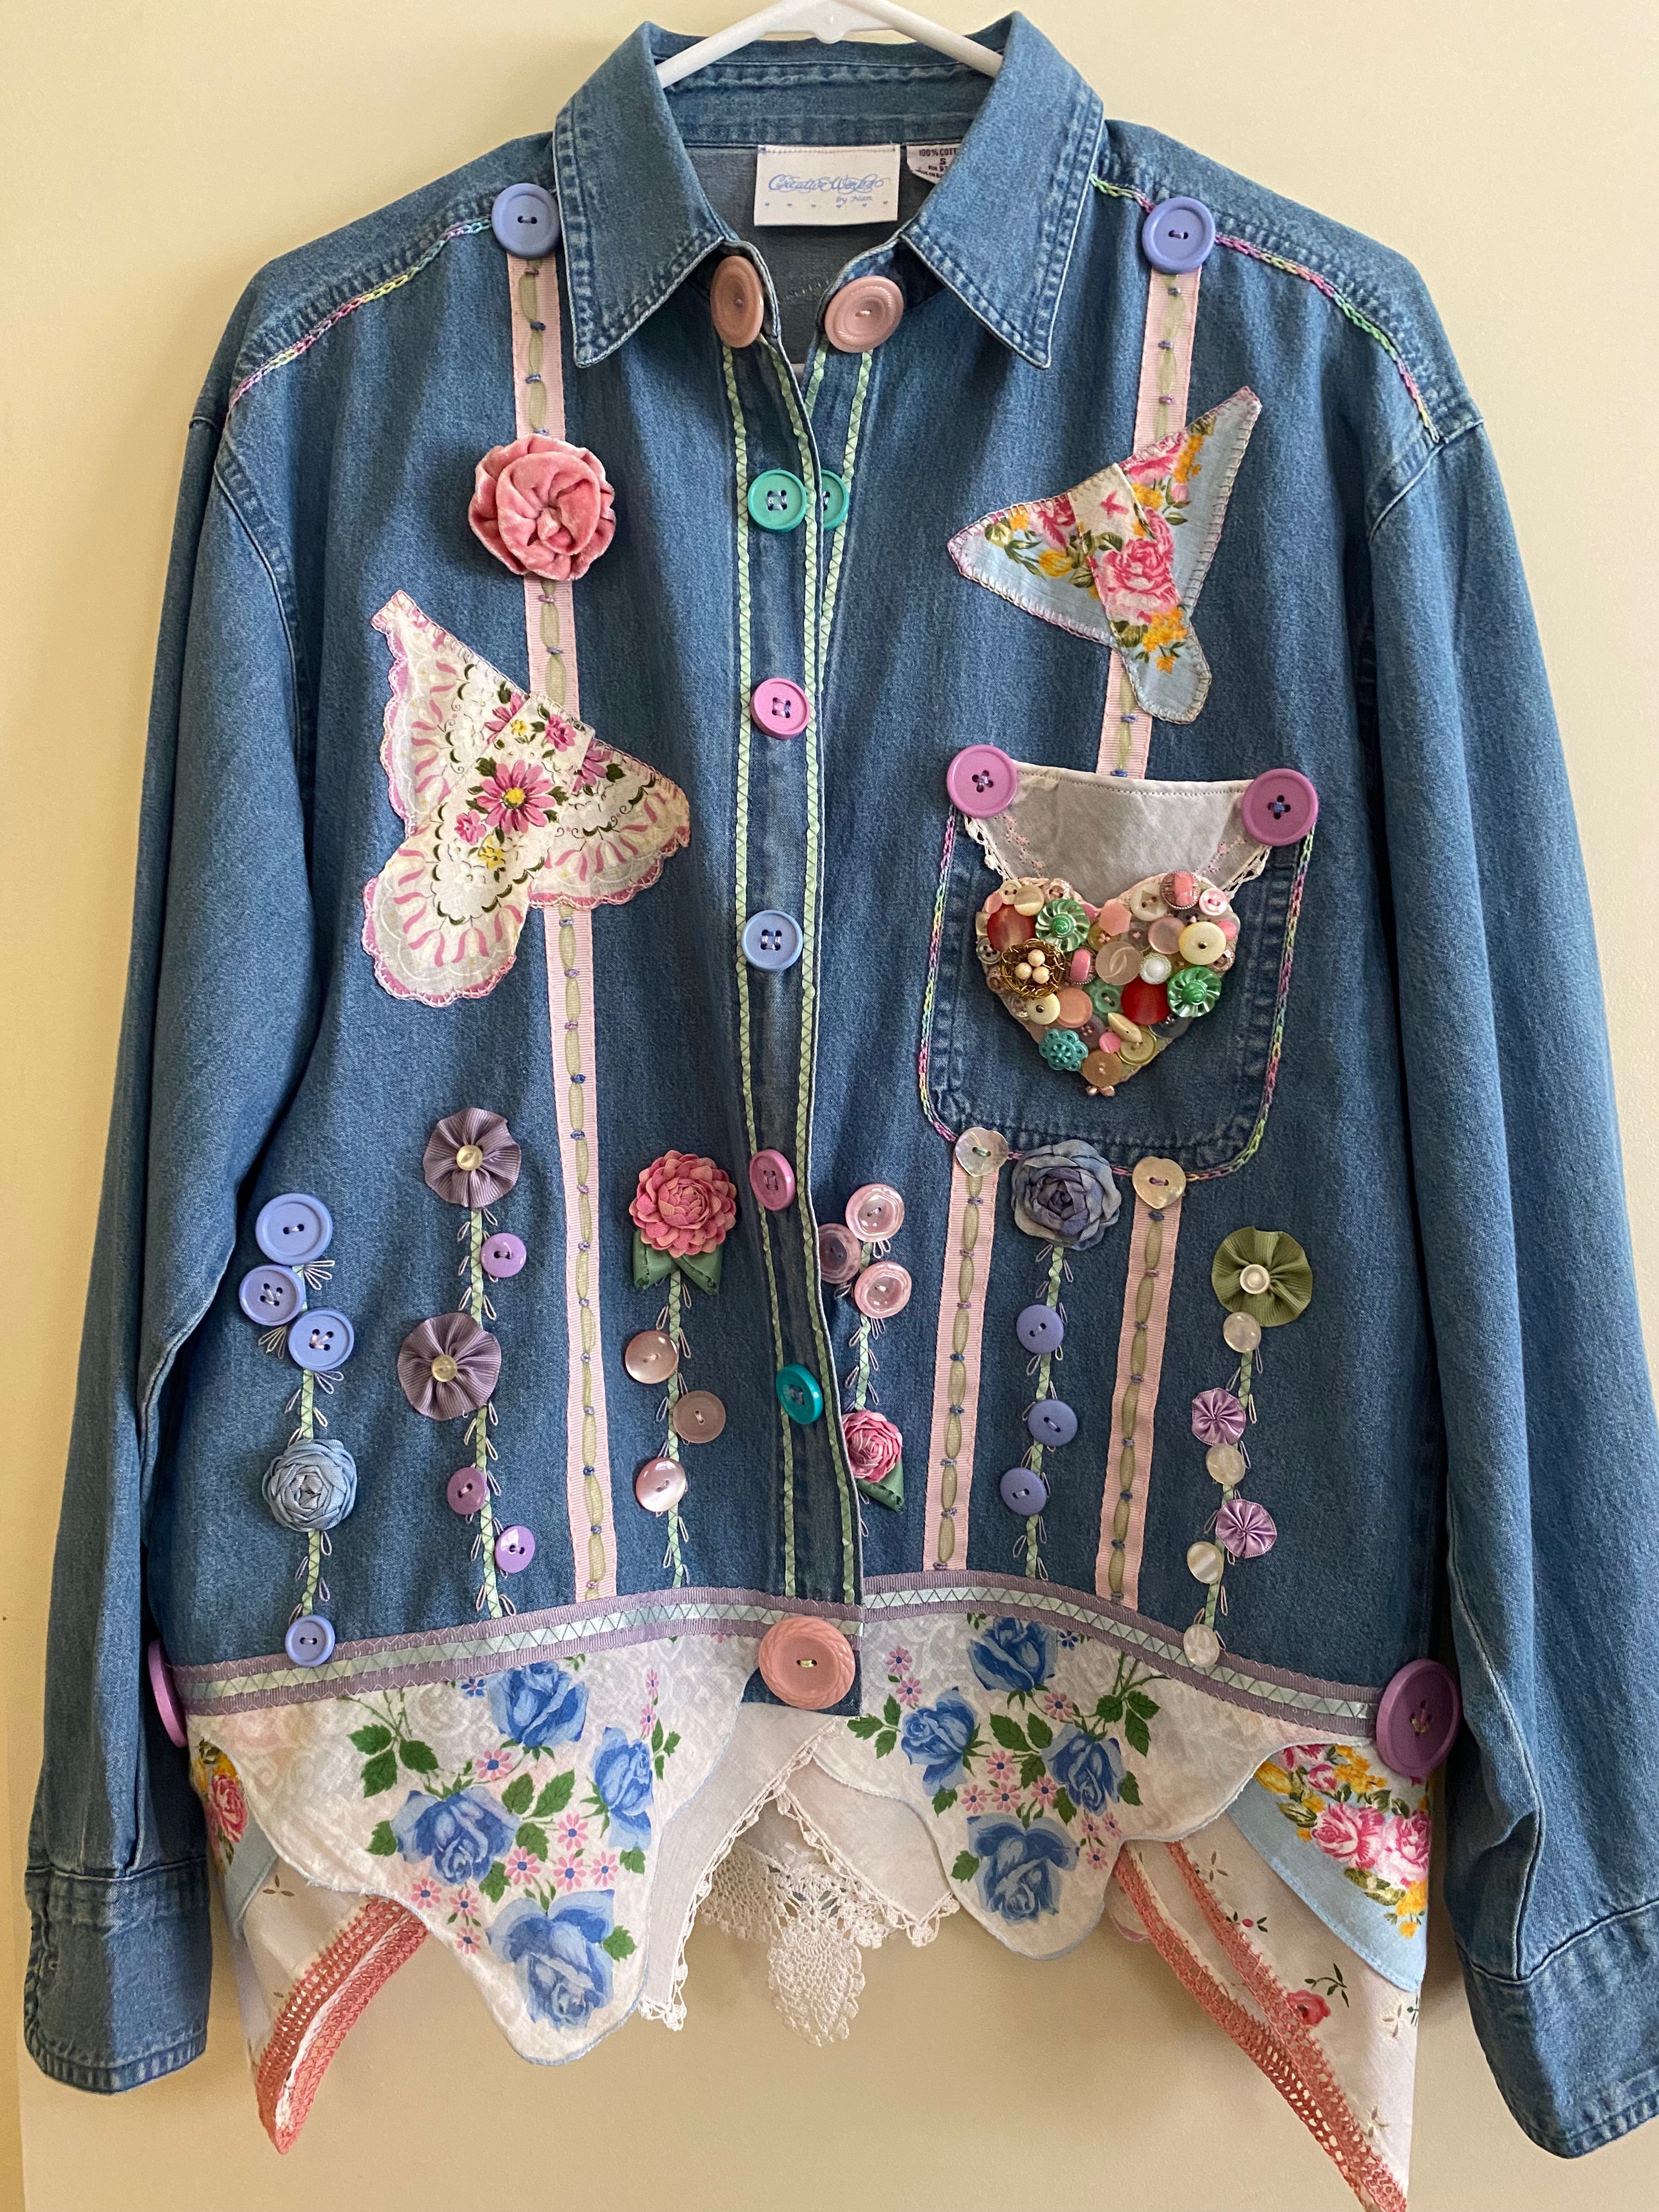
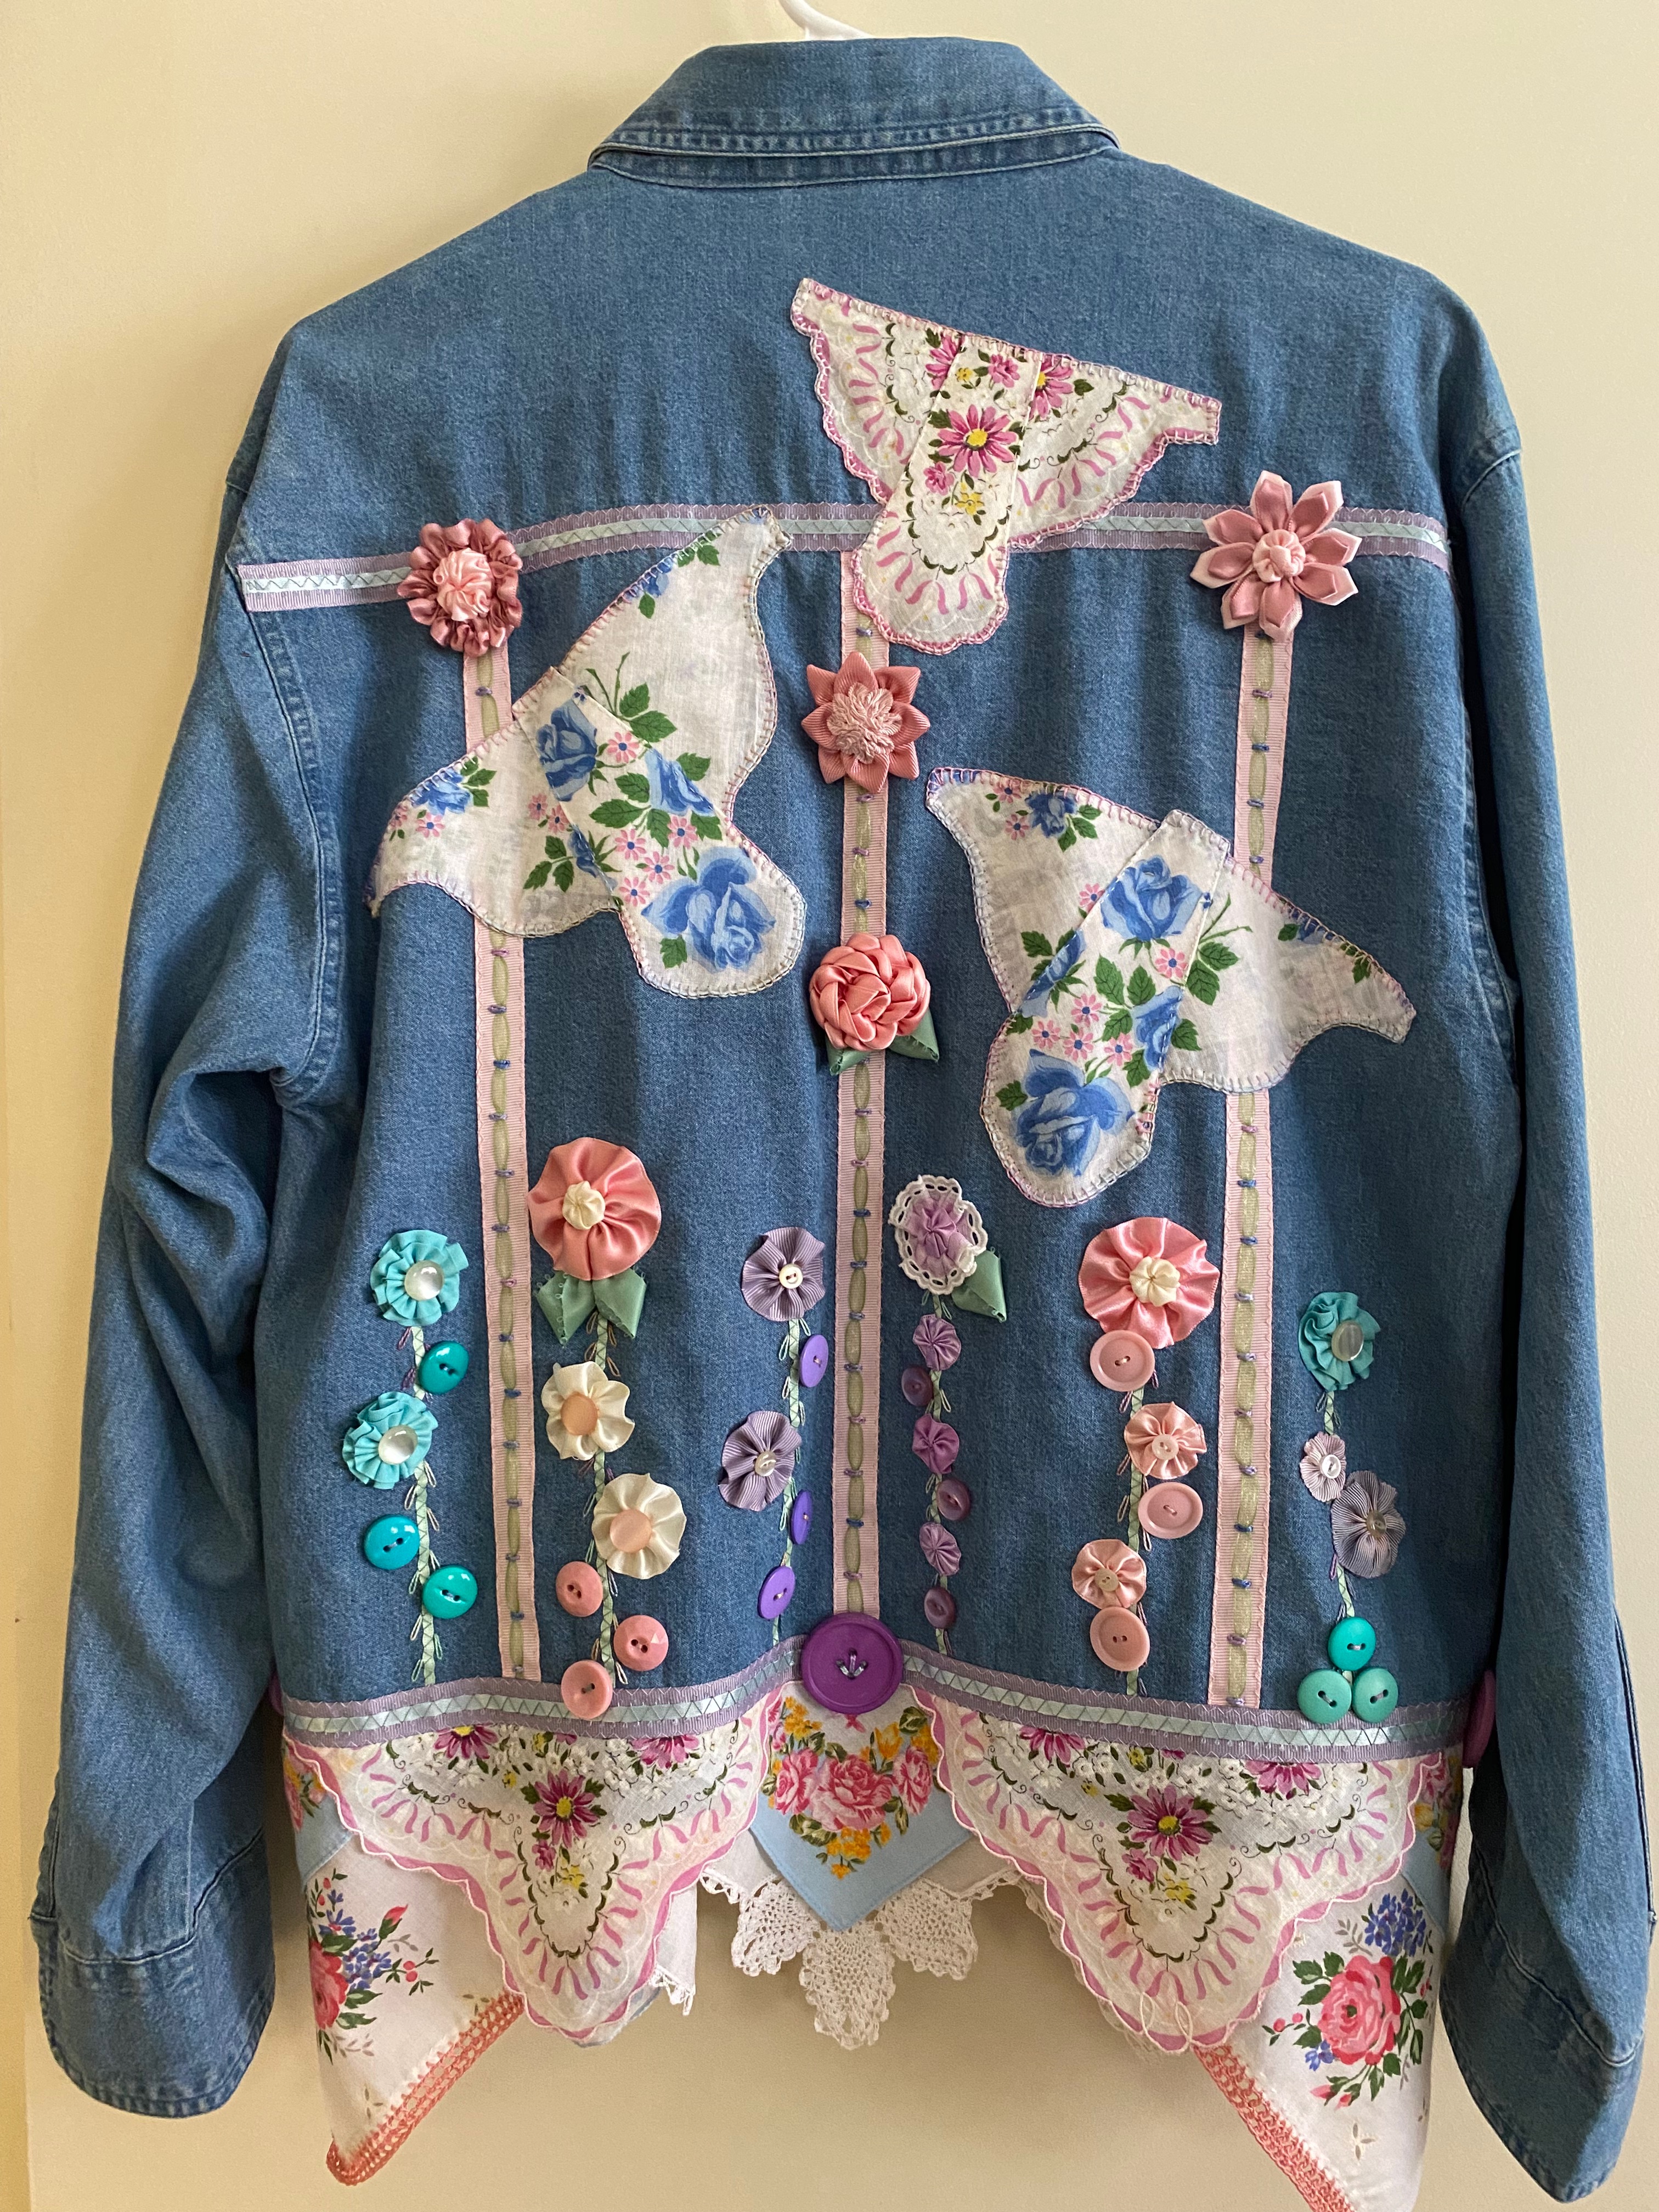
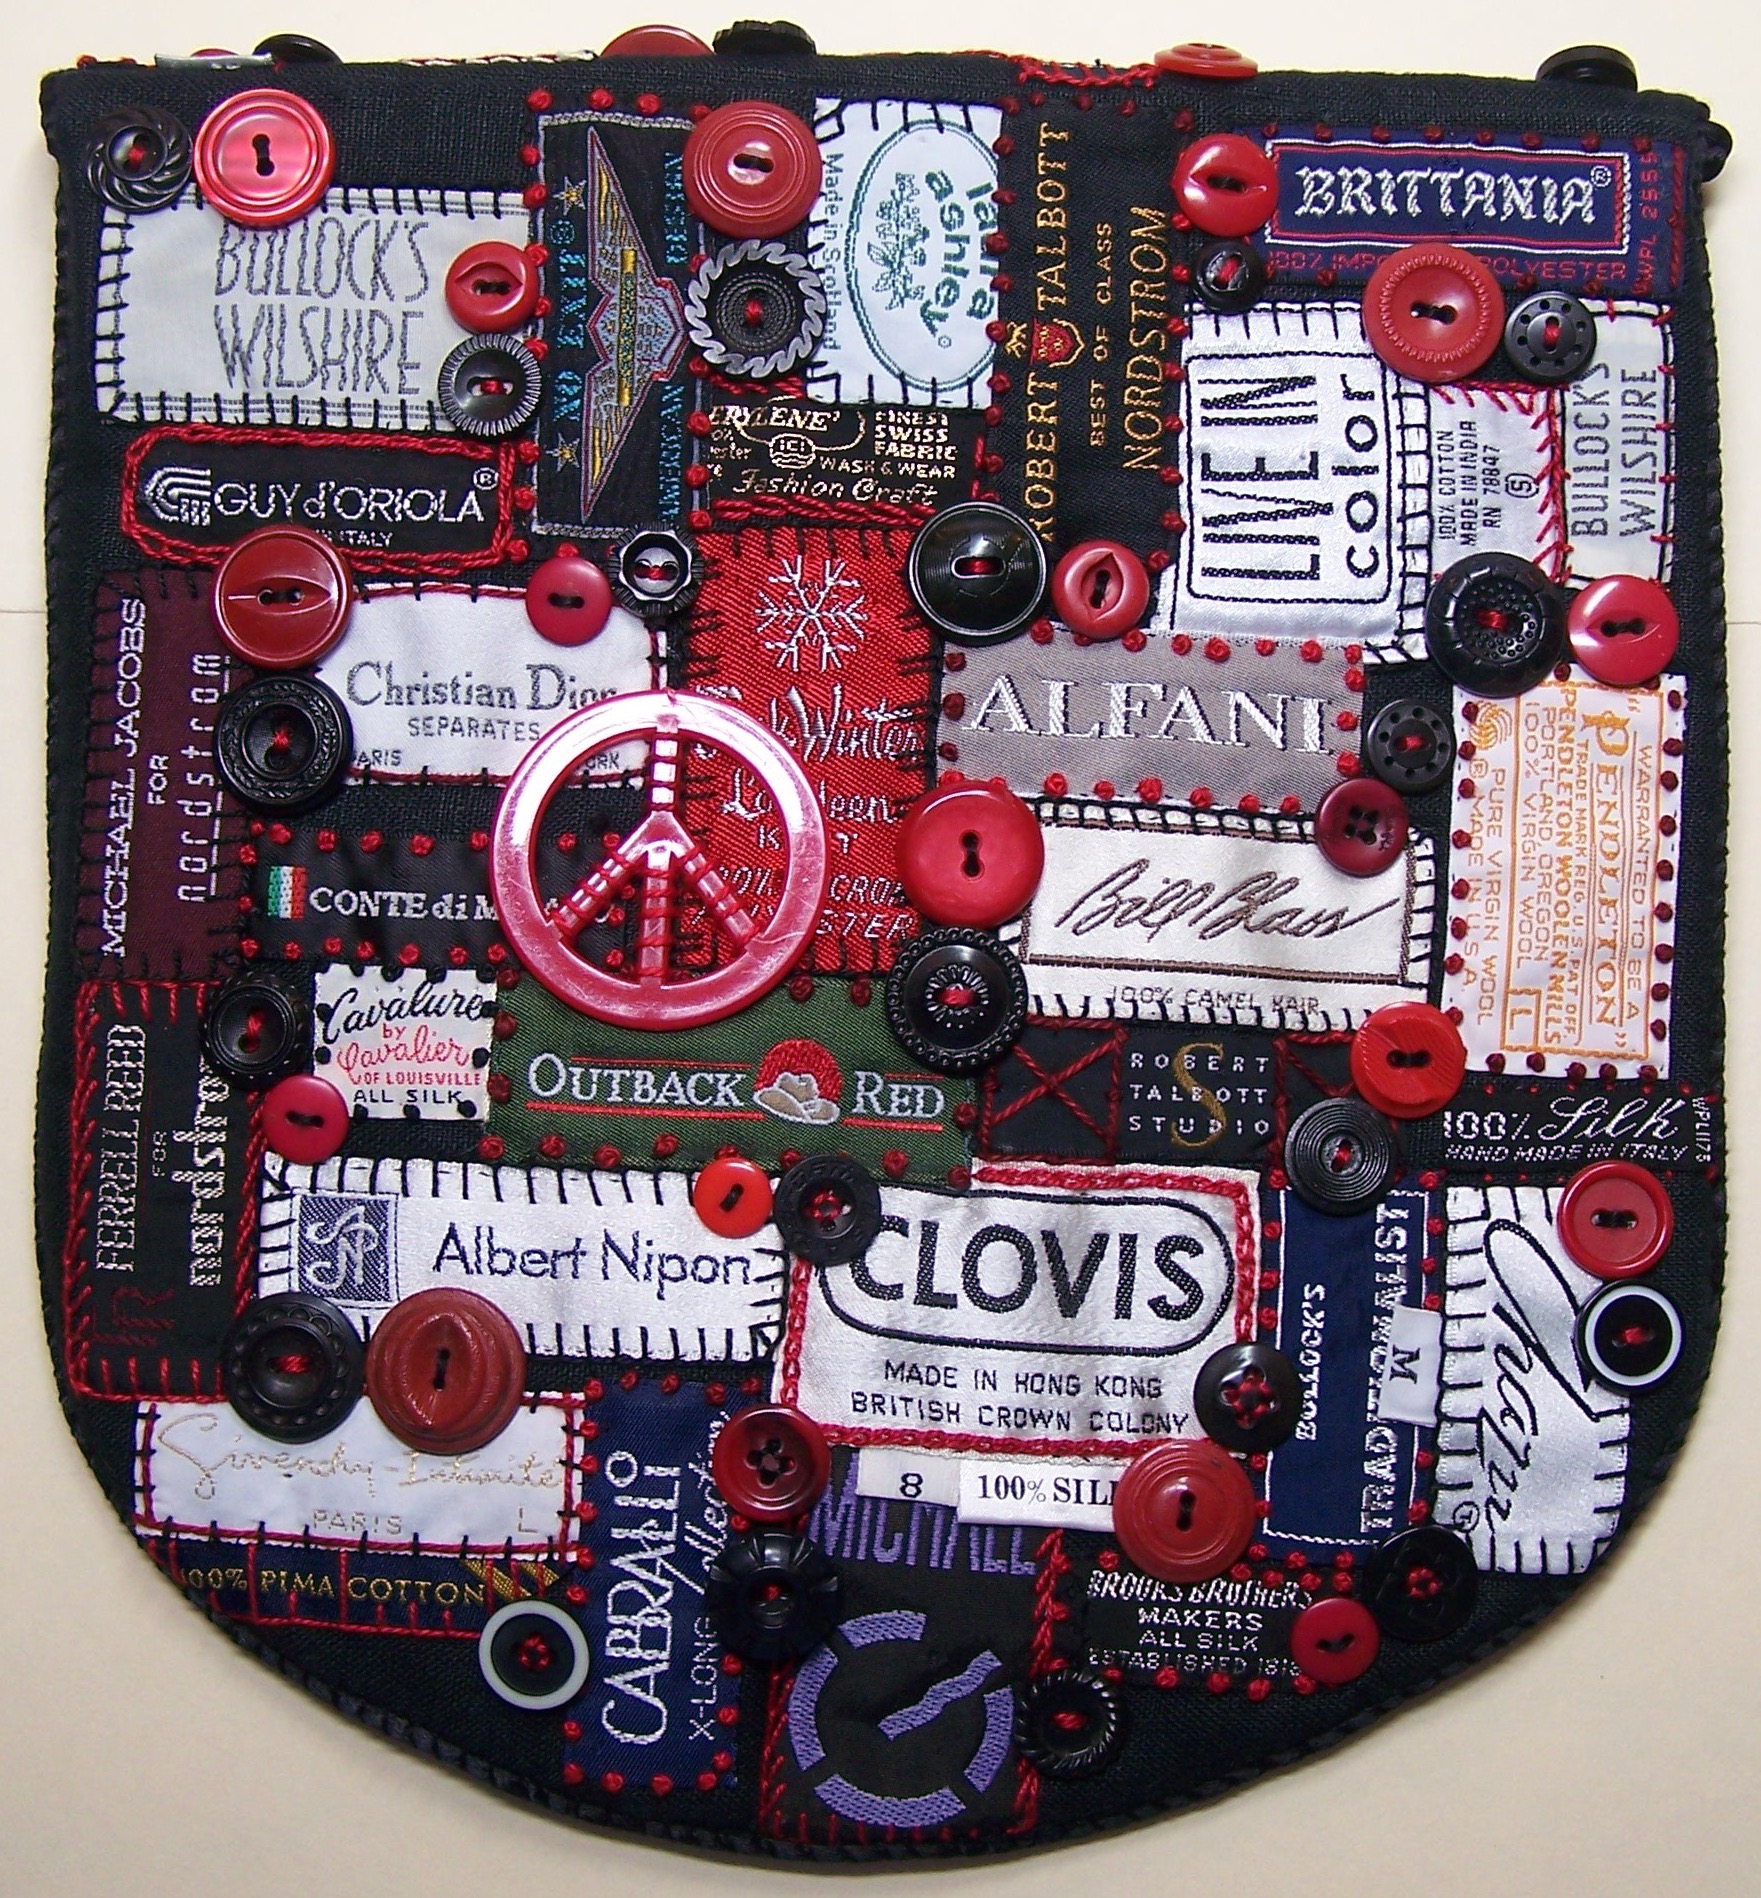
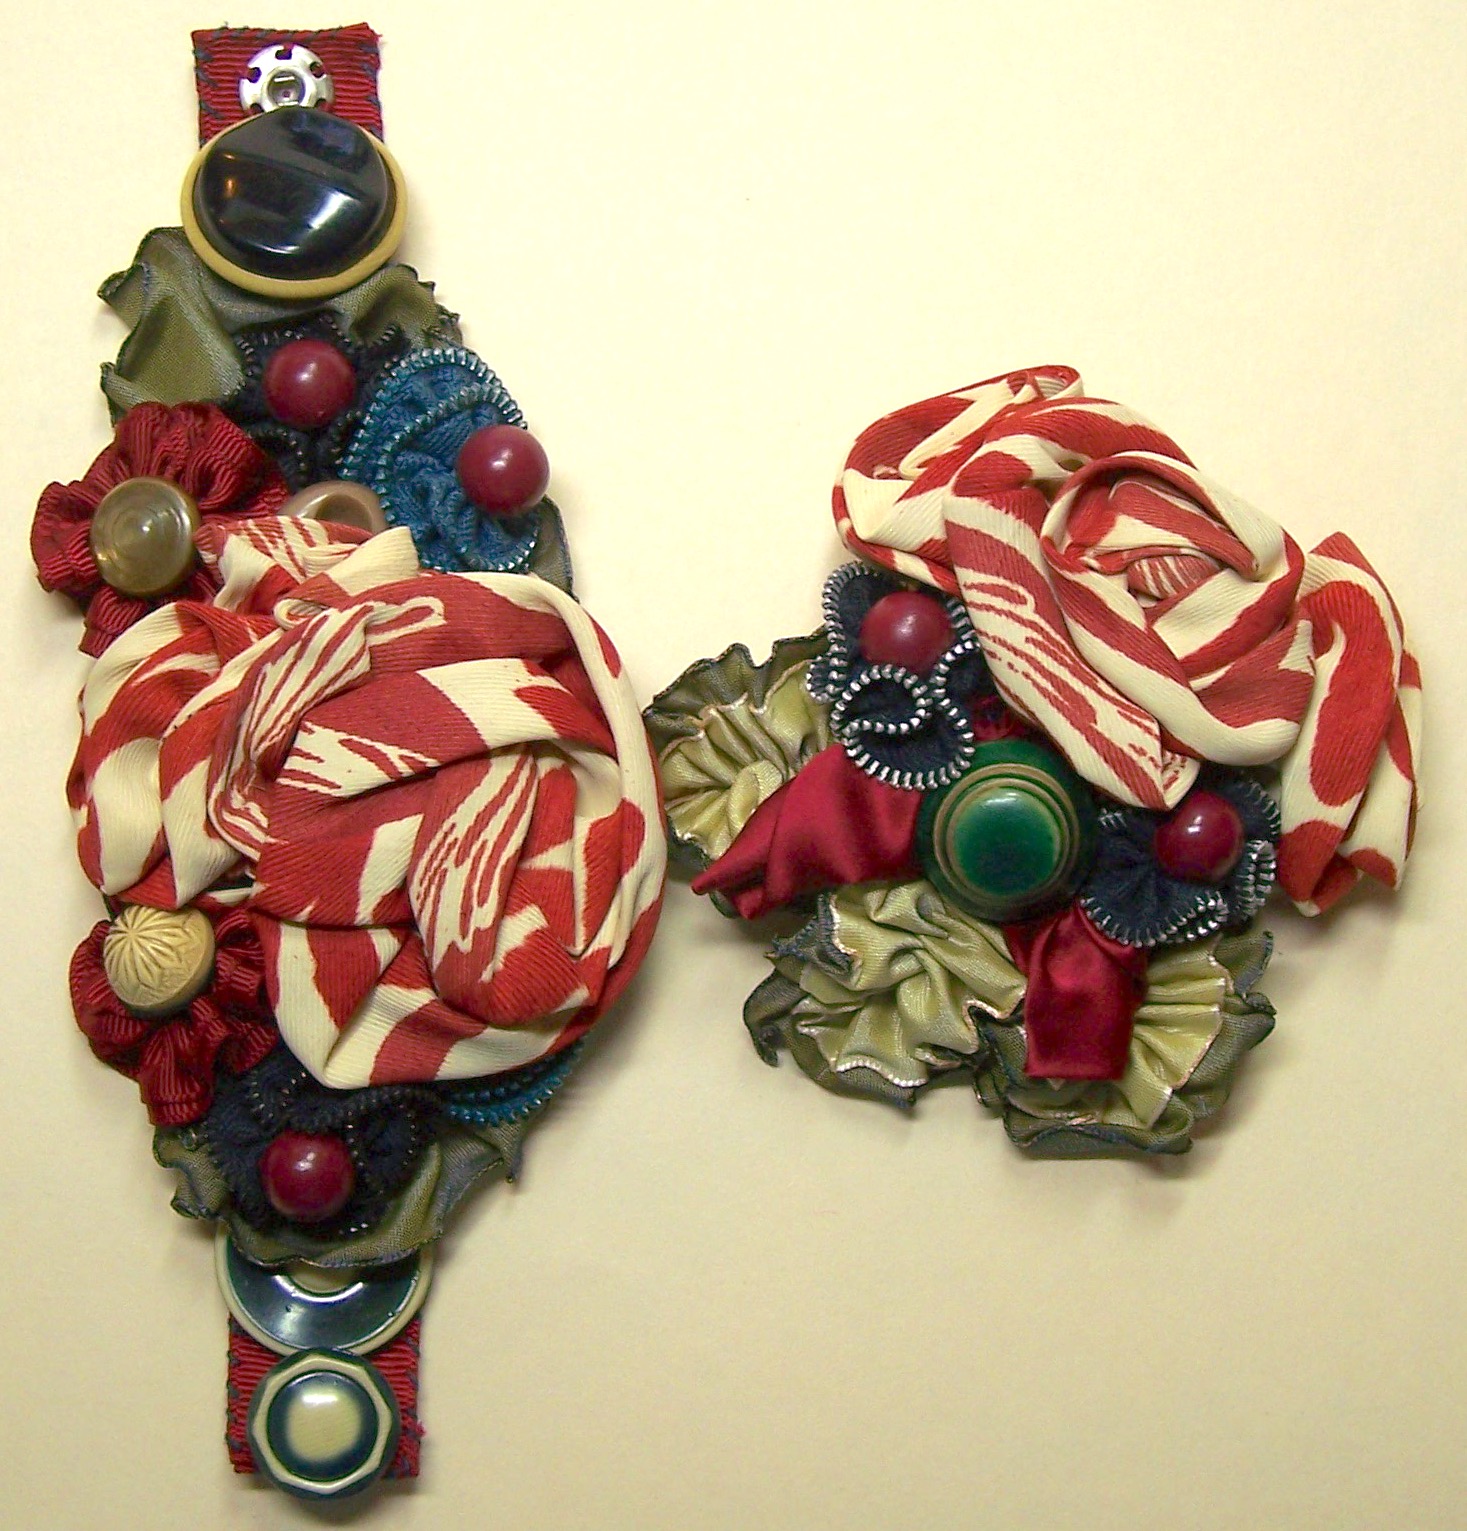
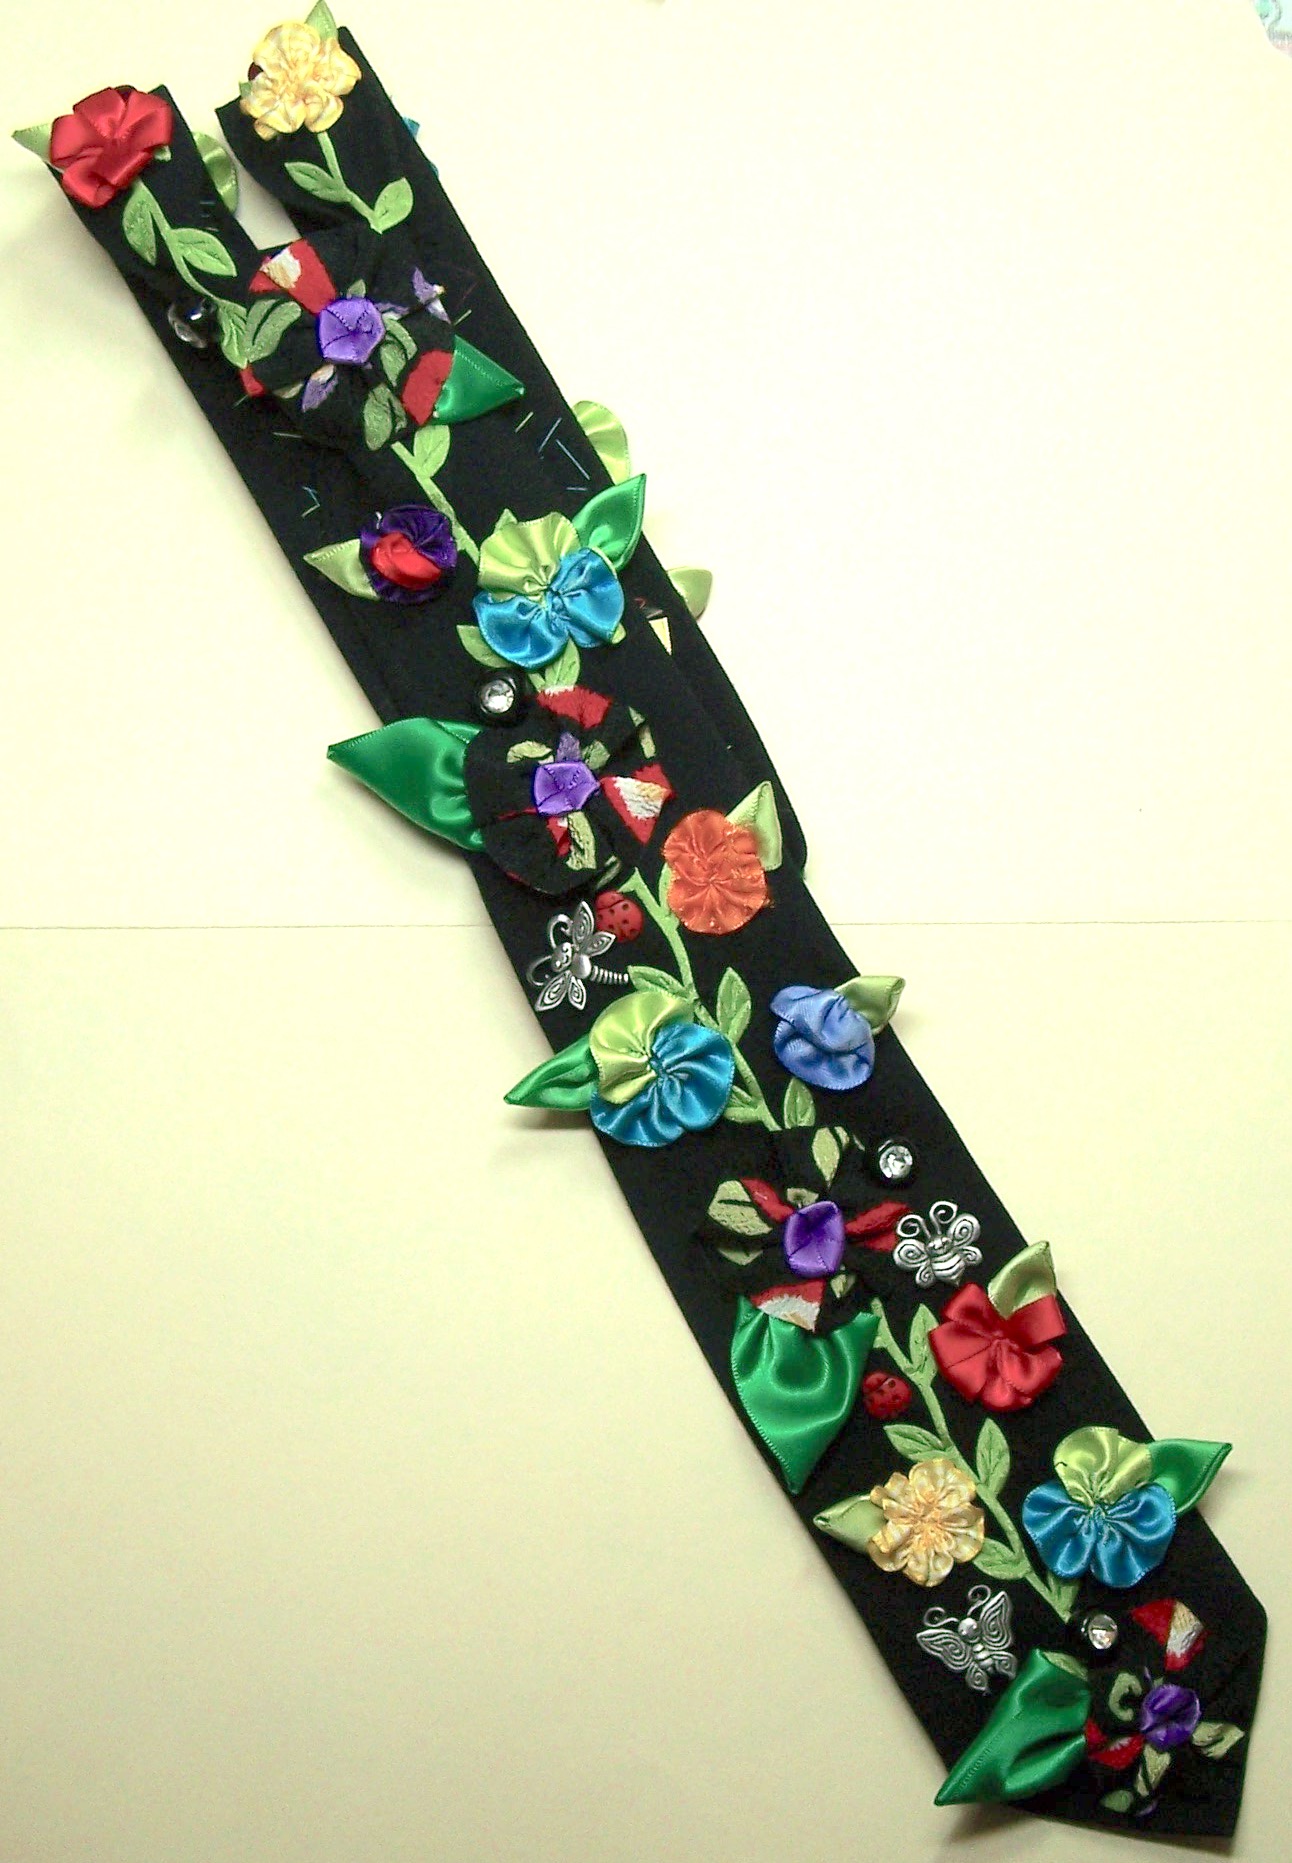
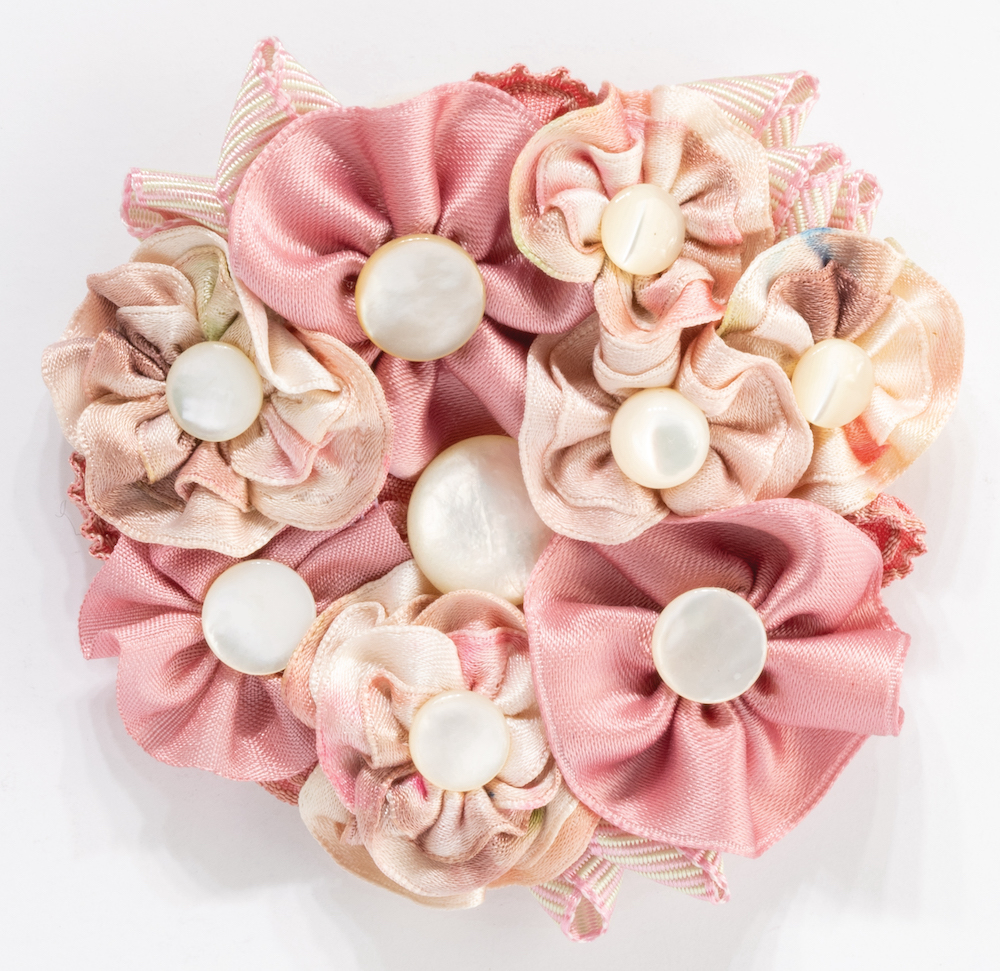
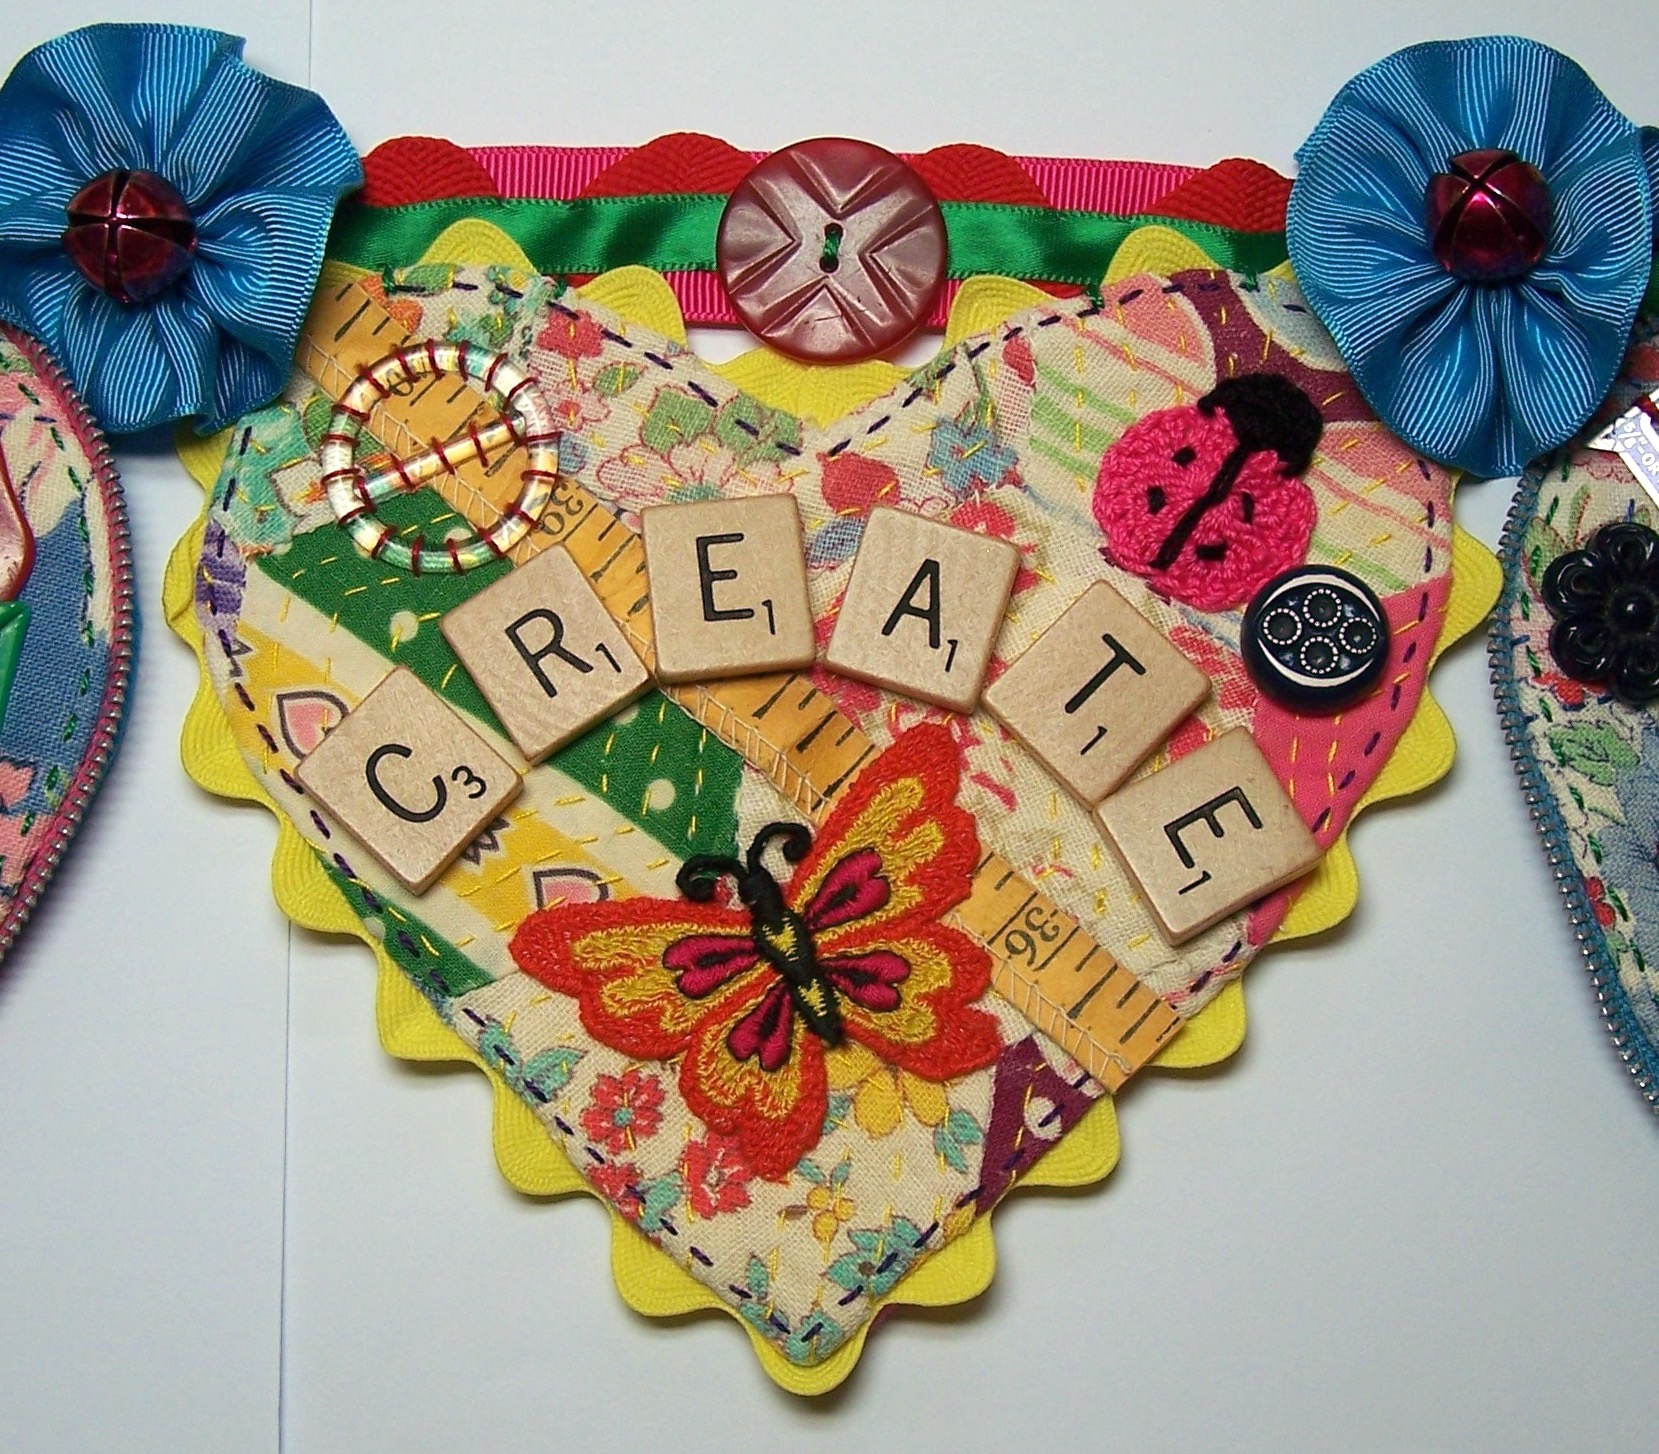
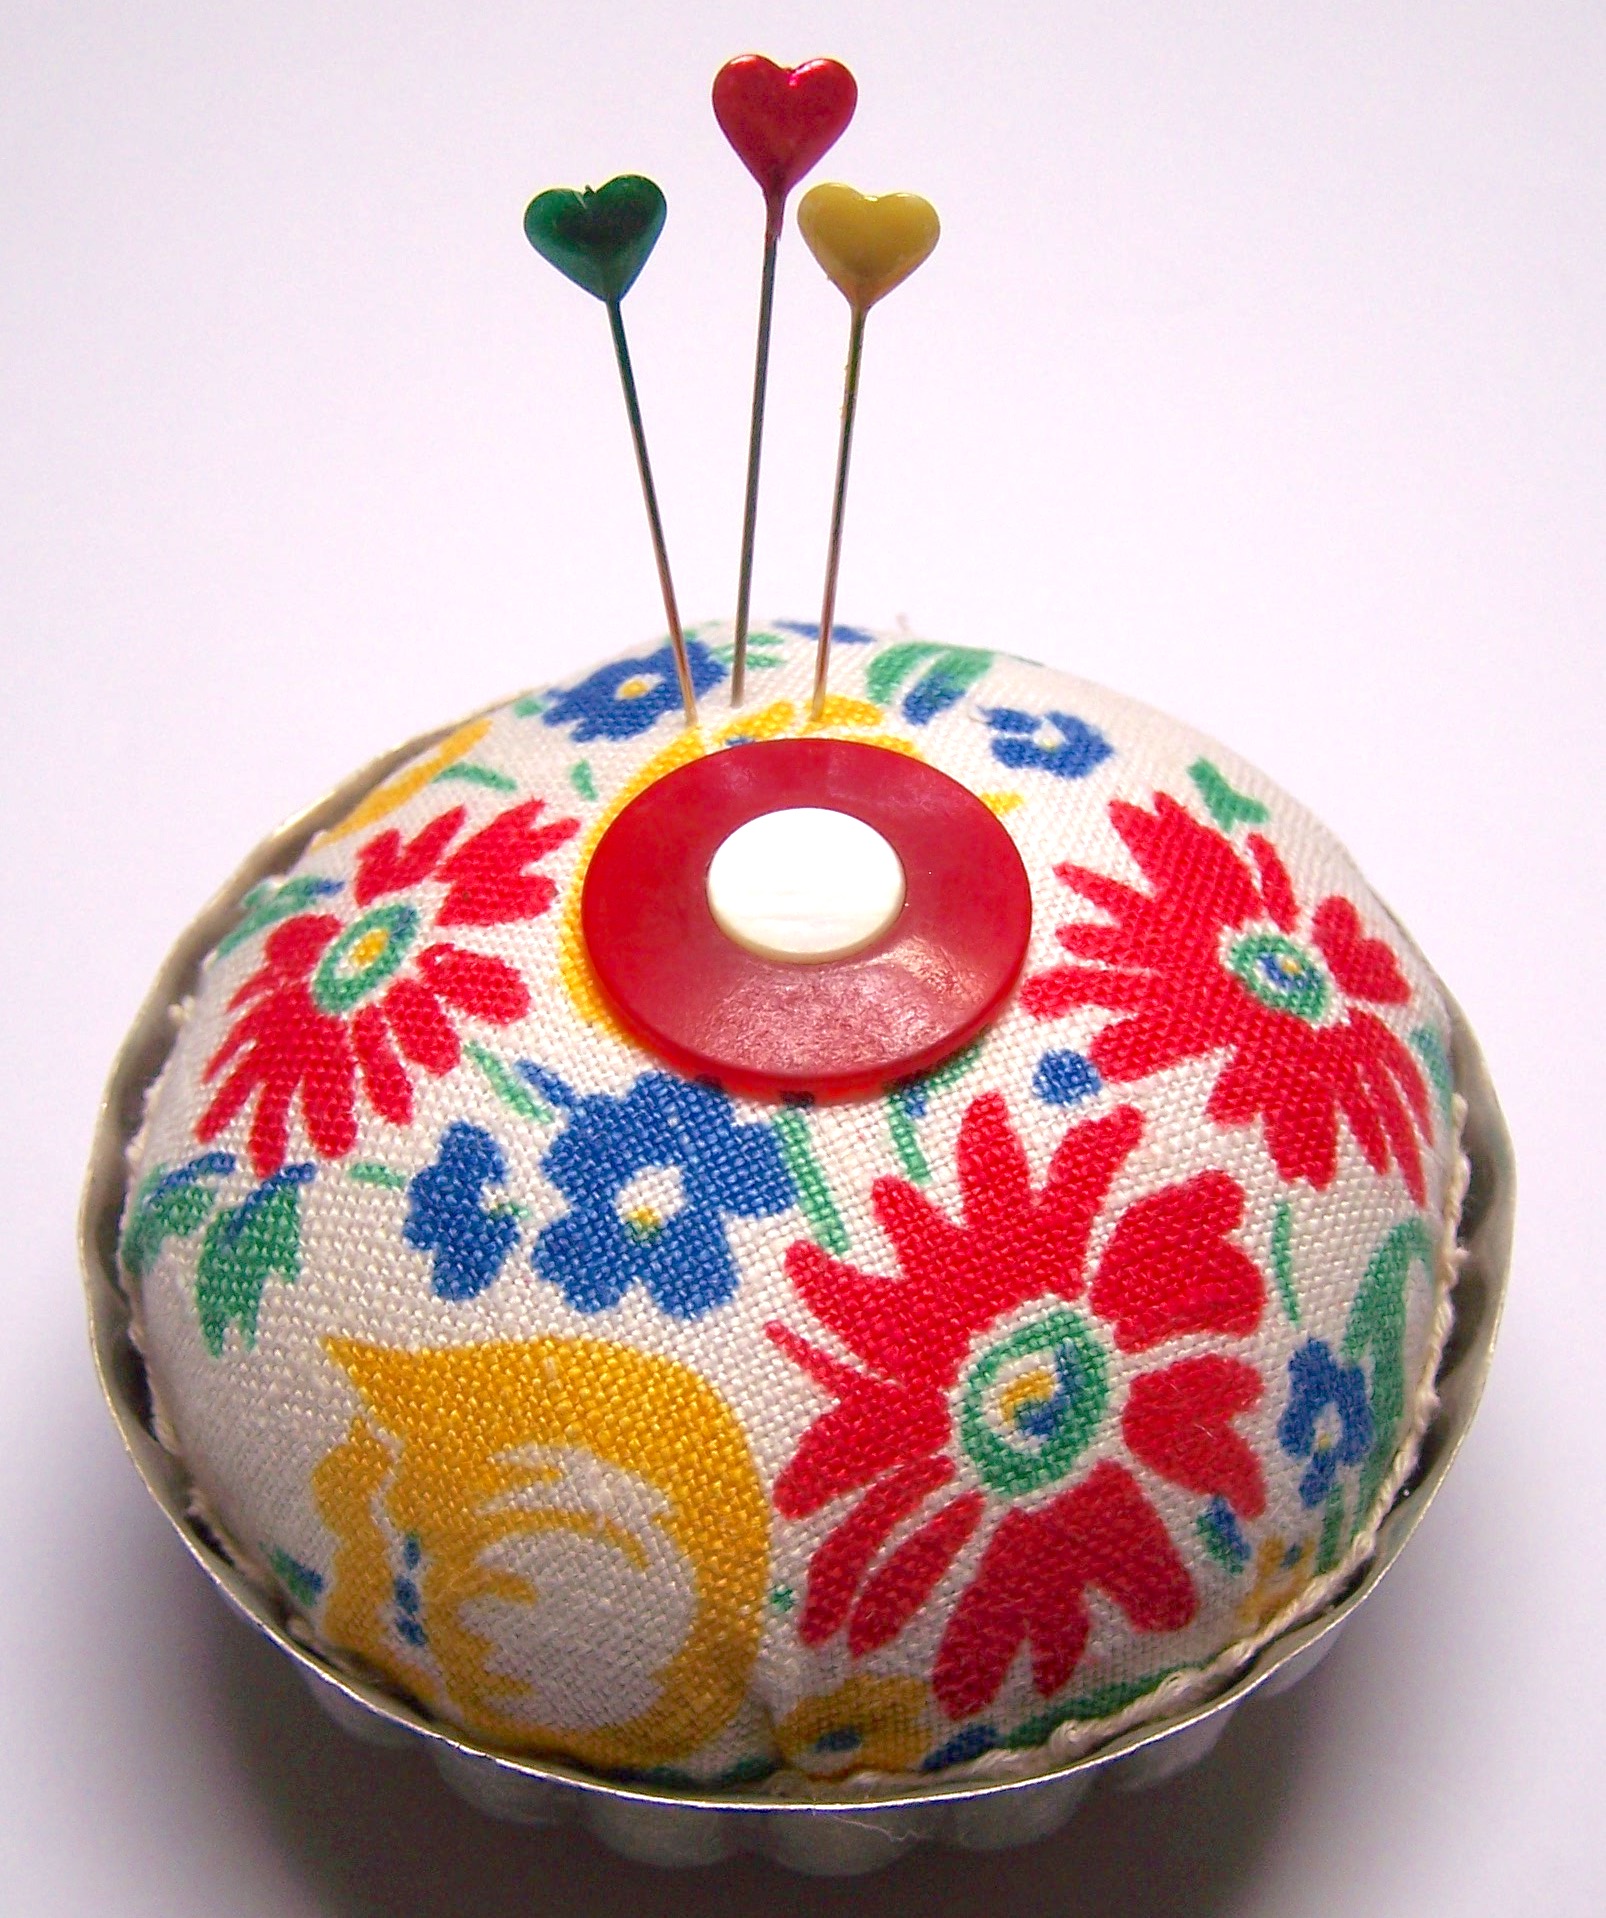
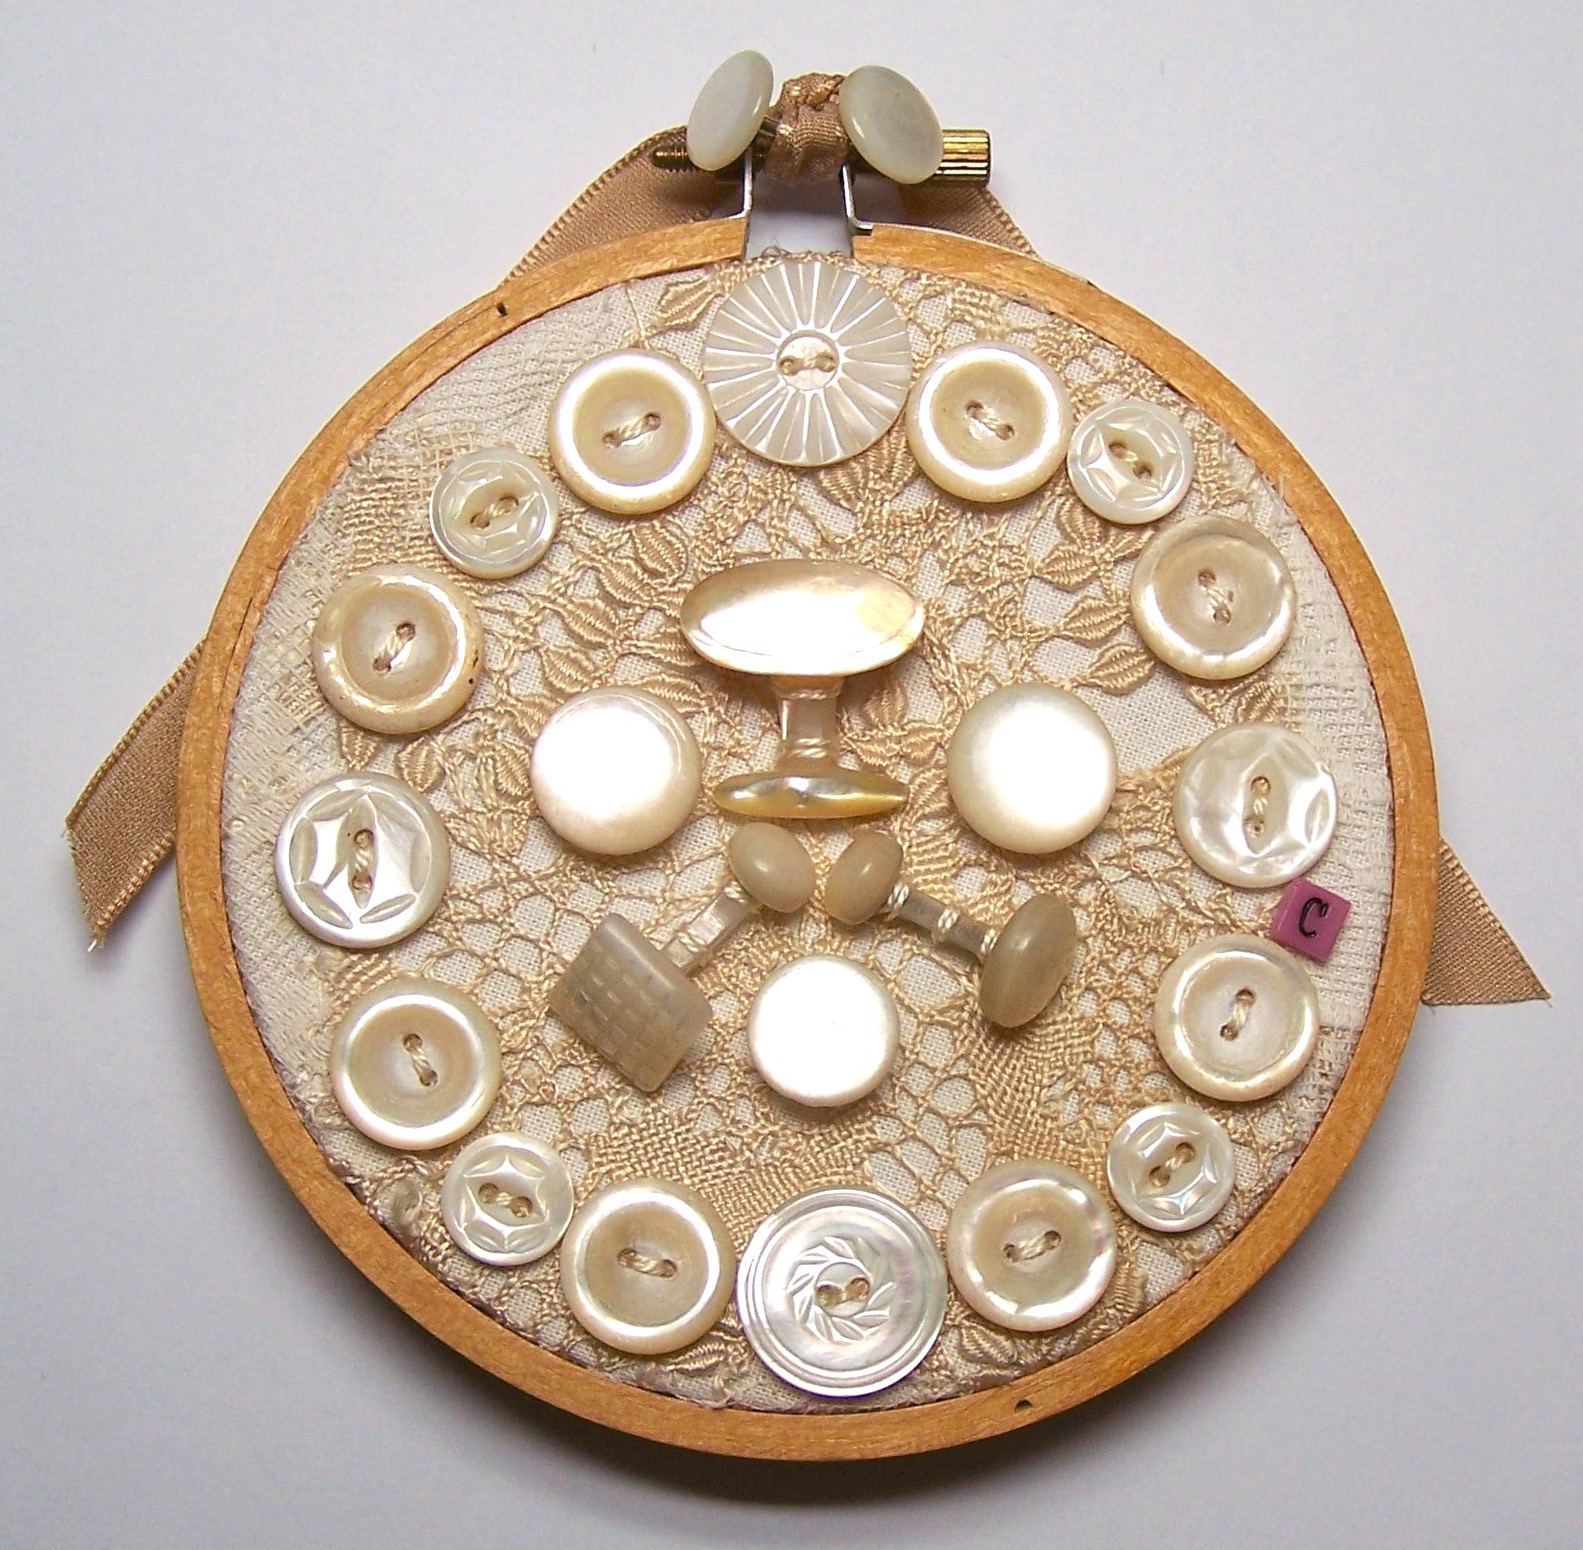
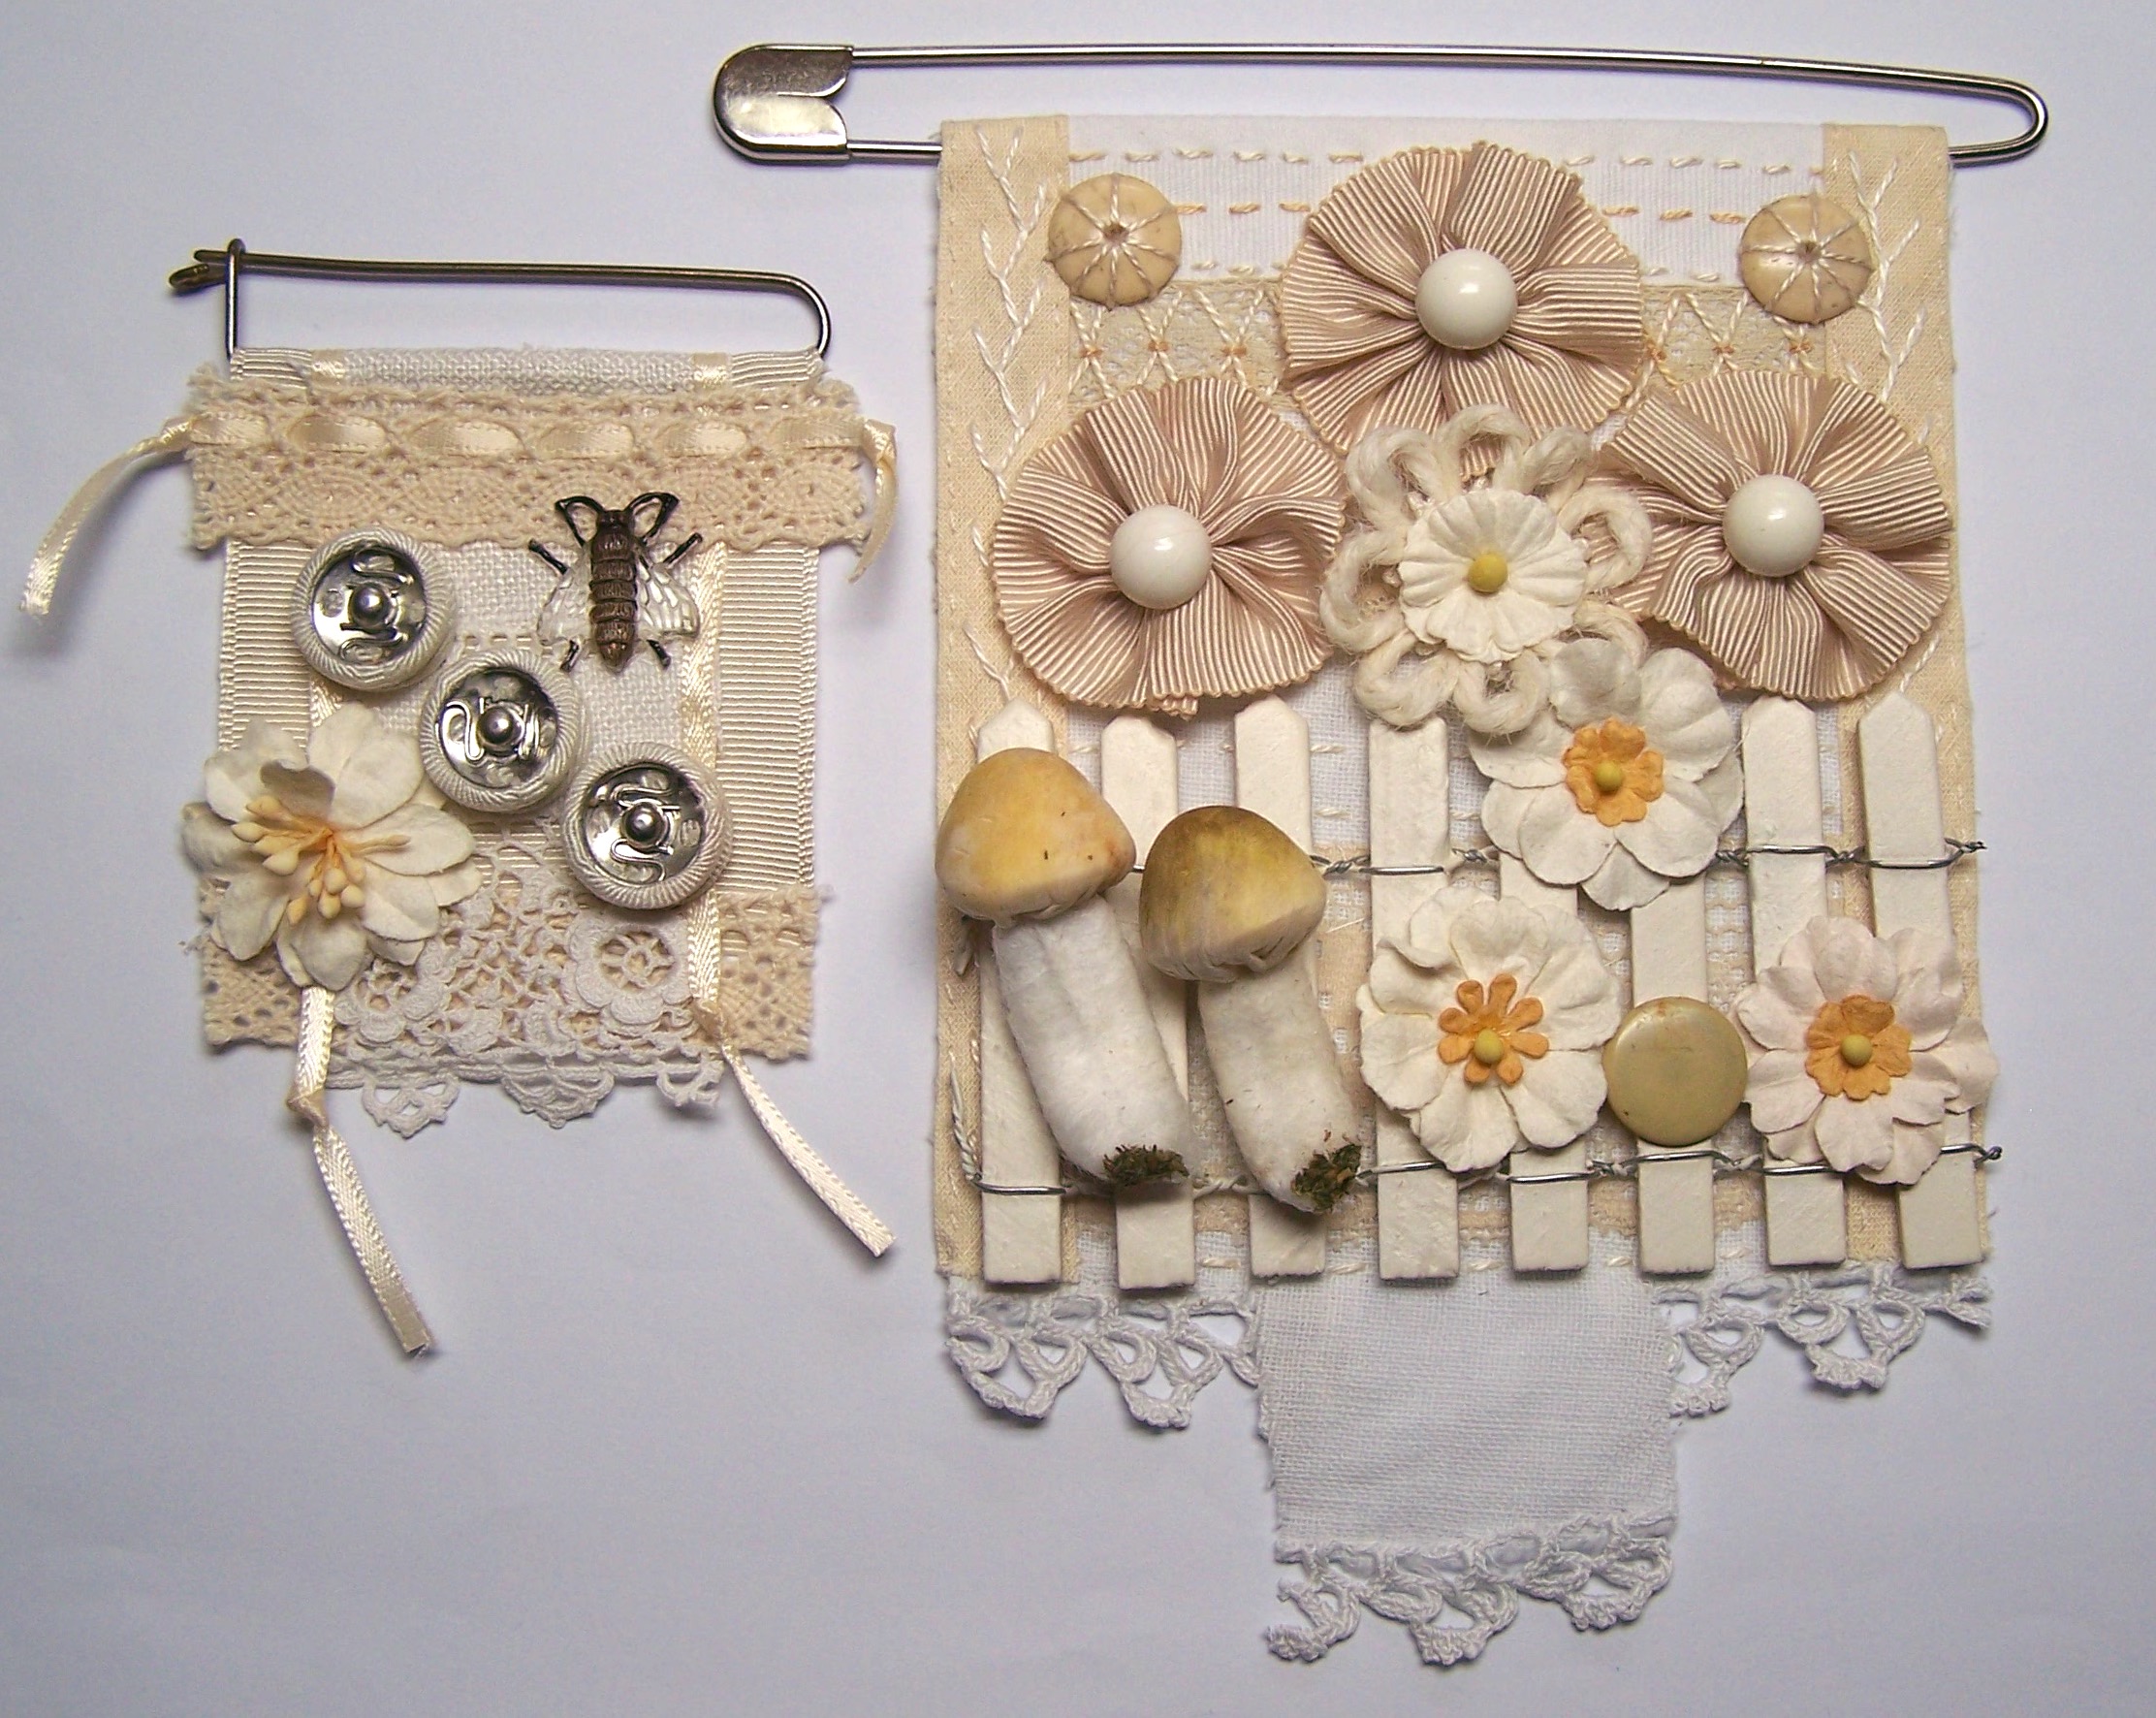
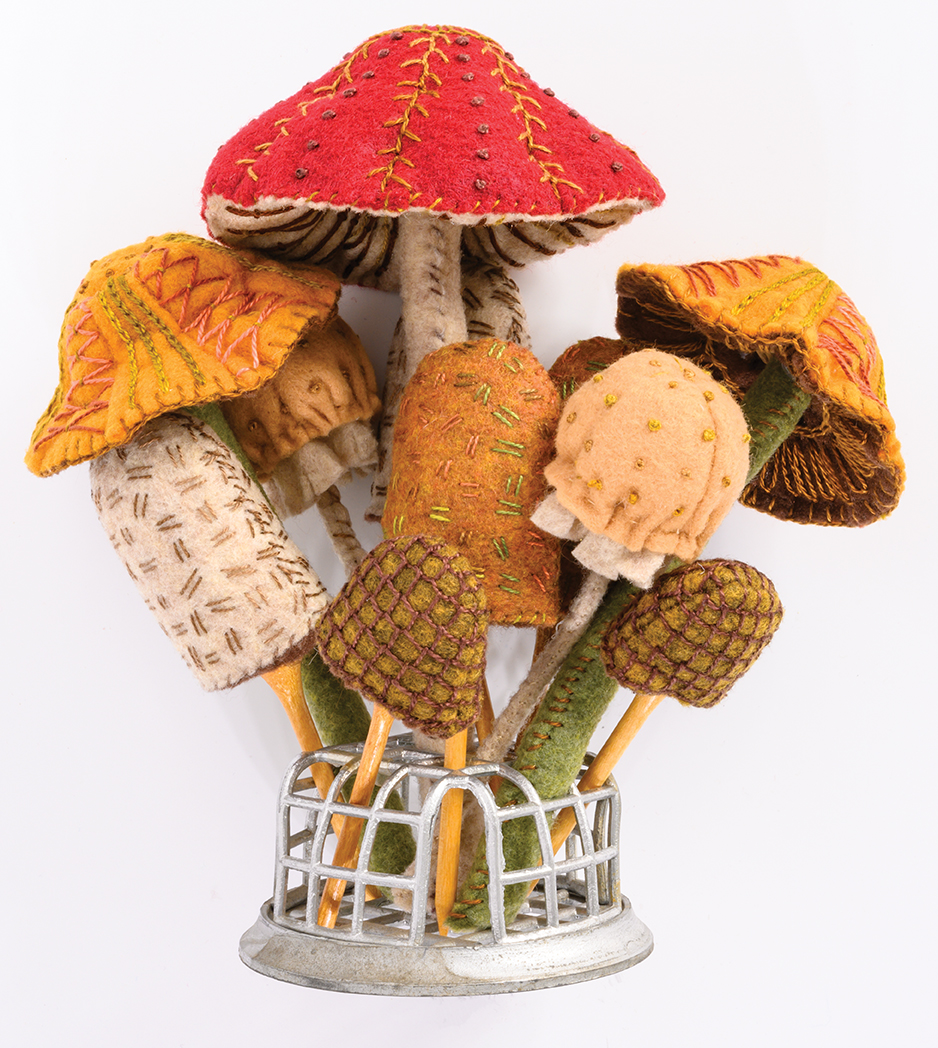
Today is Day Seven of celebrating Earth Day, which I will be doing for the entire week! I hope to provide ideas and useful tips showing you how to use items that would either have been thrown out, dumped off at the thrift-store, or are just perhaps forgotten.

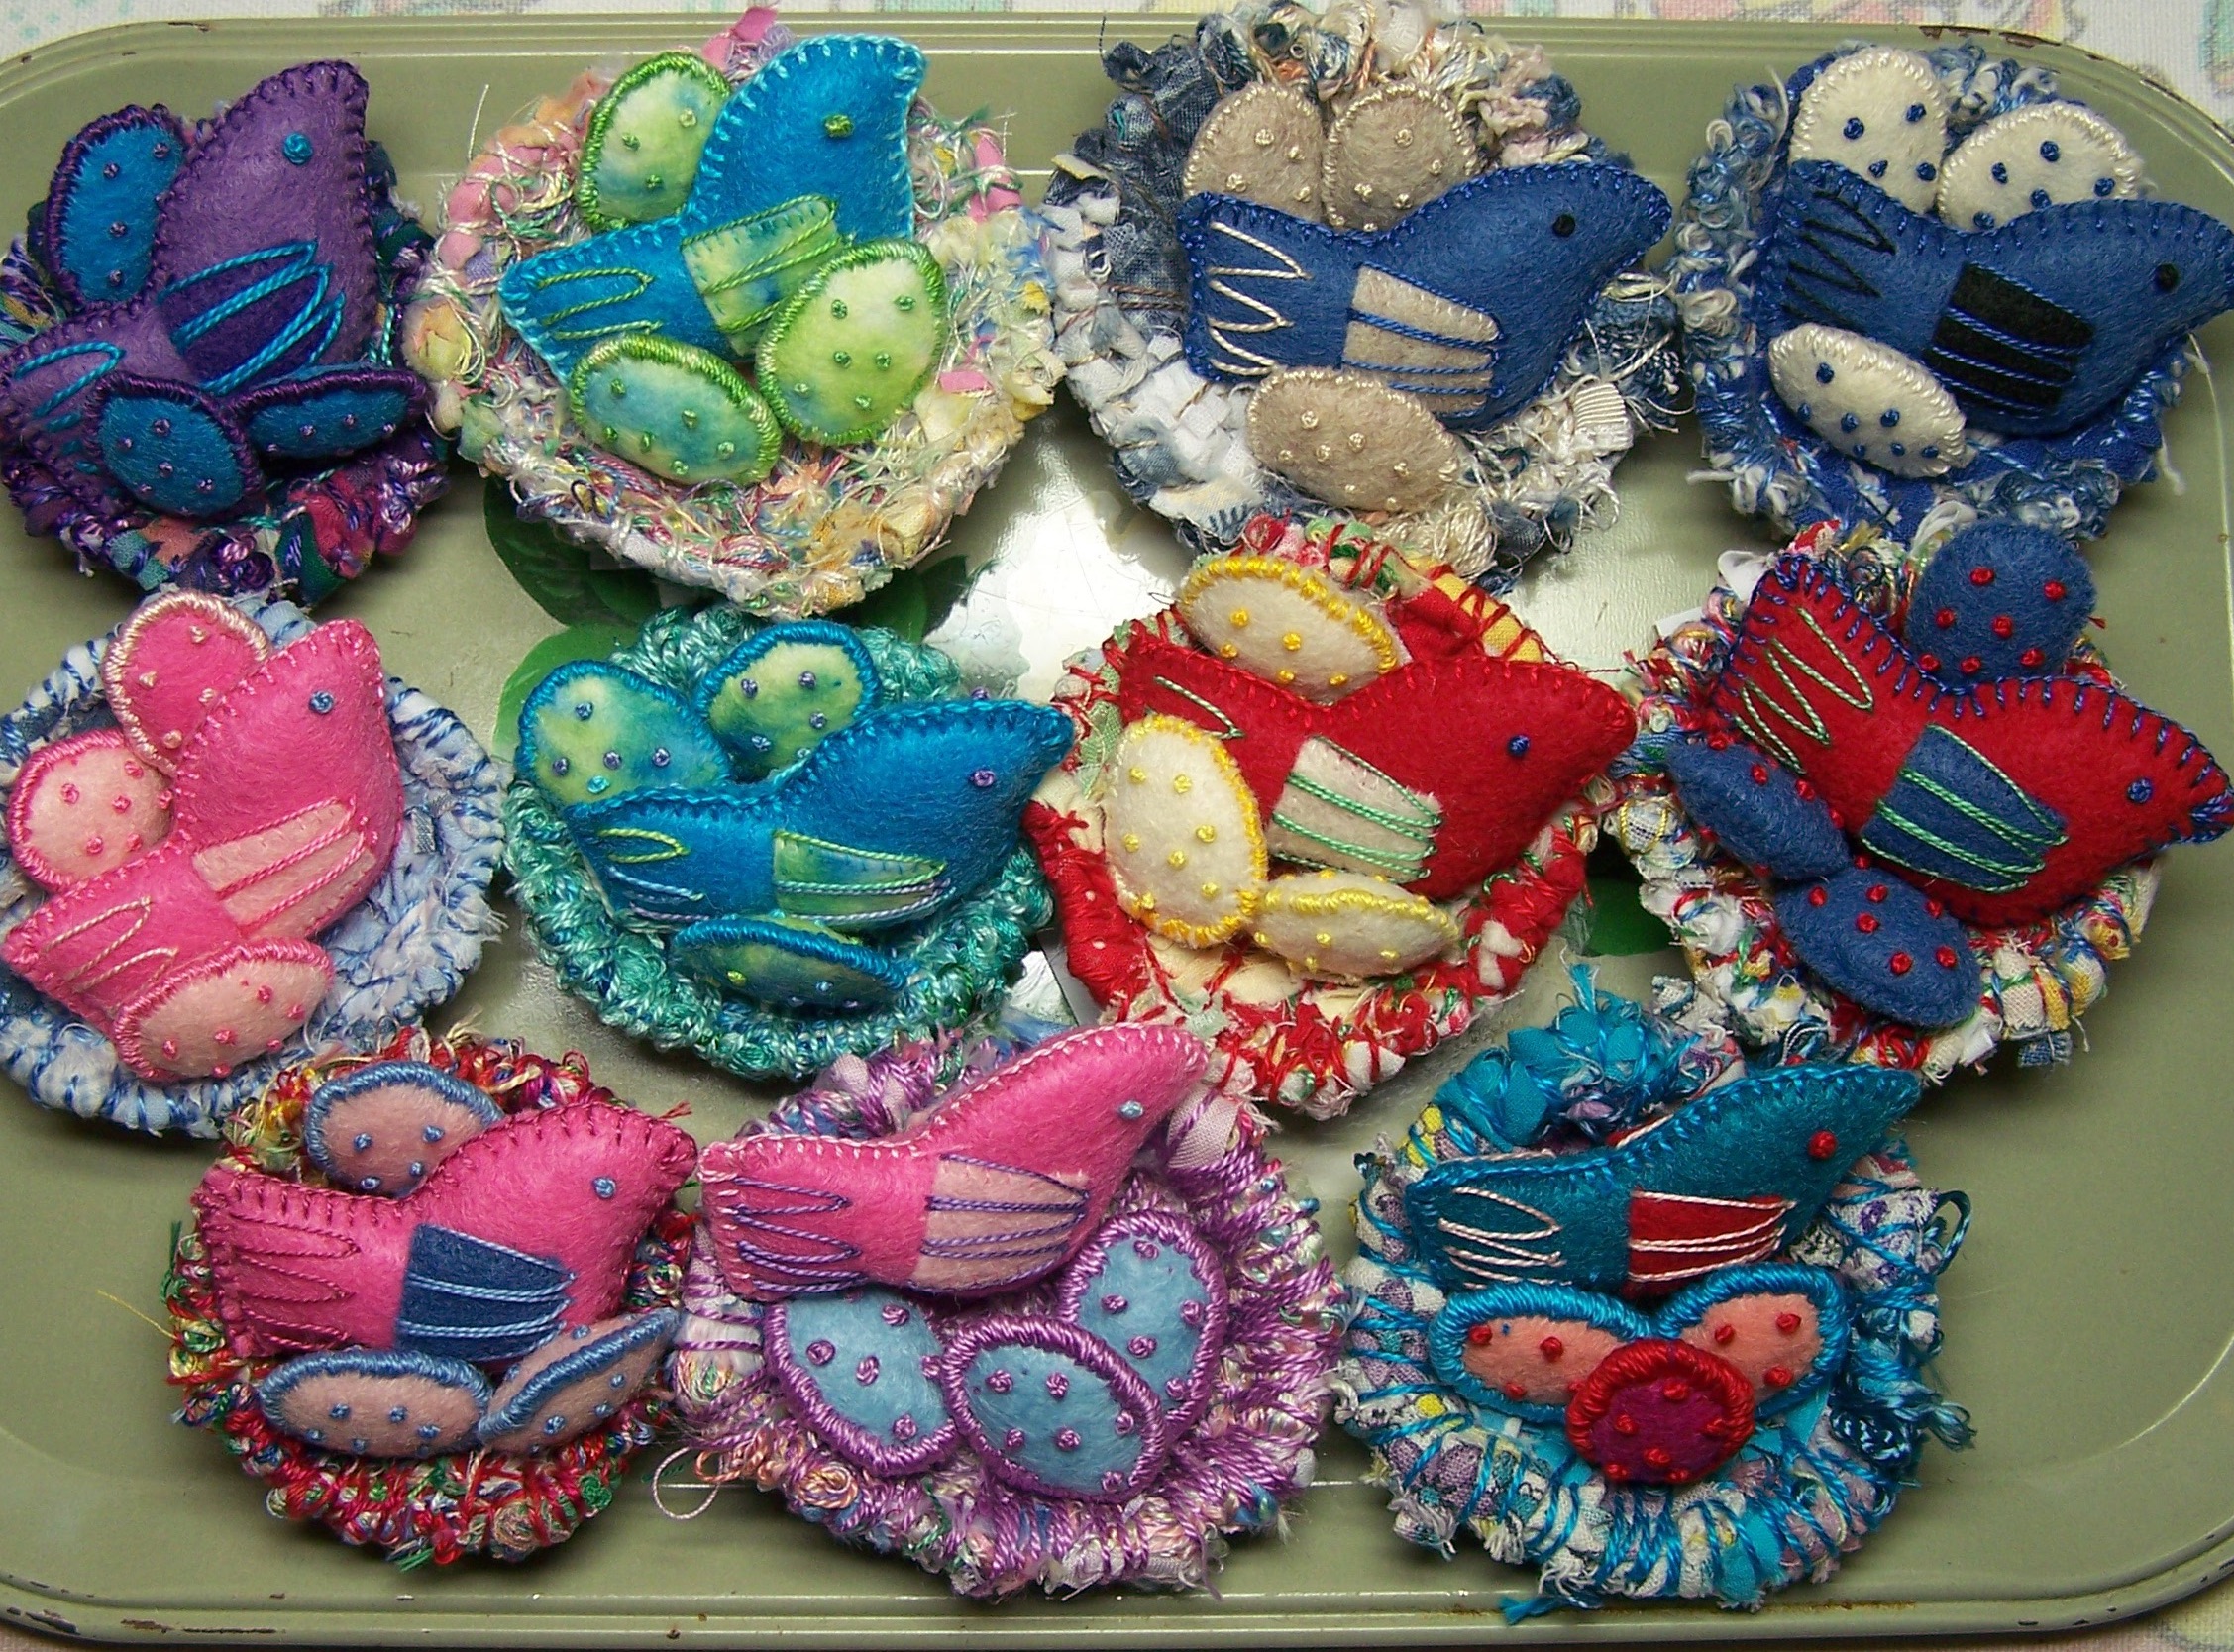
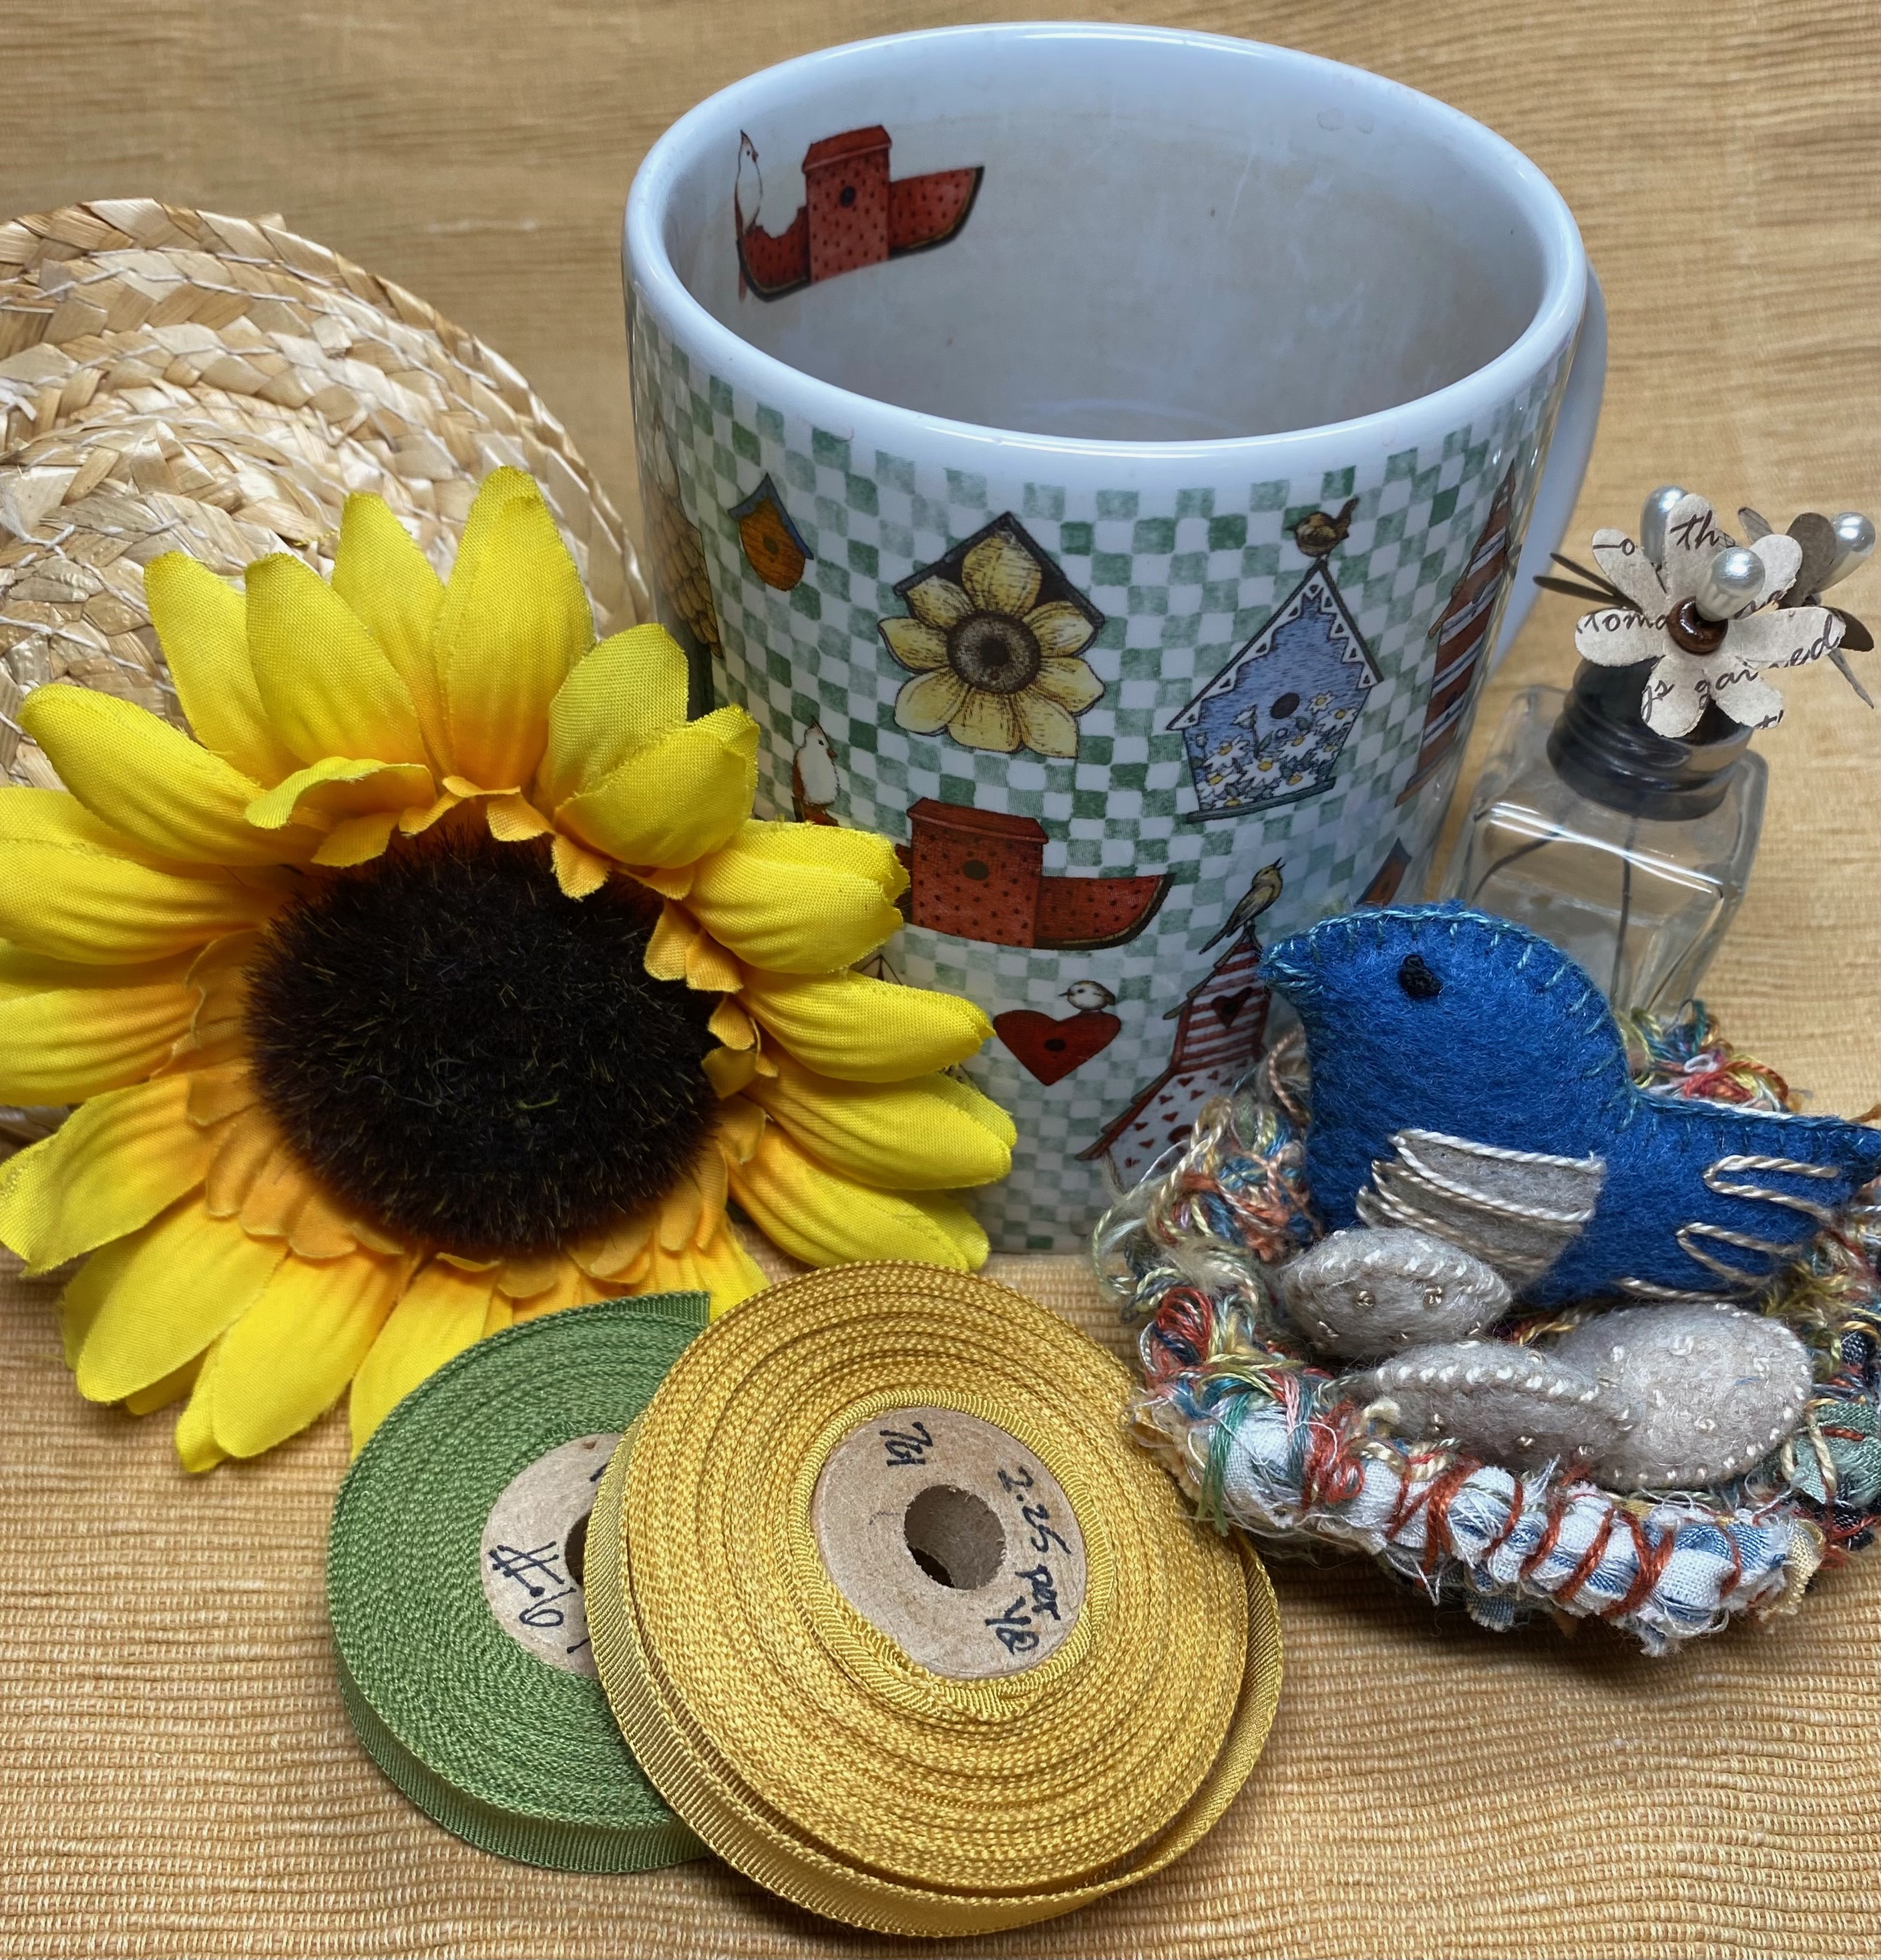
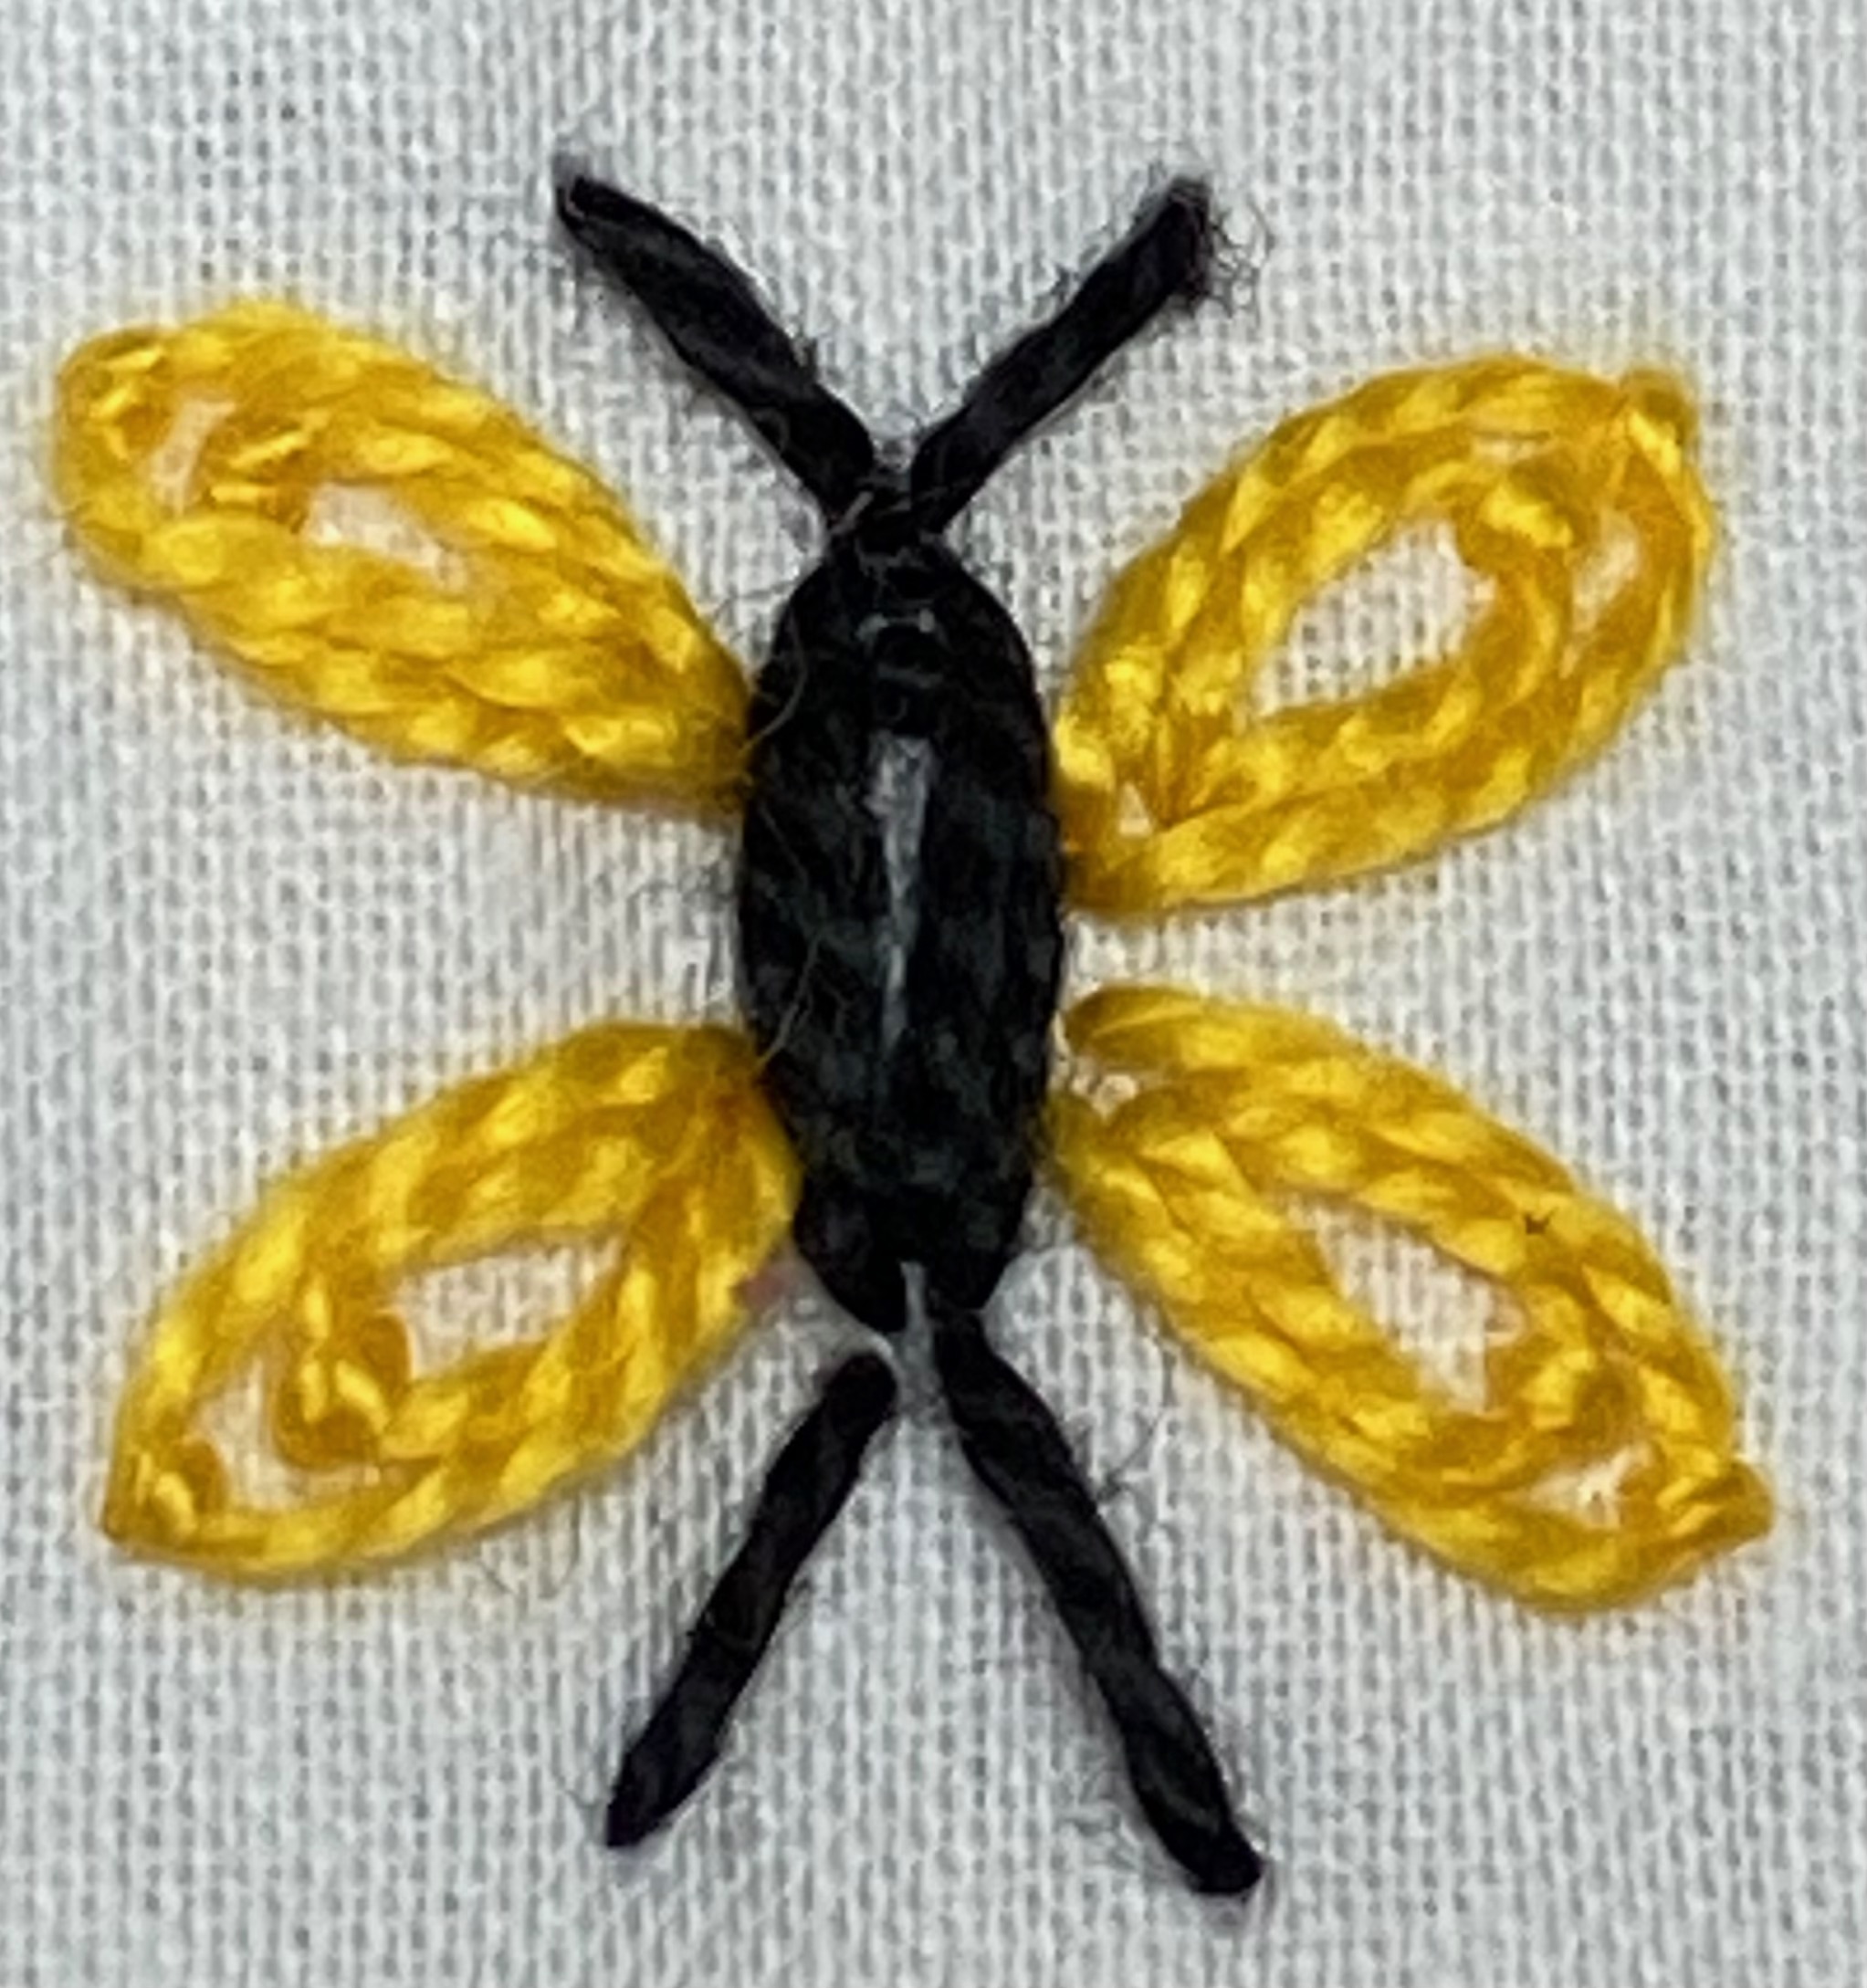
Birds Nest Tutorial: Today I want to share one of my delights, which is turning the tiniest of fabric scraps and thread ends into a nest, and filling it with a mommy (or daddy) bird and their eggs. I created this little group to thank all of the people at C&T Publishing who have worked on my books. They are all so special, and I am grateful to each and everyone of them. If you would like to learn how to make the nest, the bird, and the eggs download the tutorial.

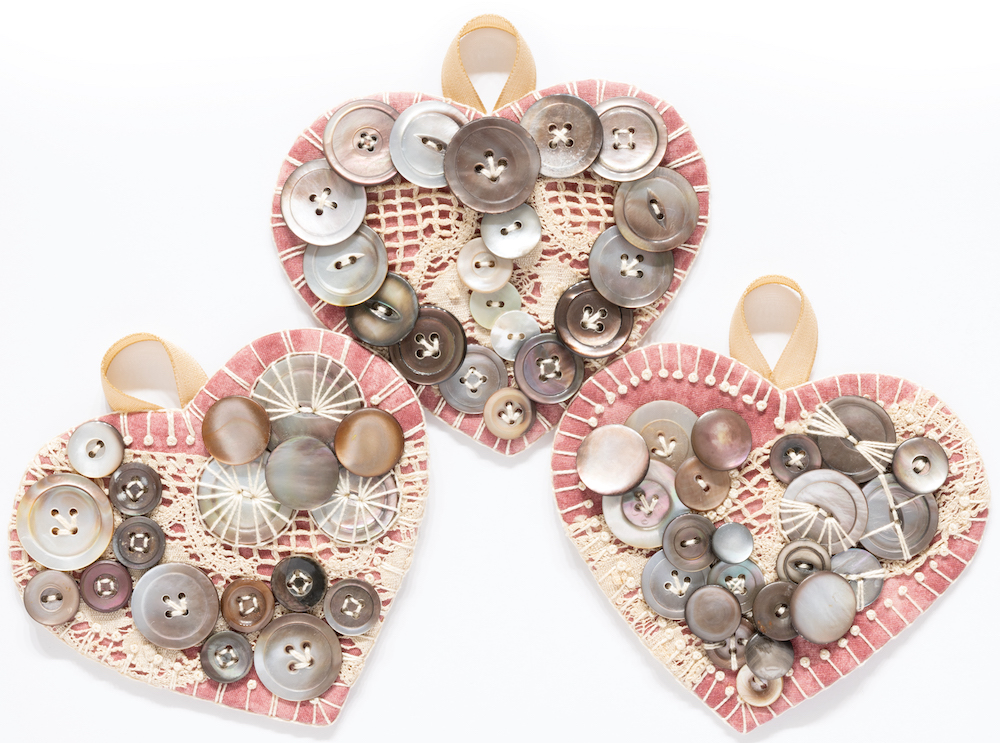
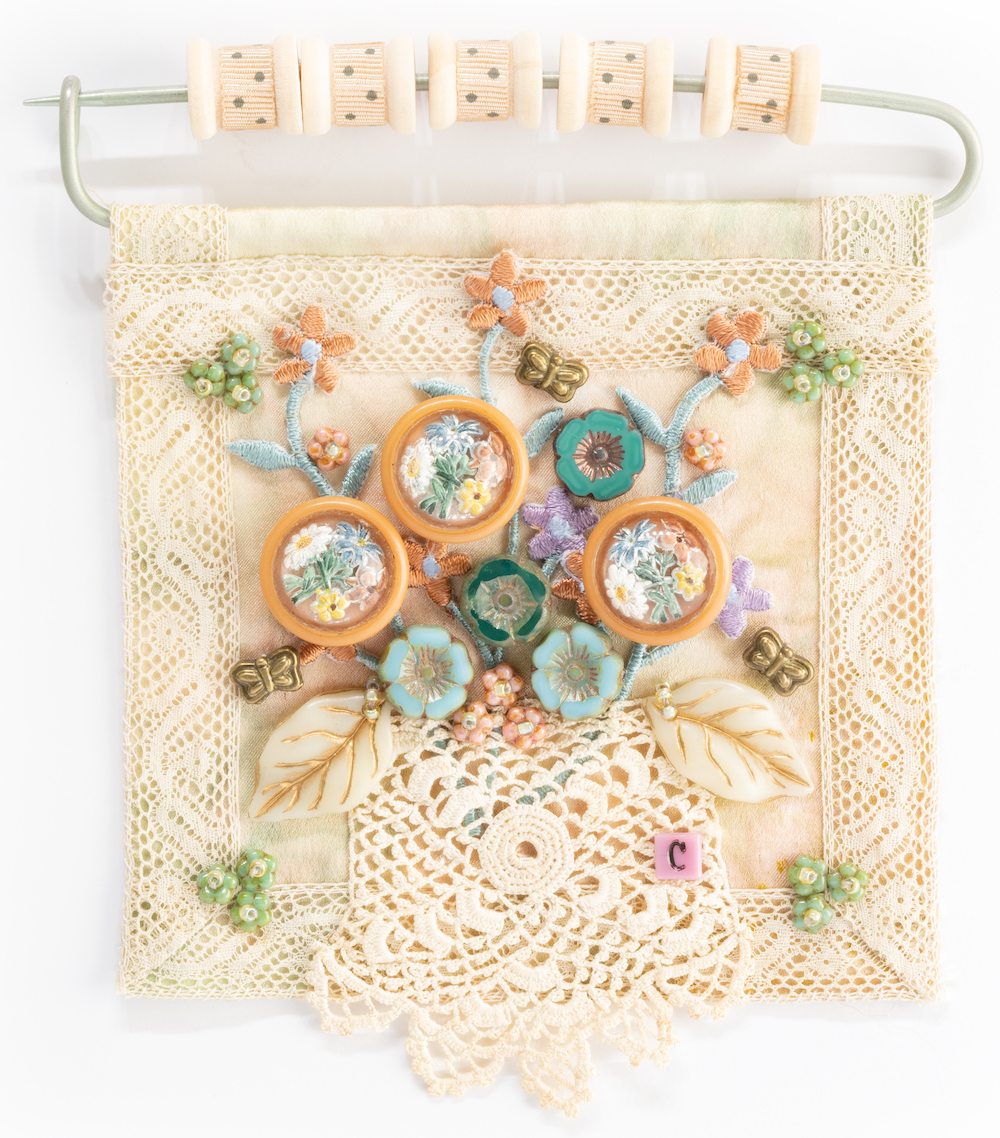
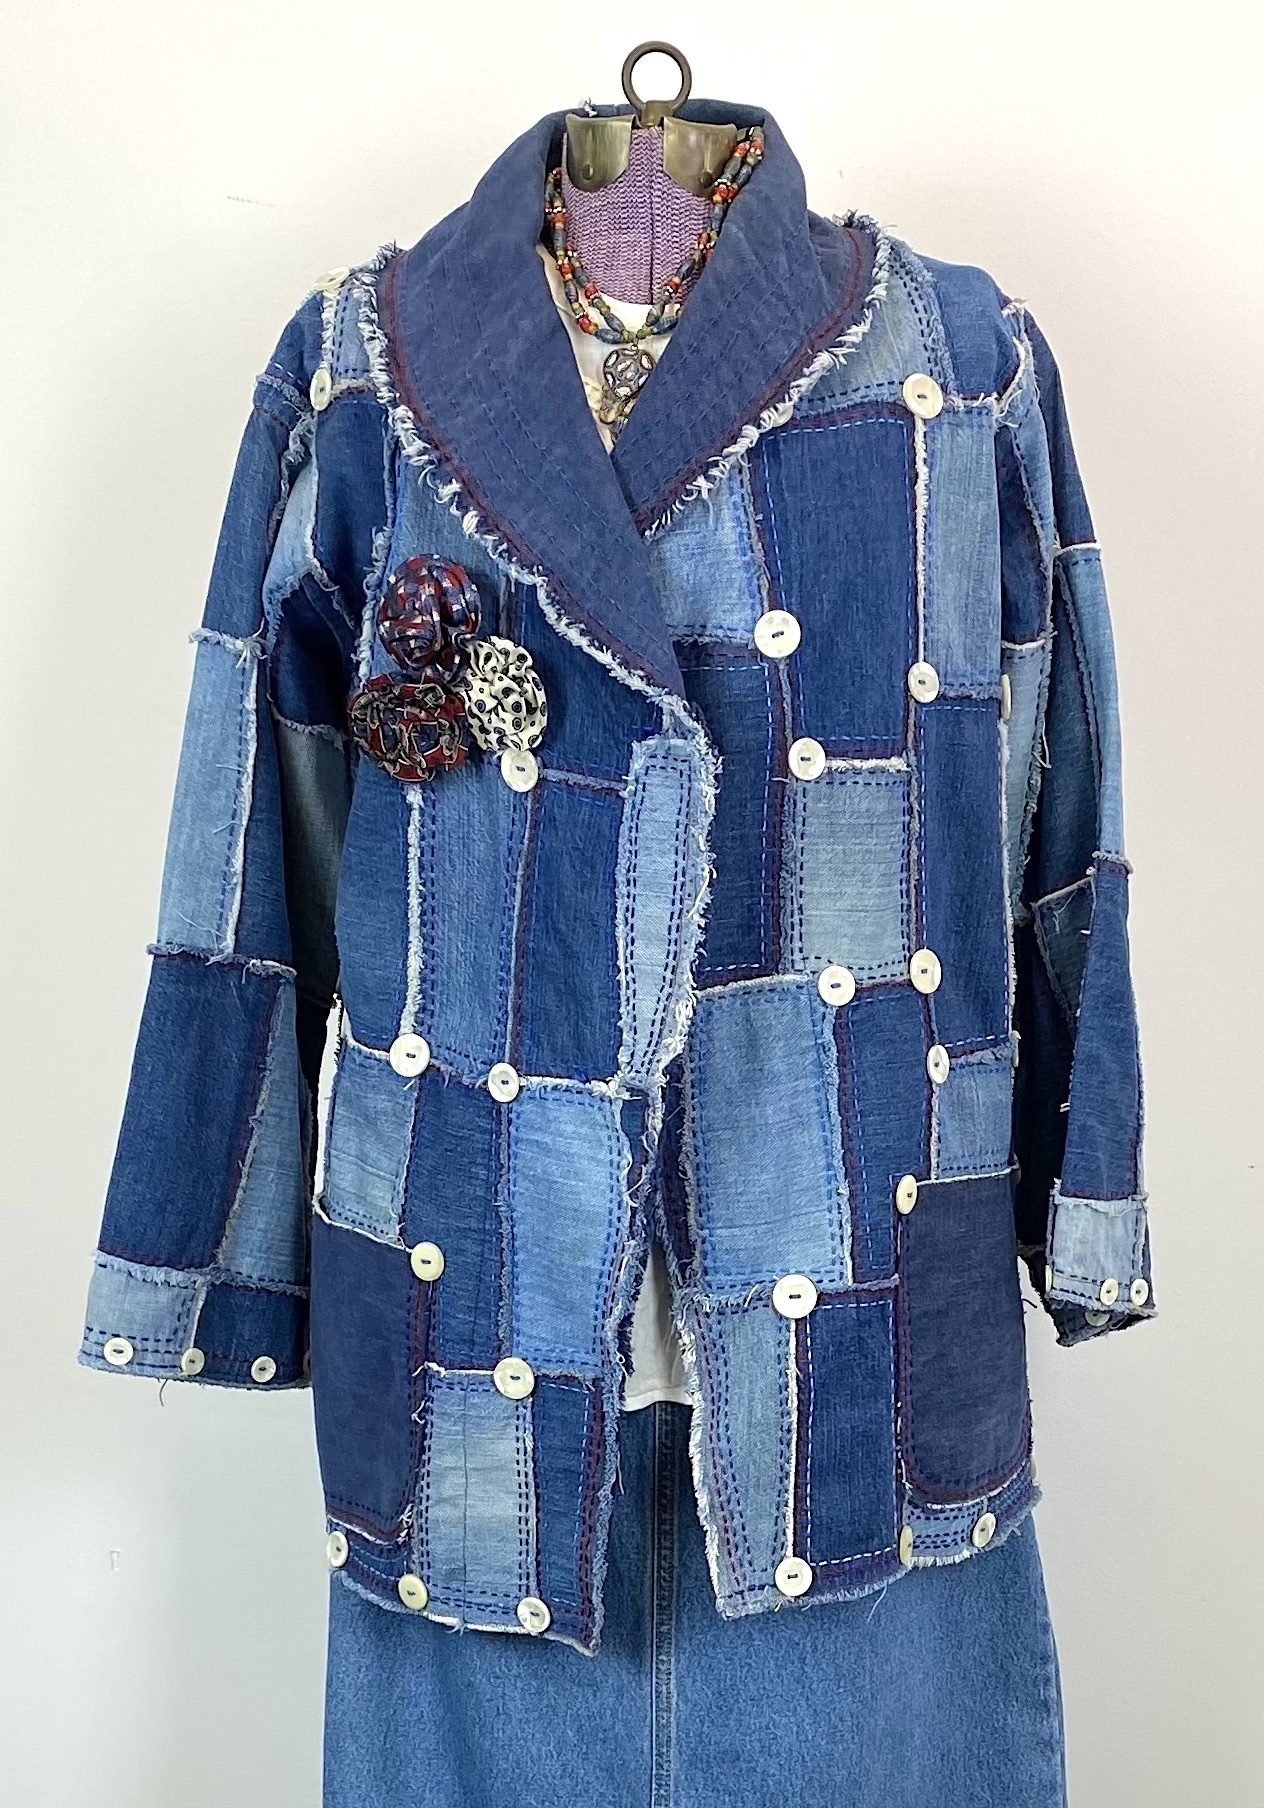
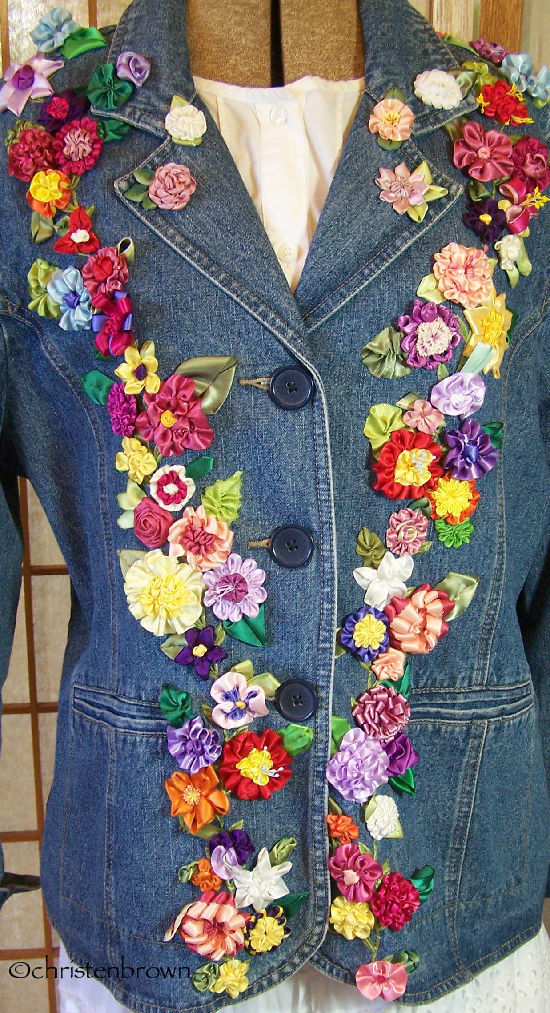
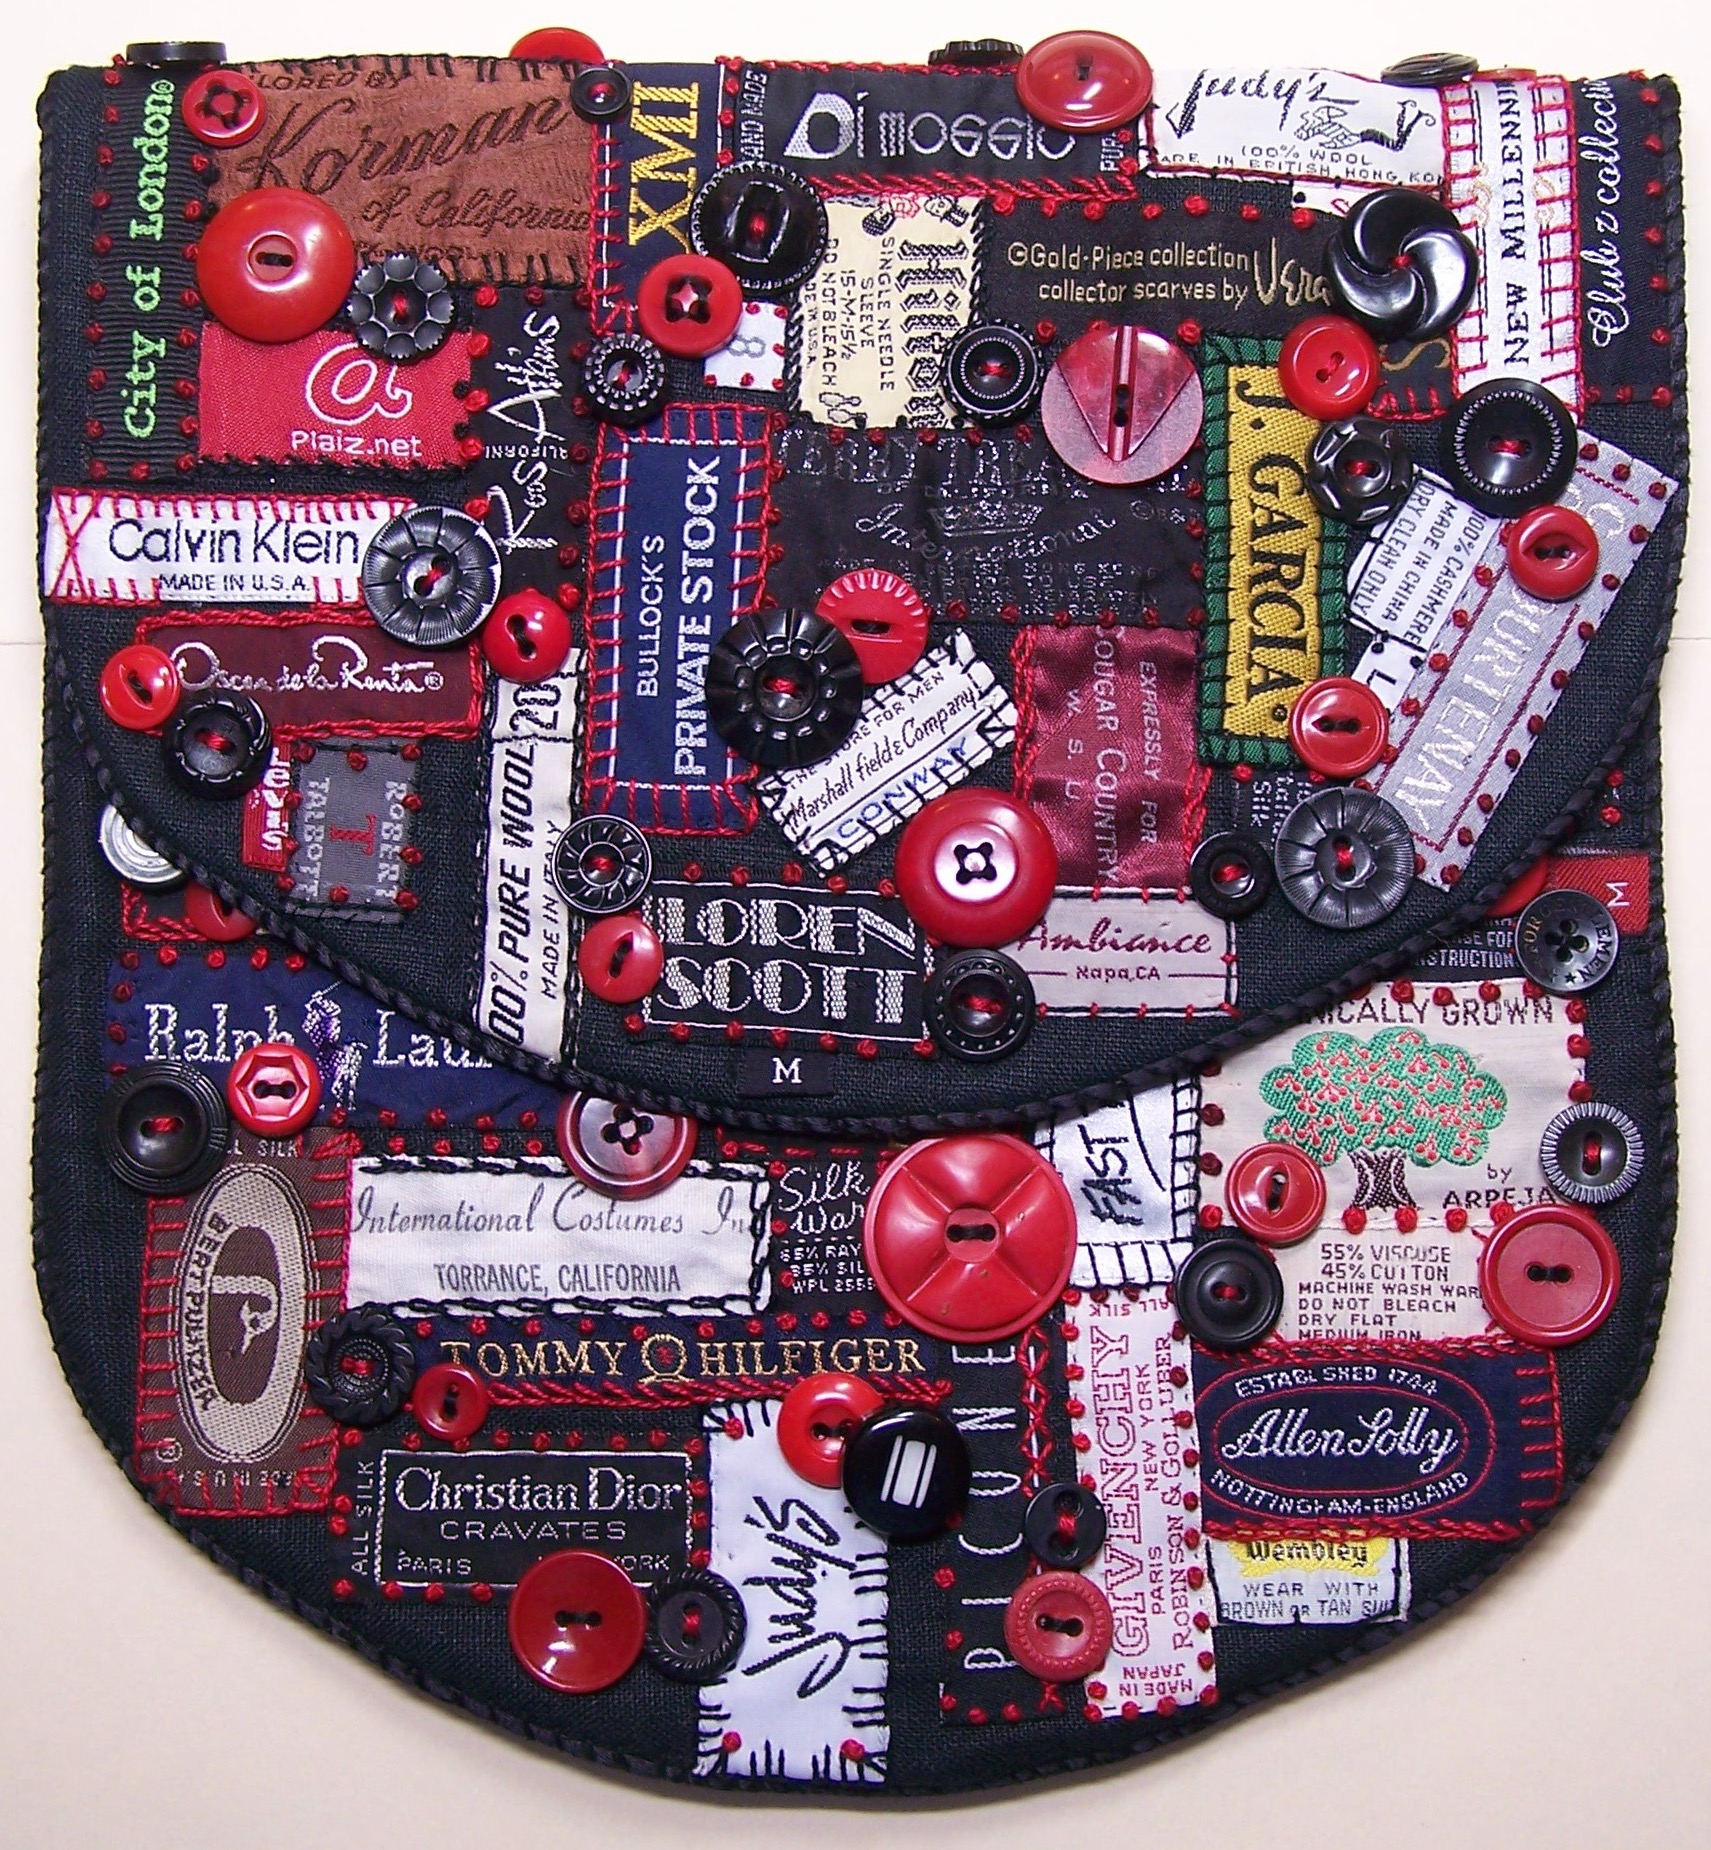
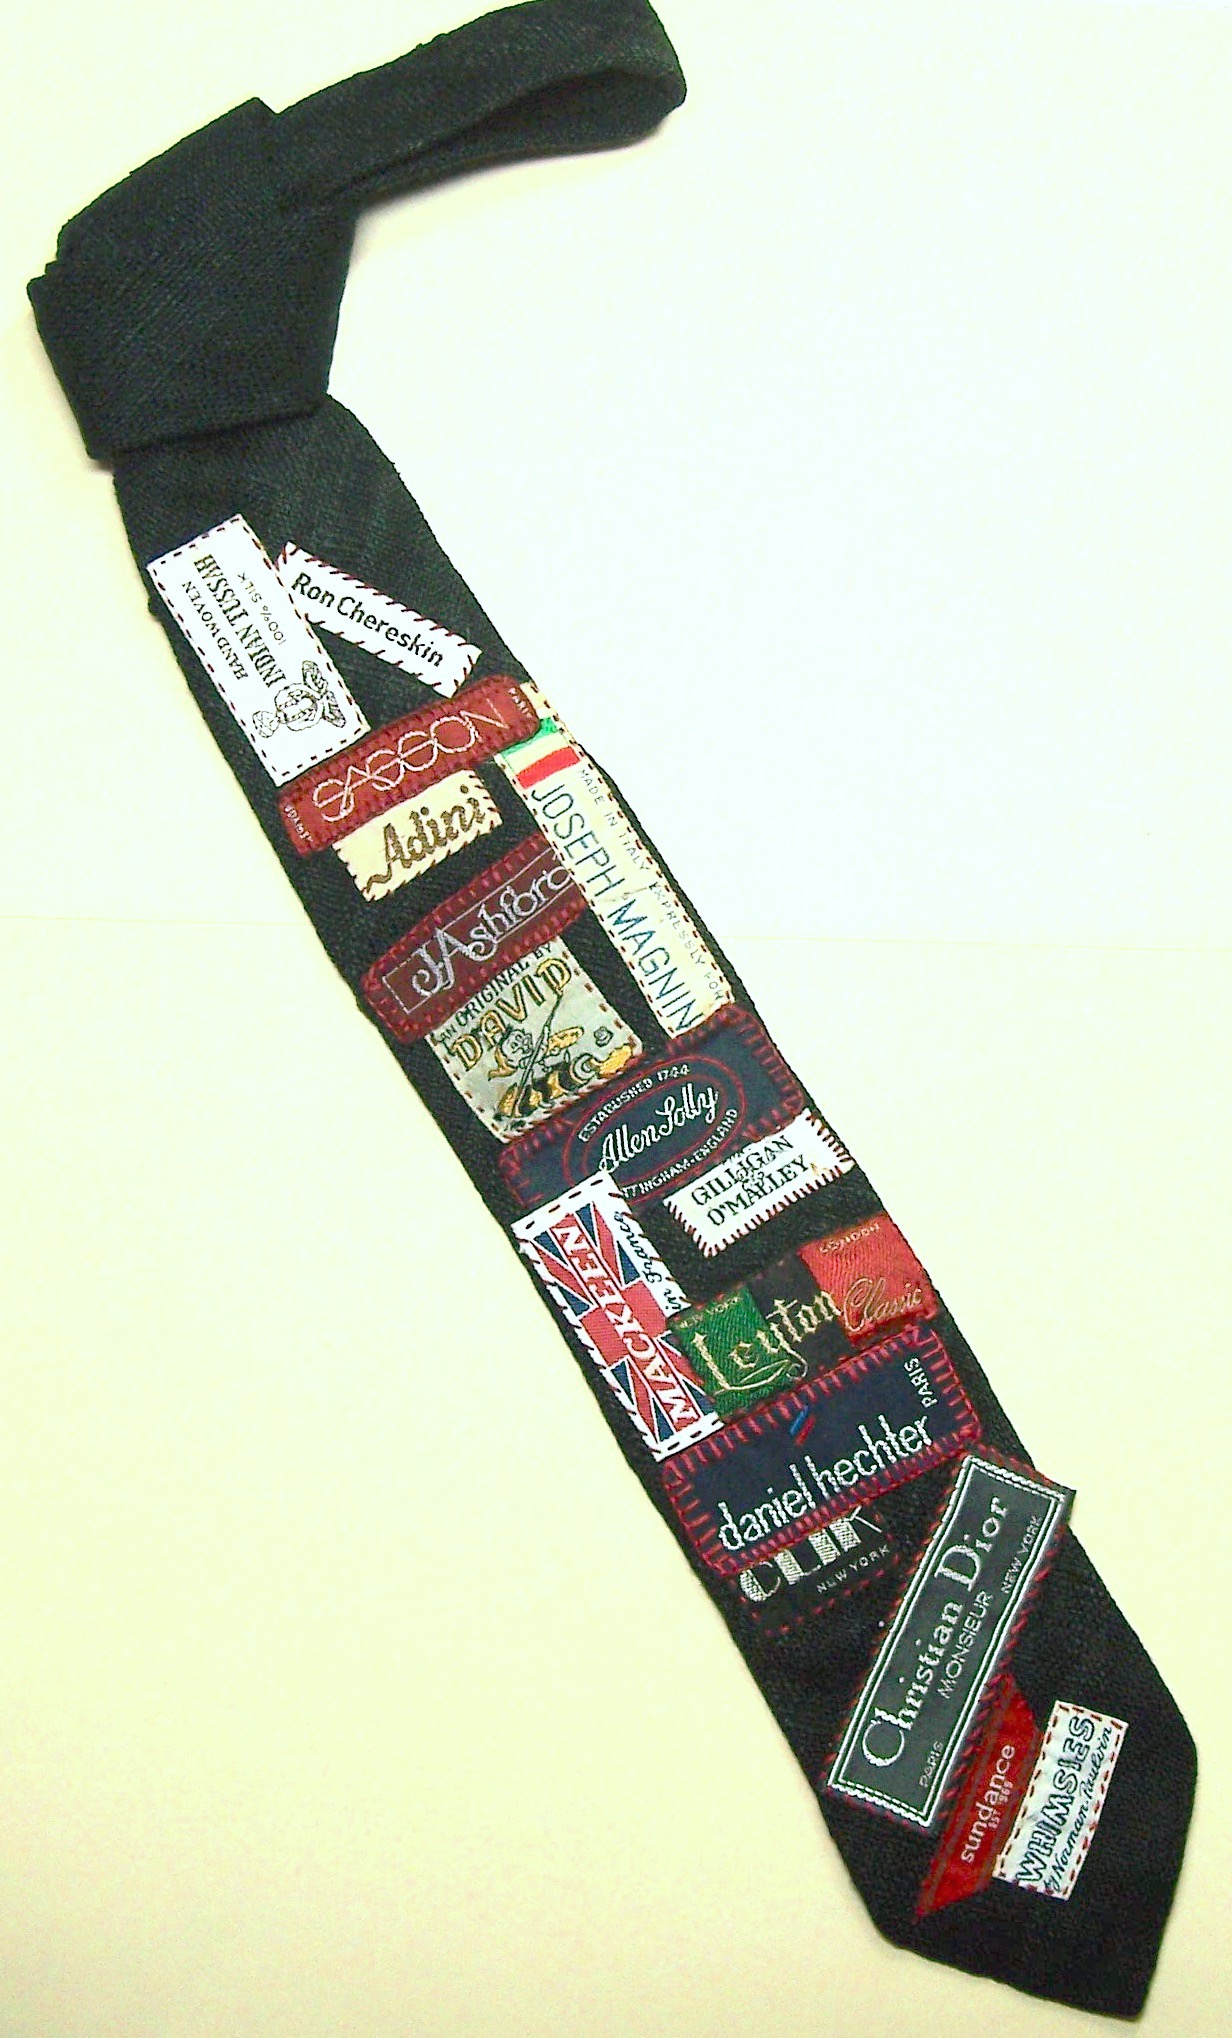
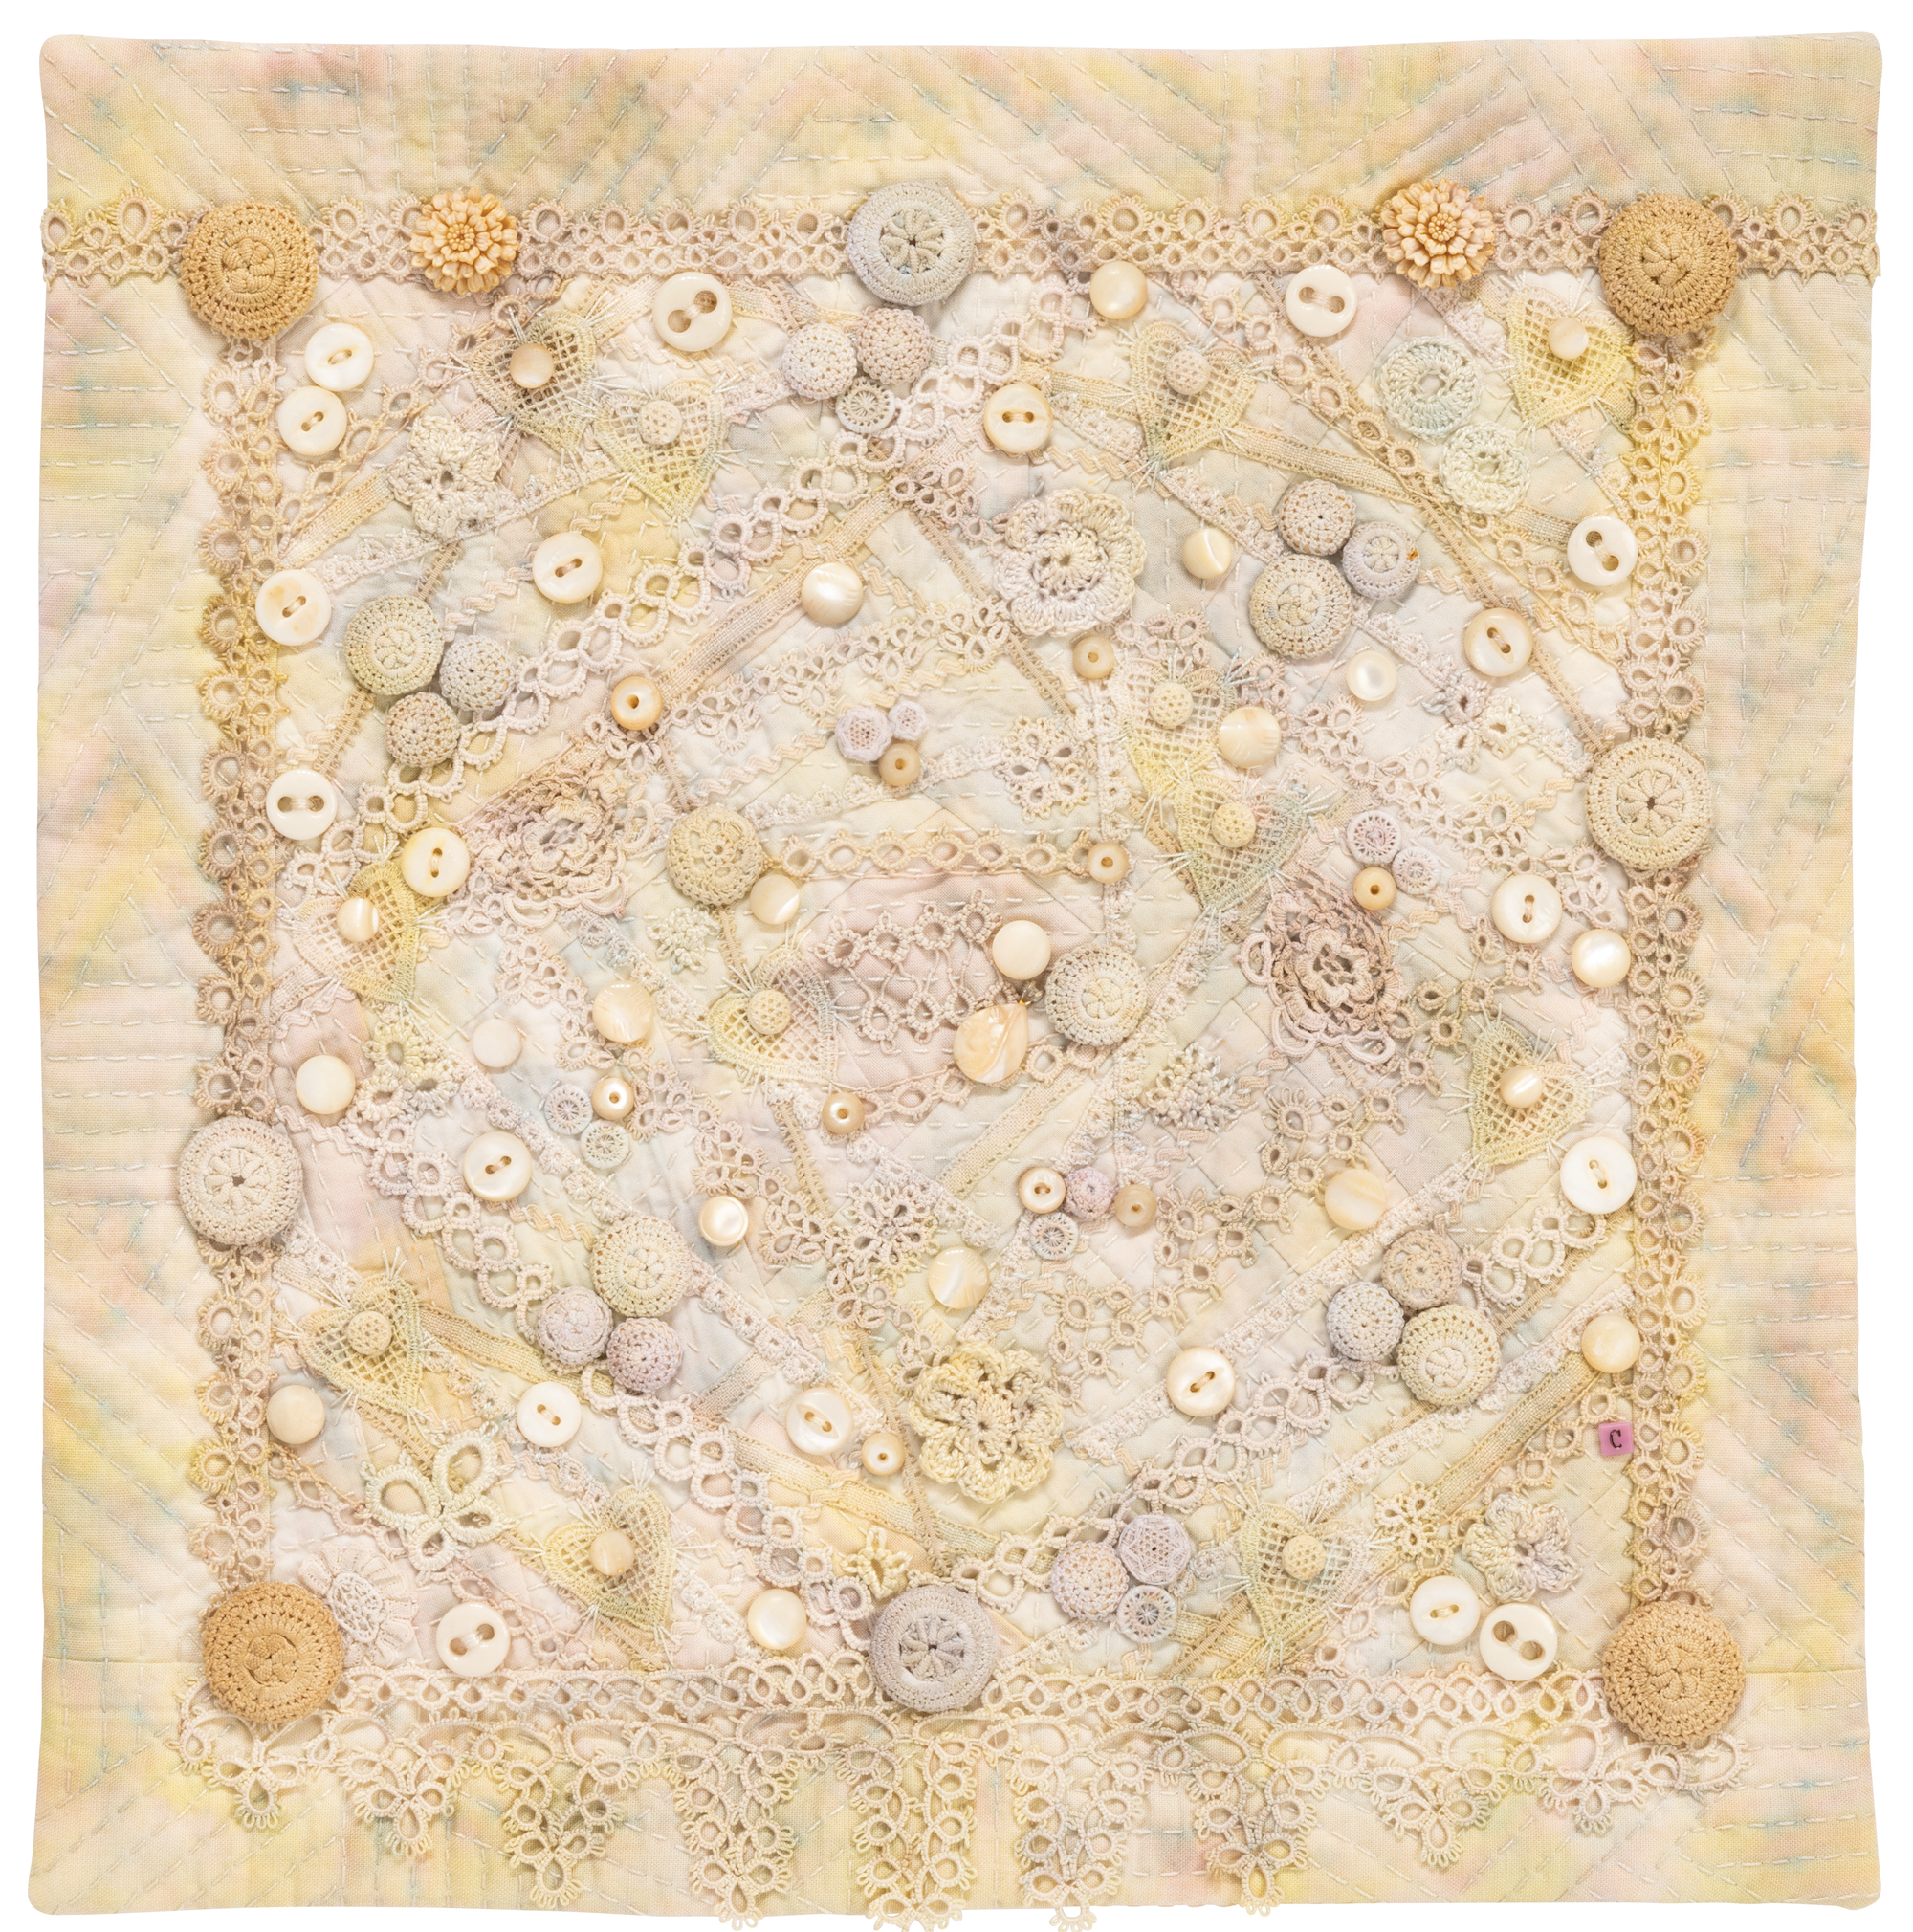
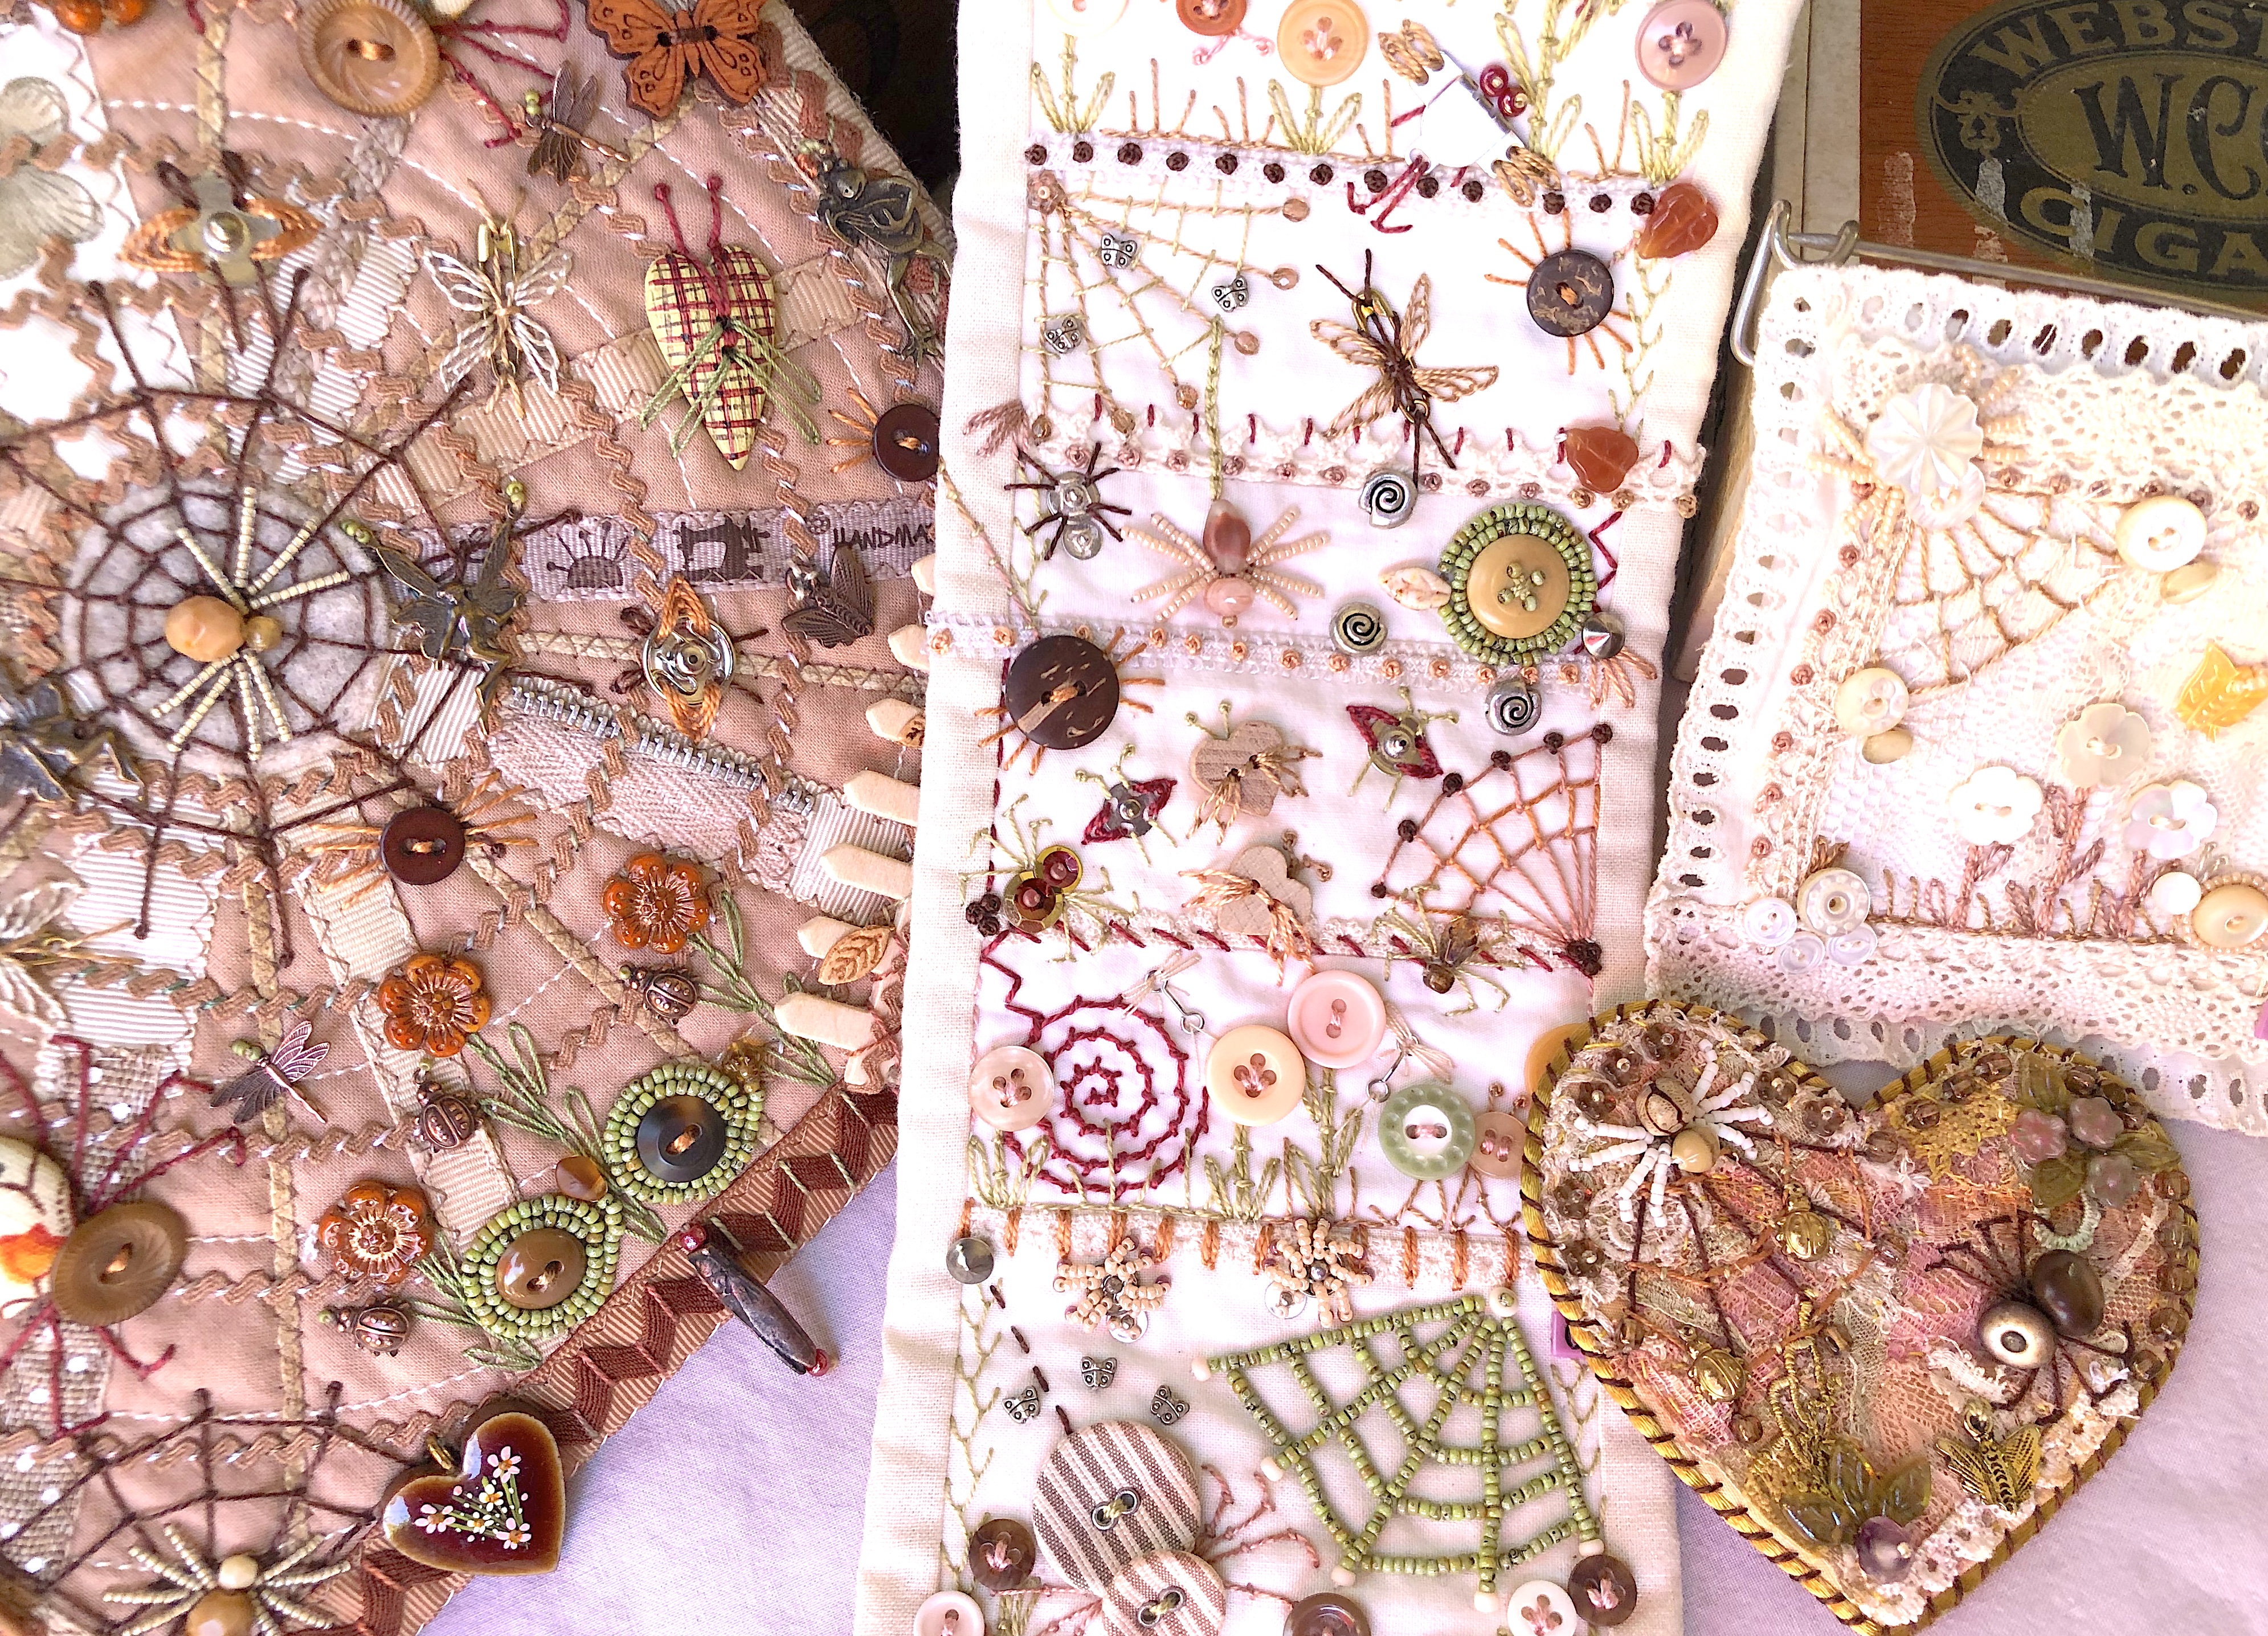
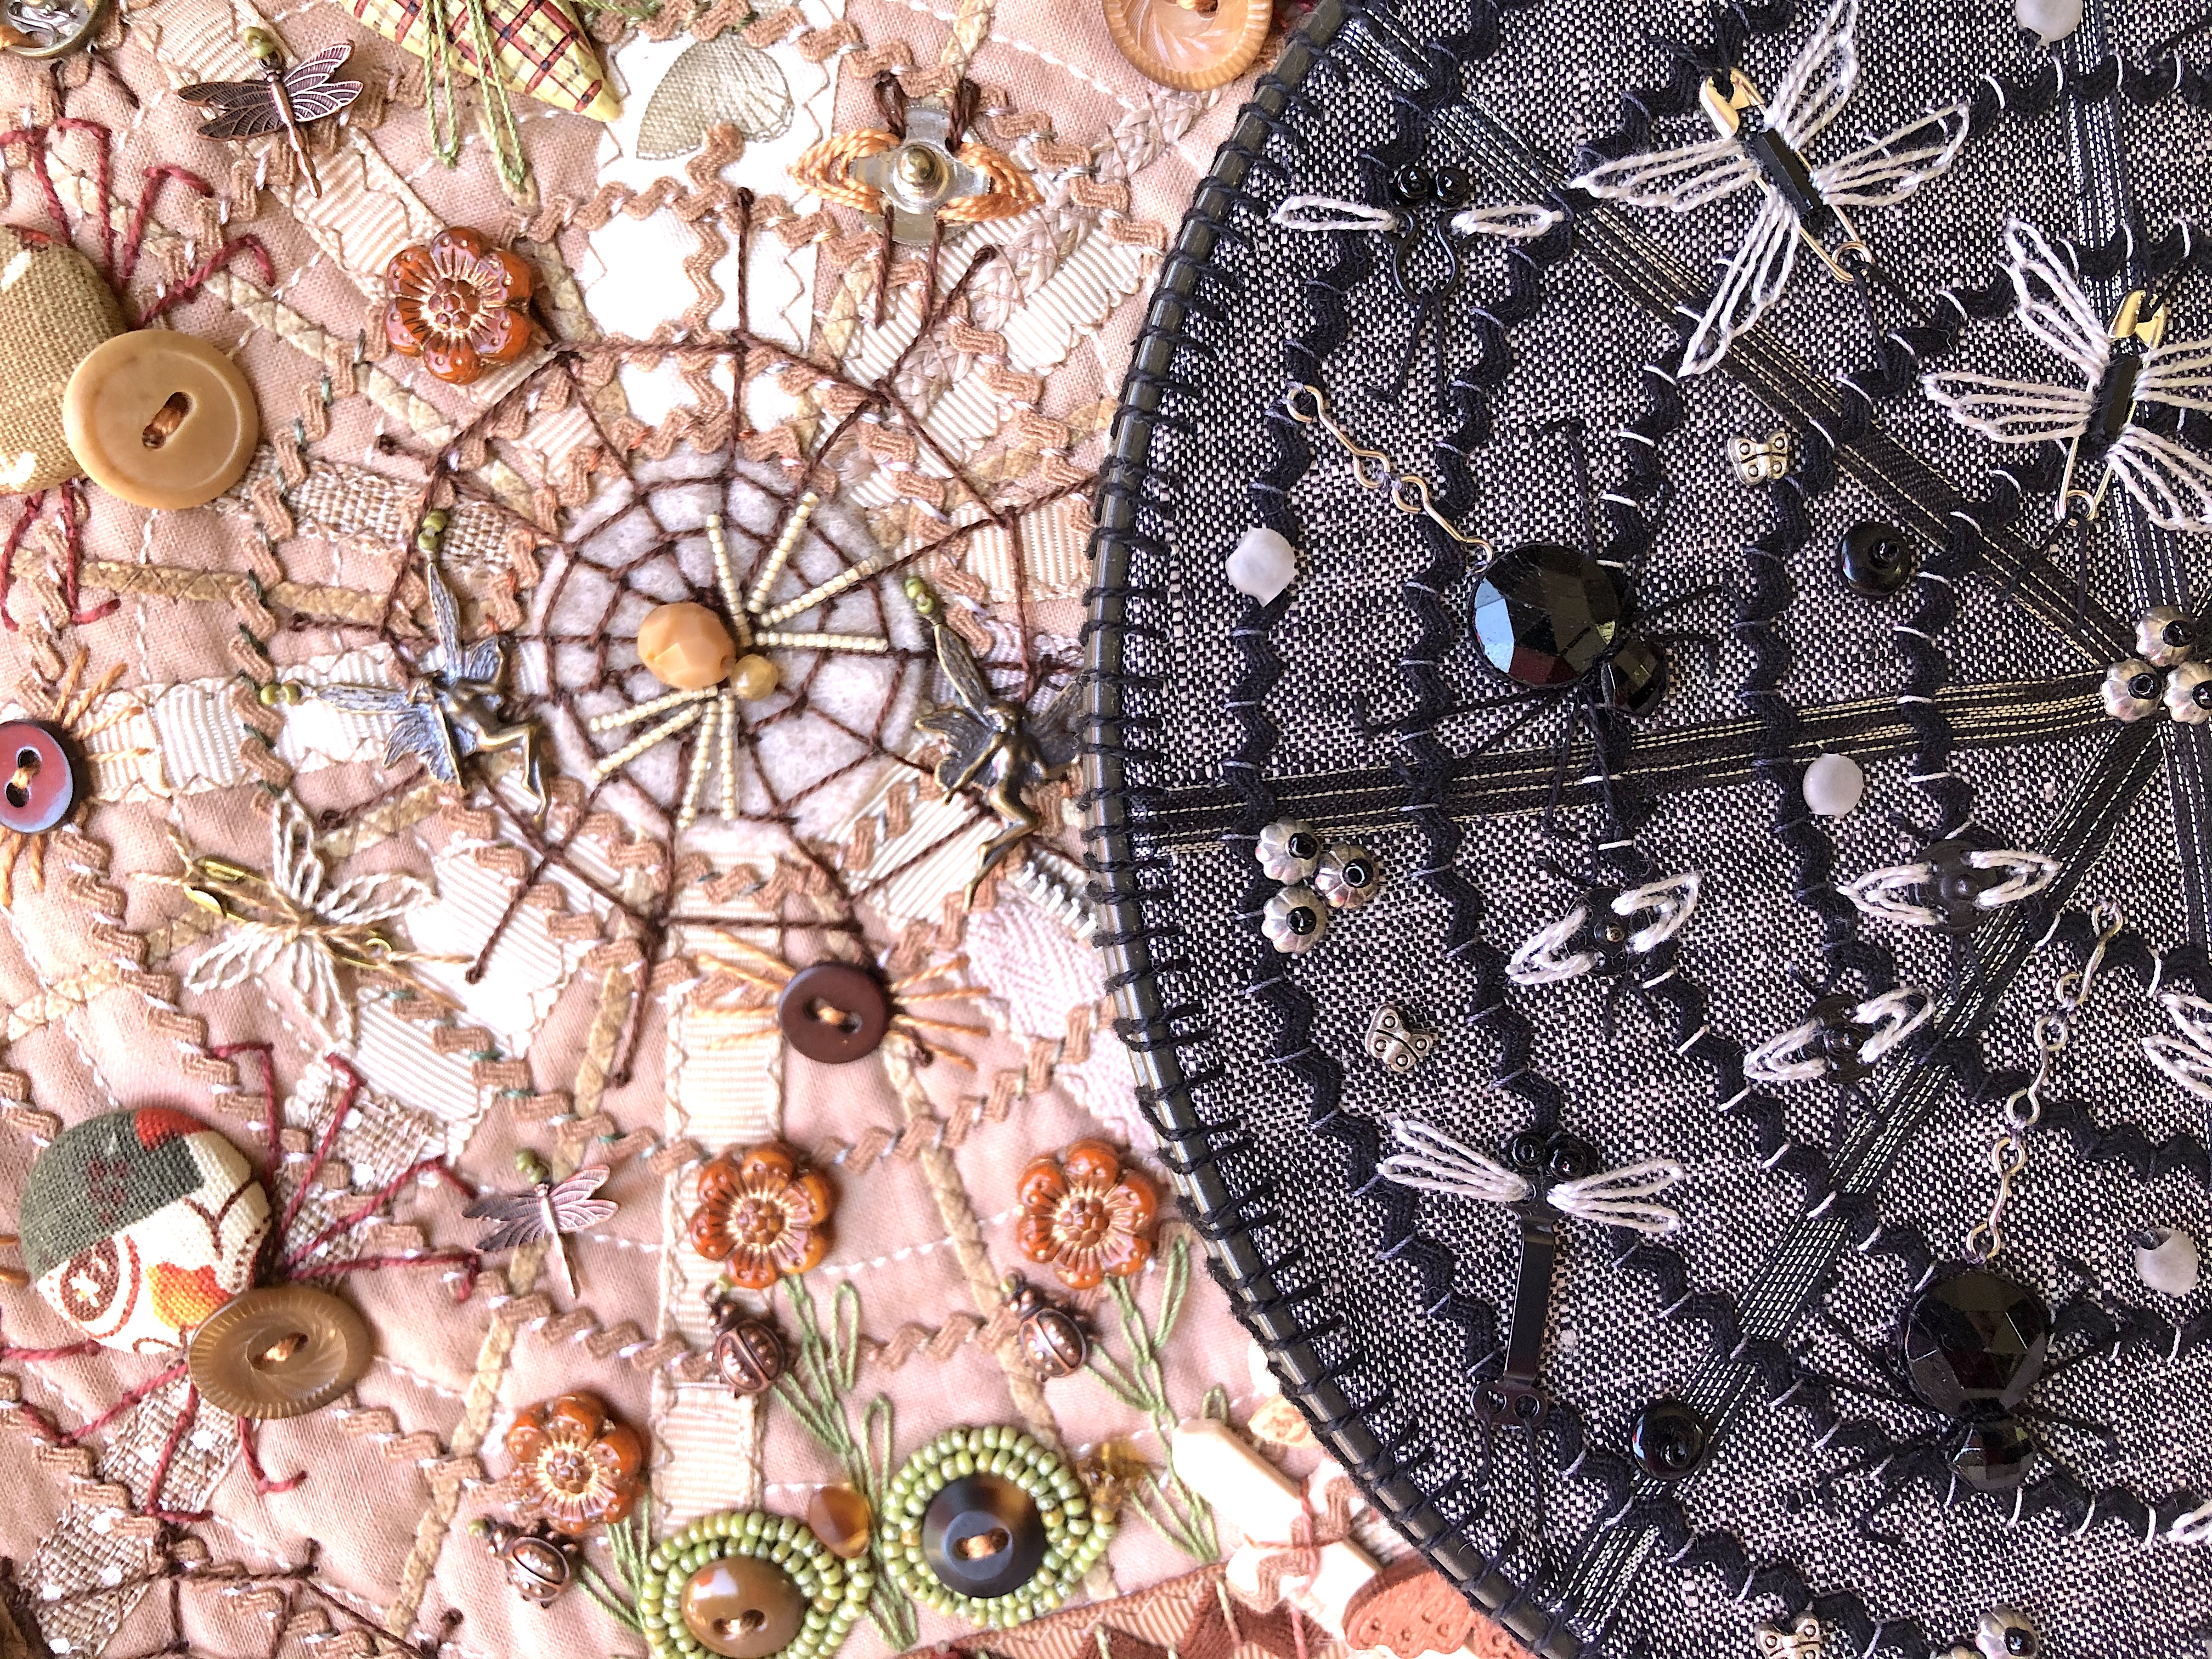
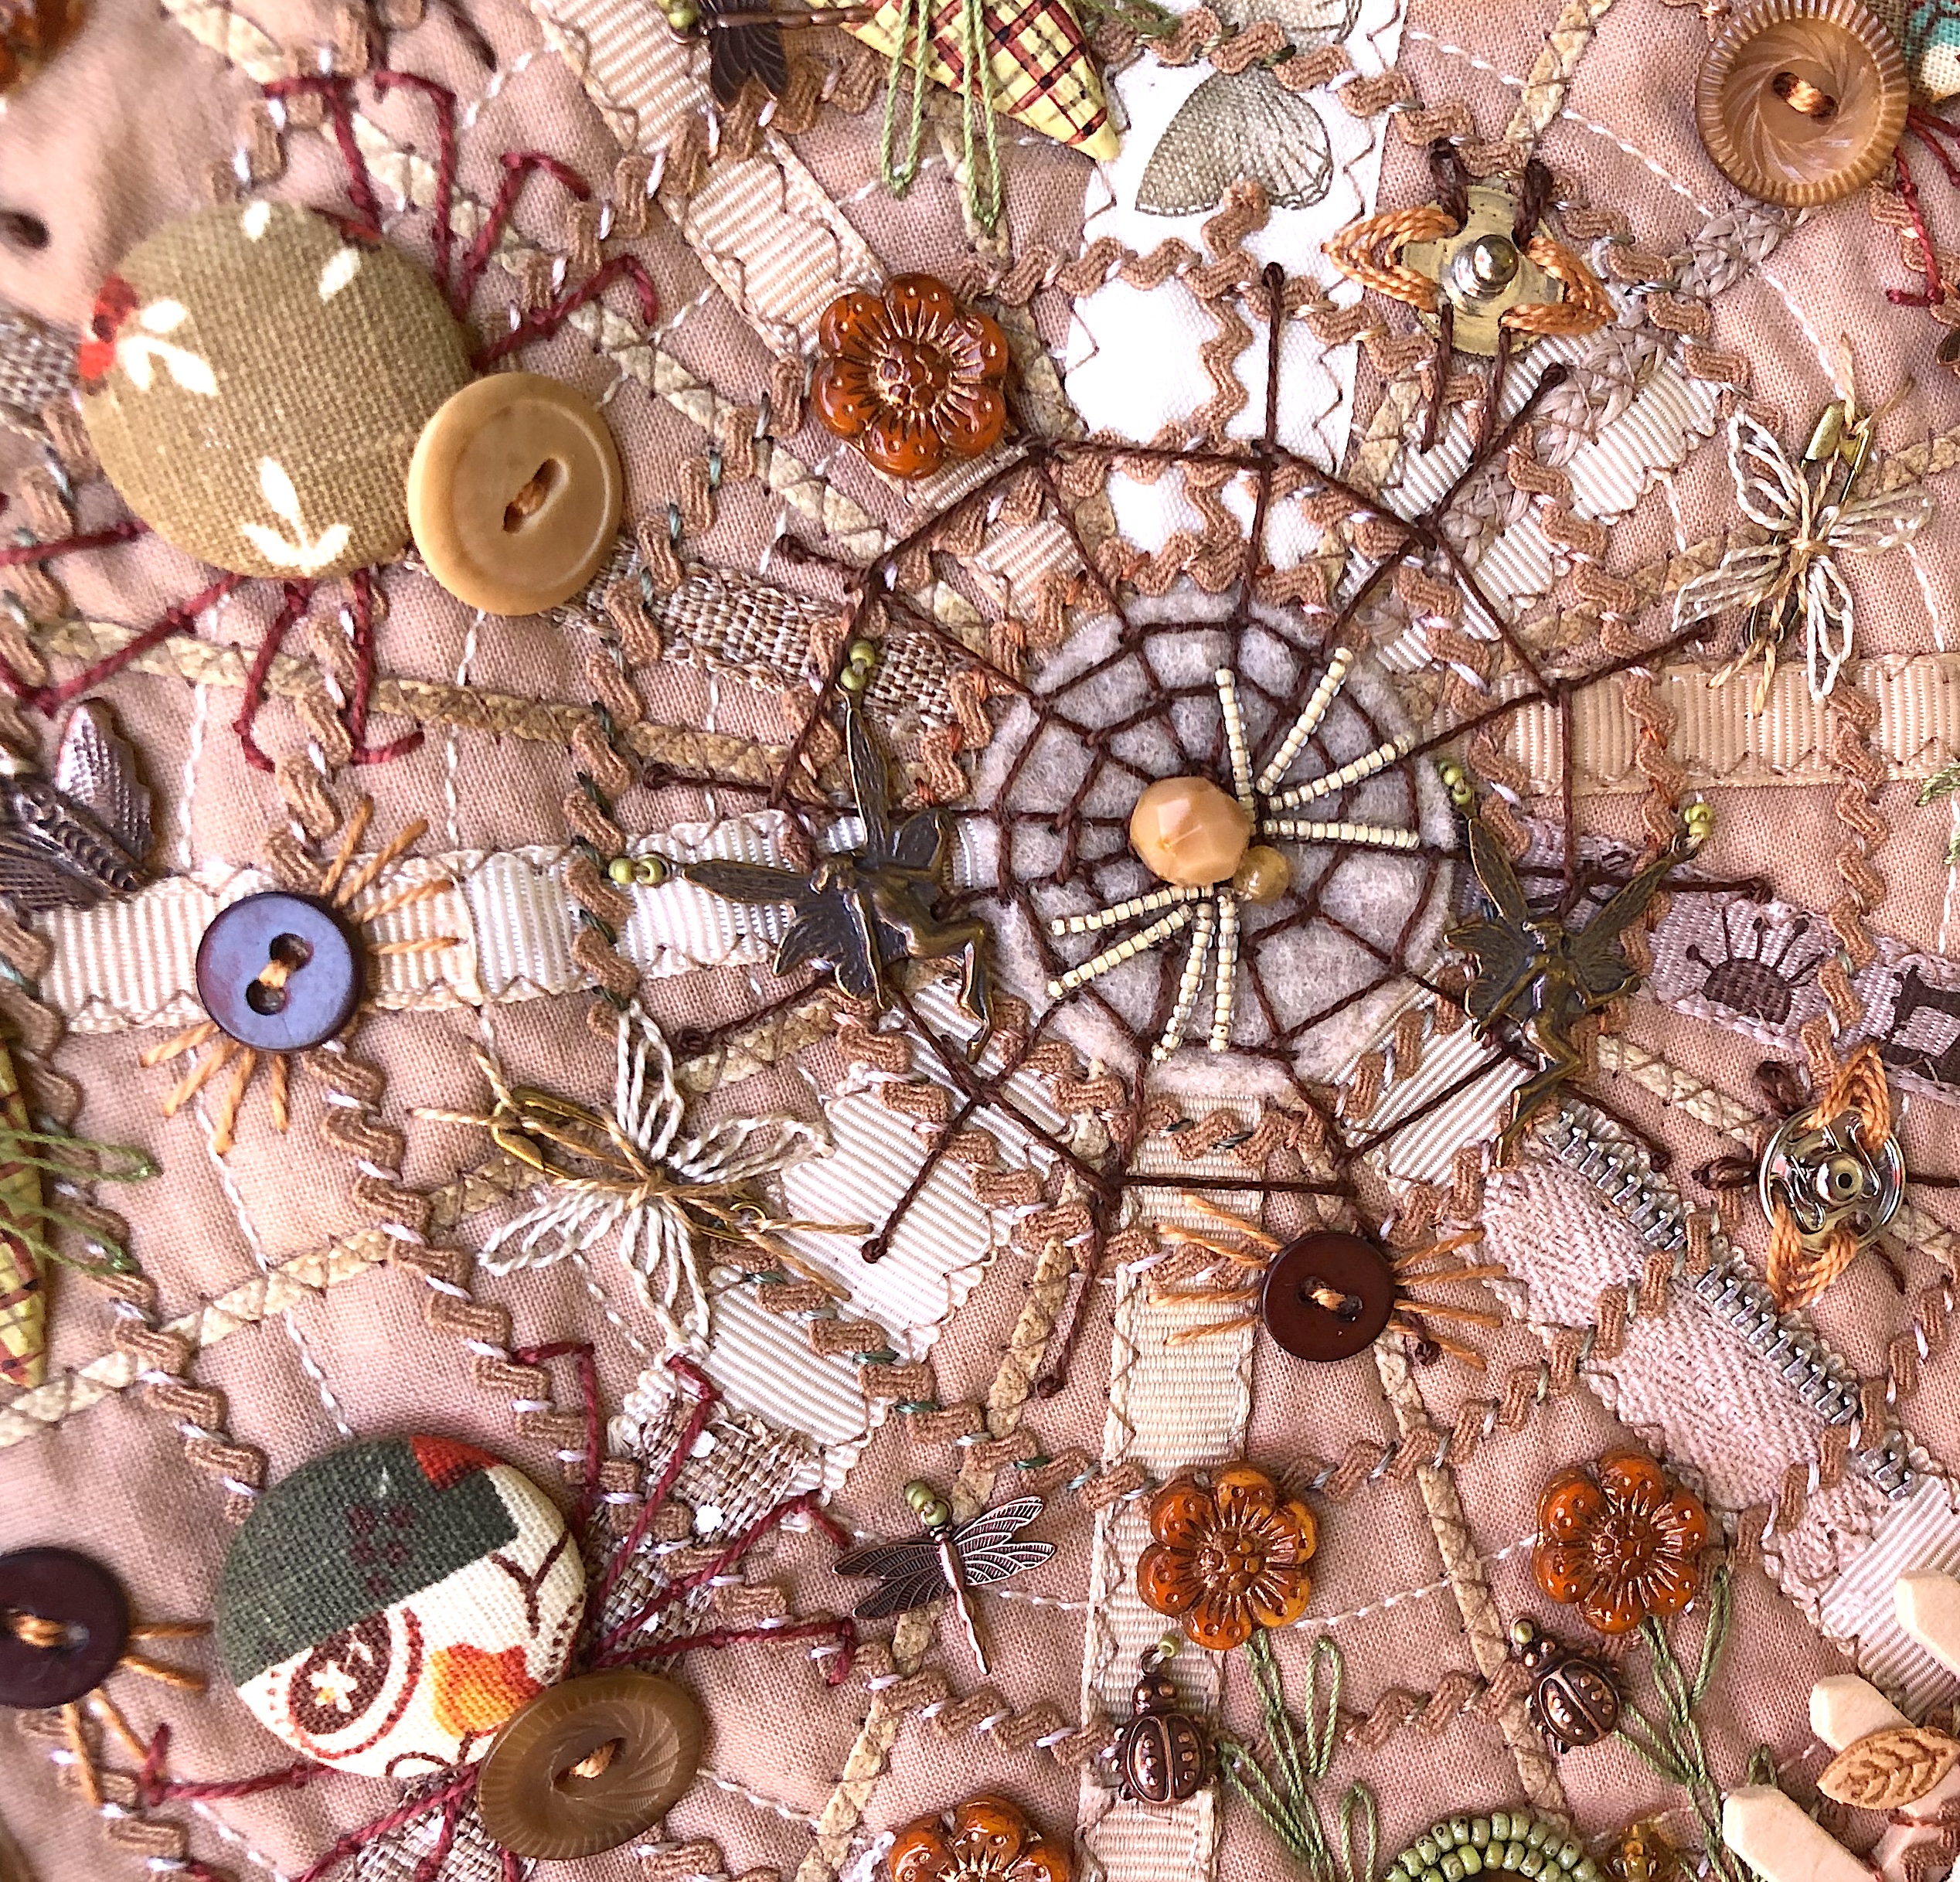
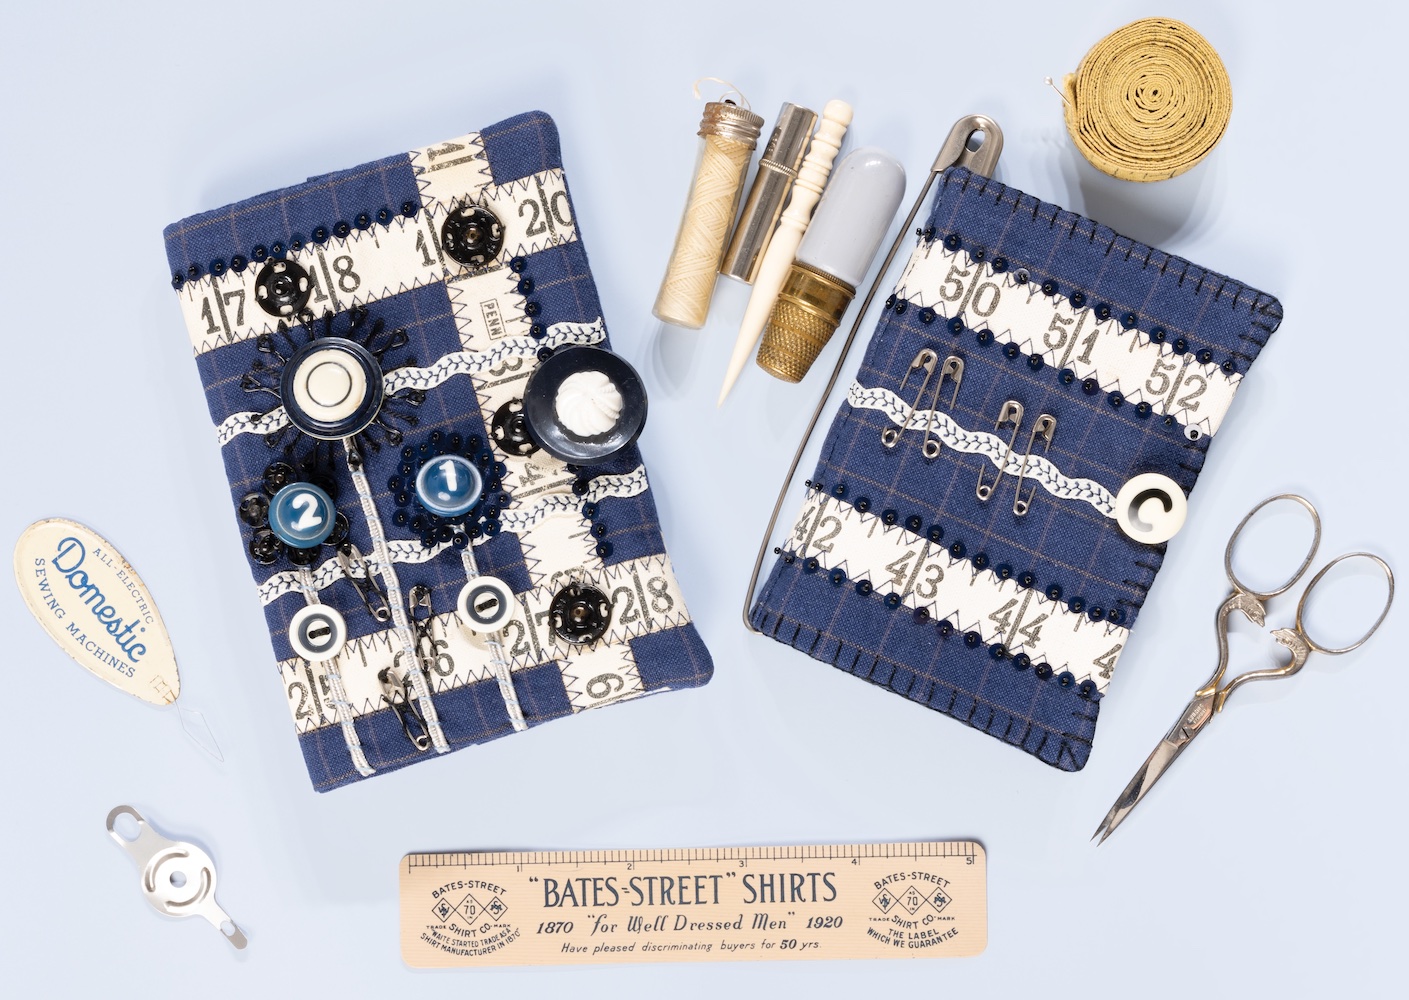
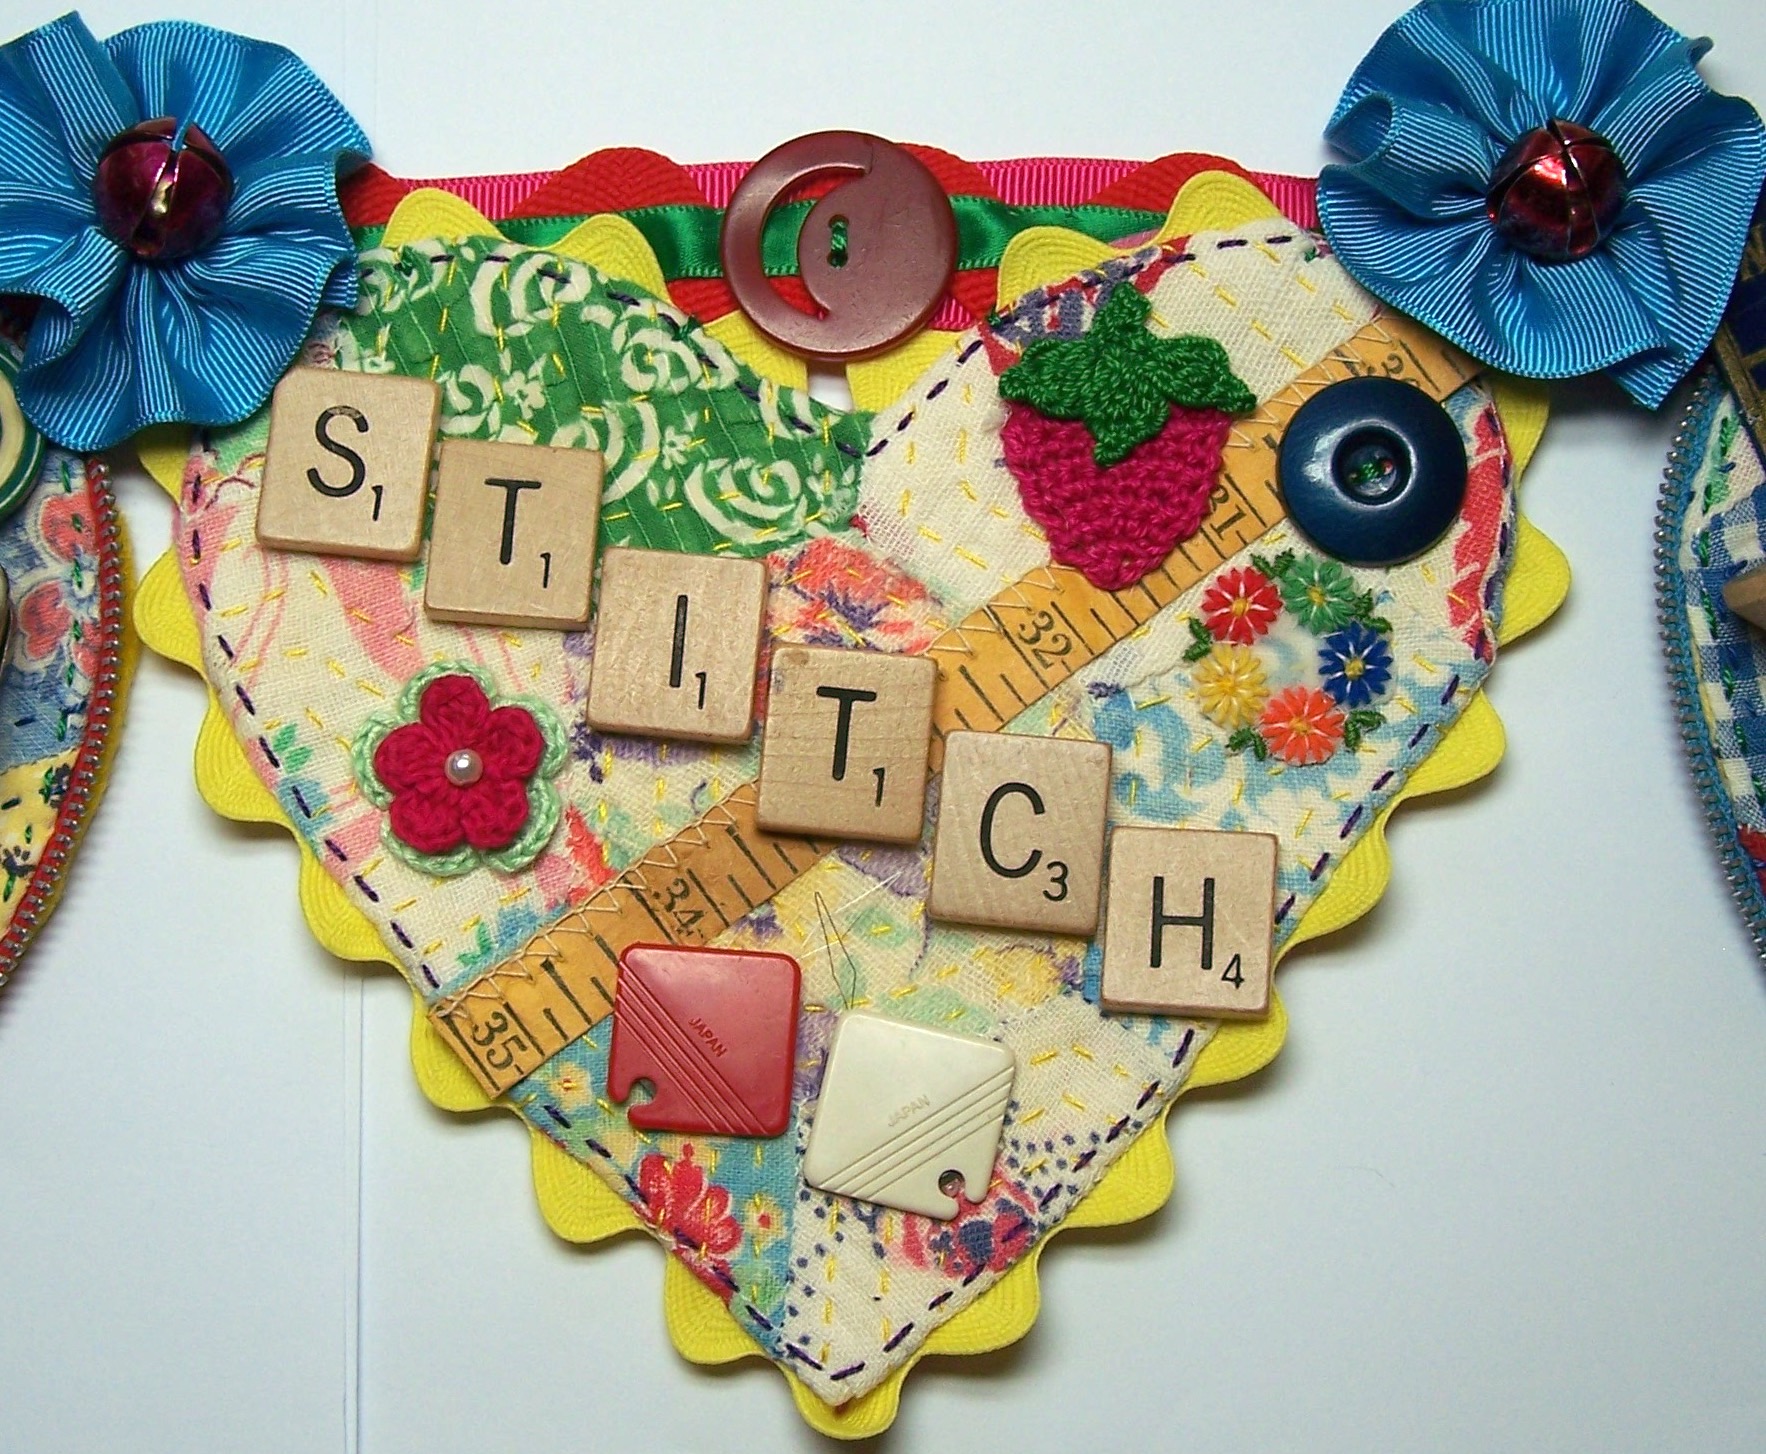
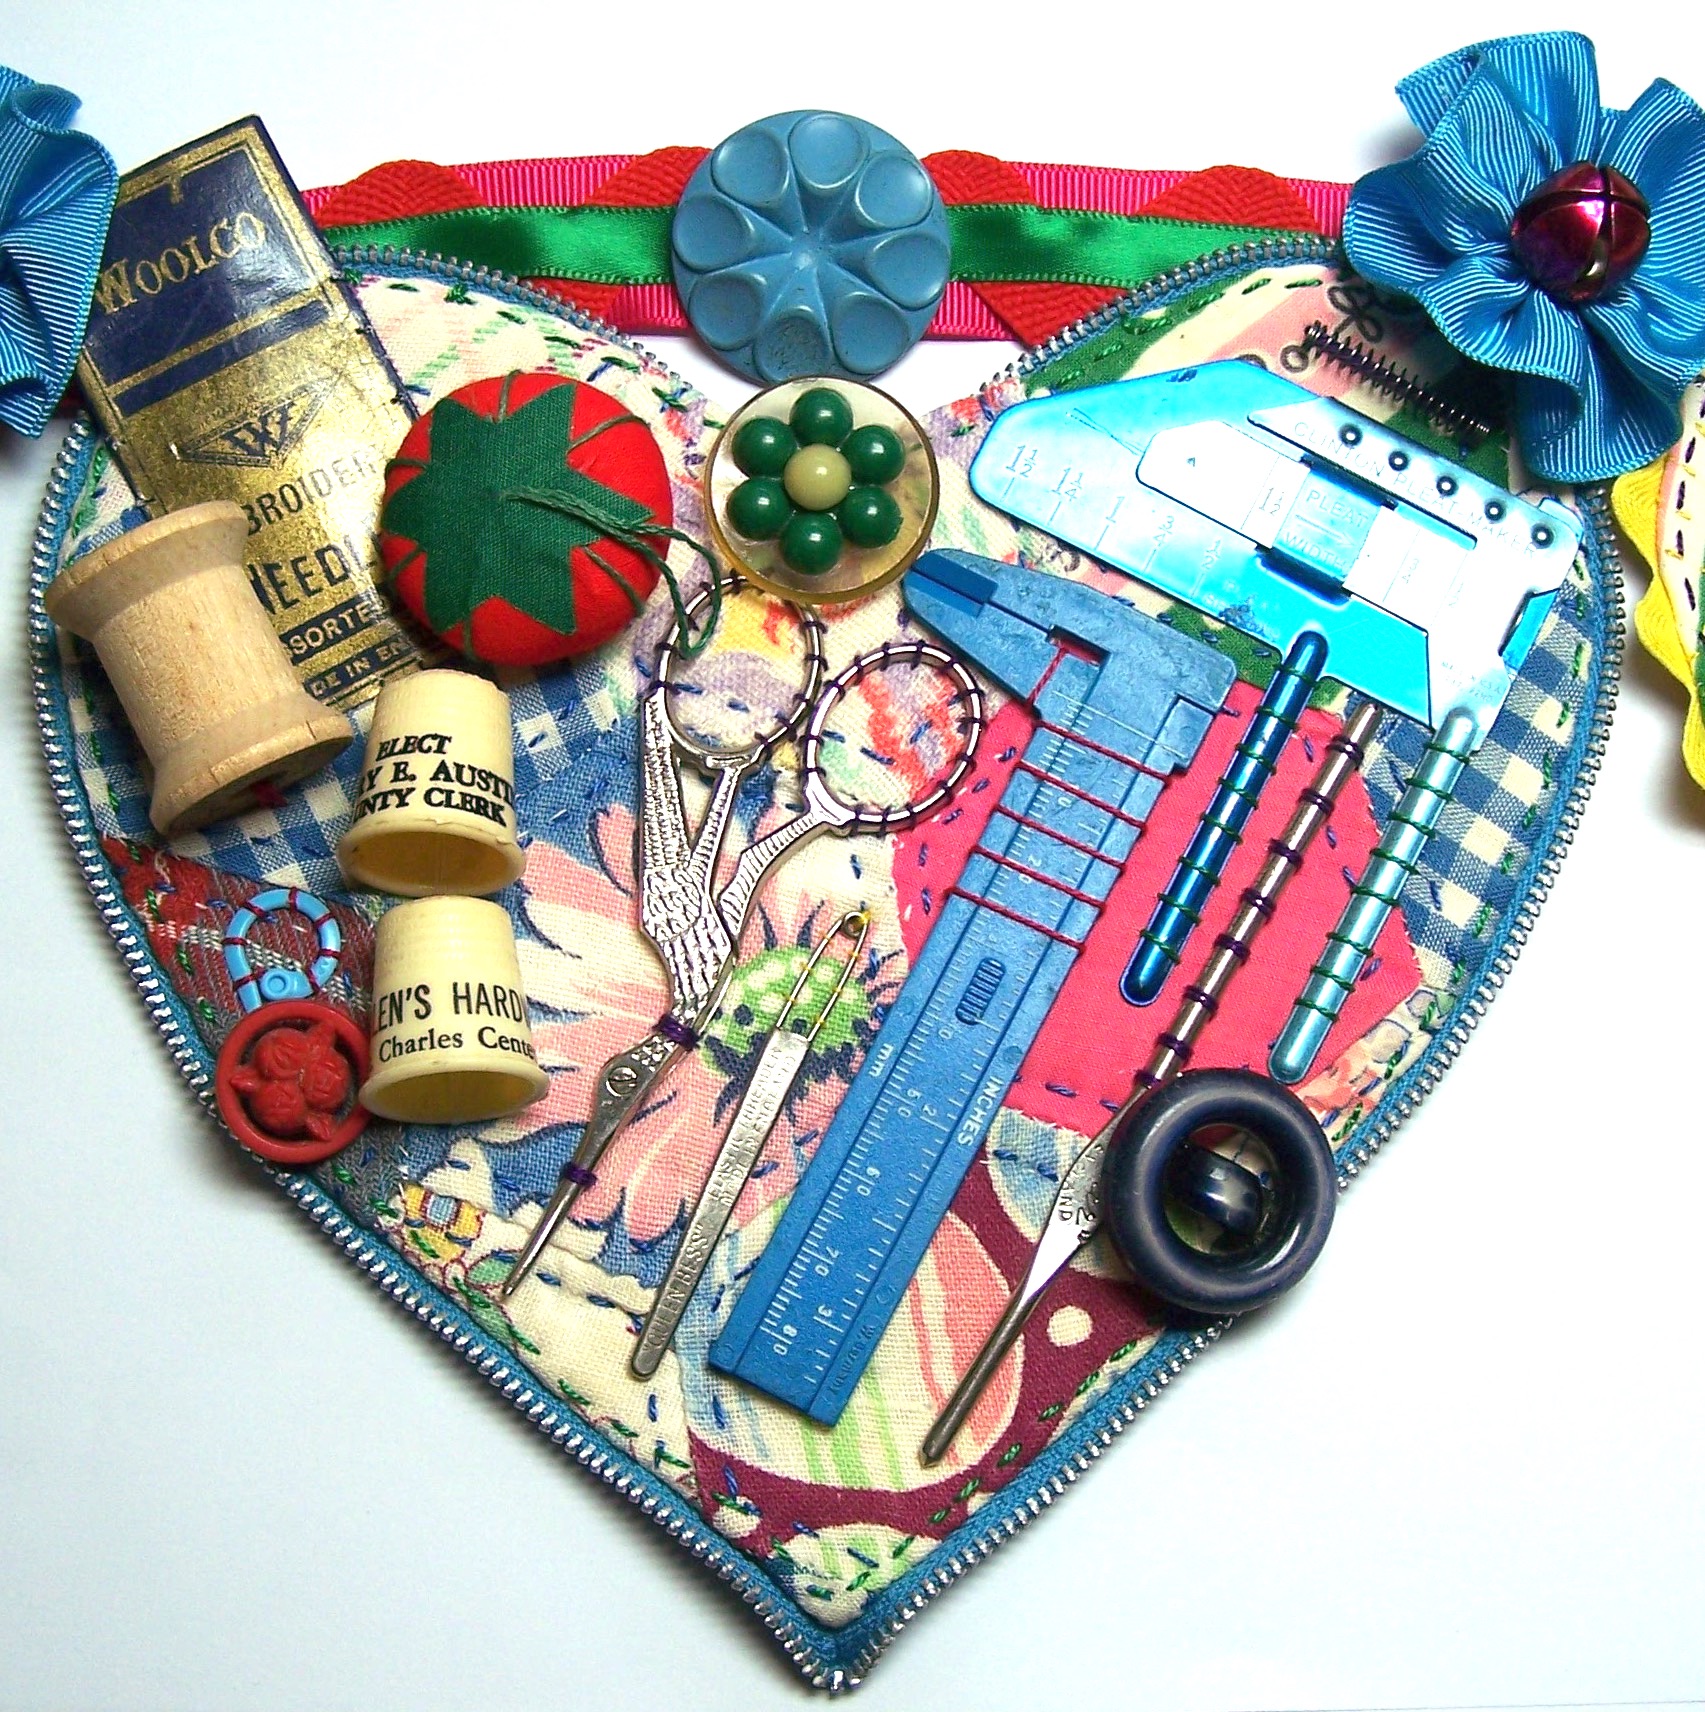
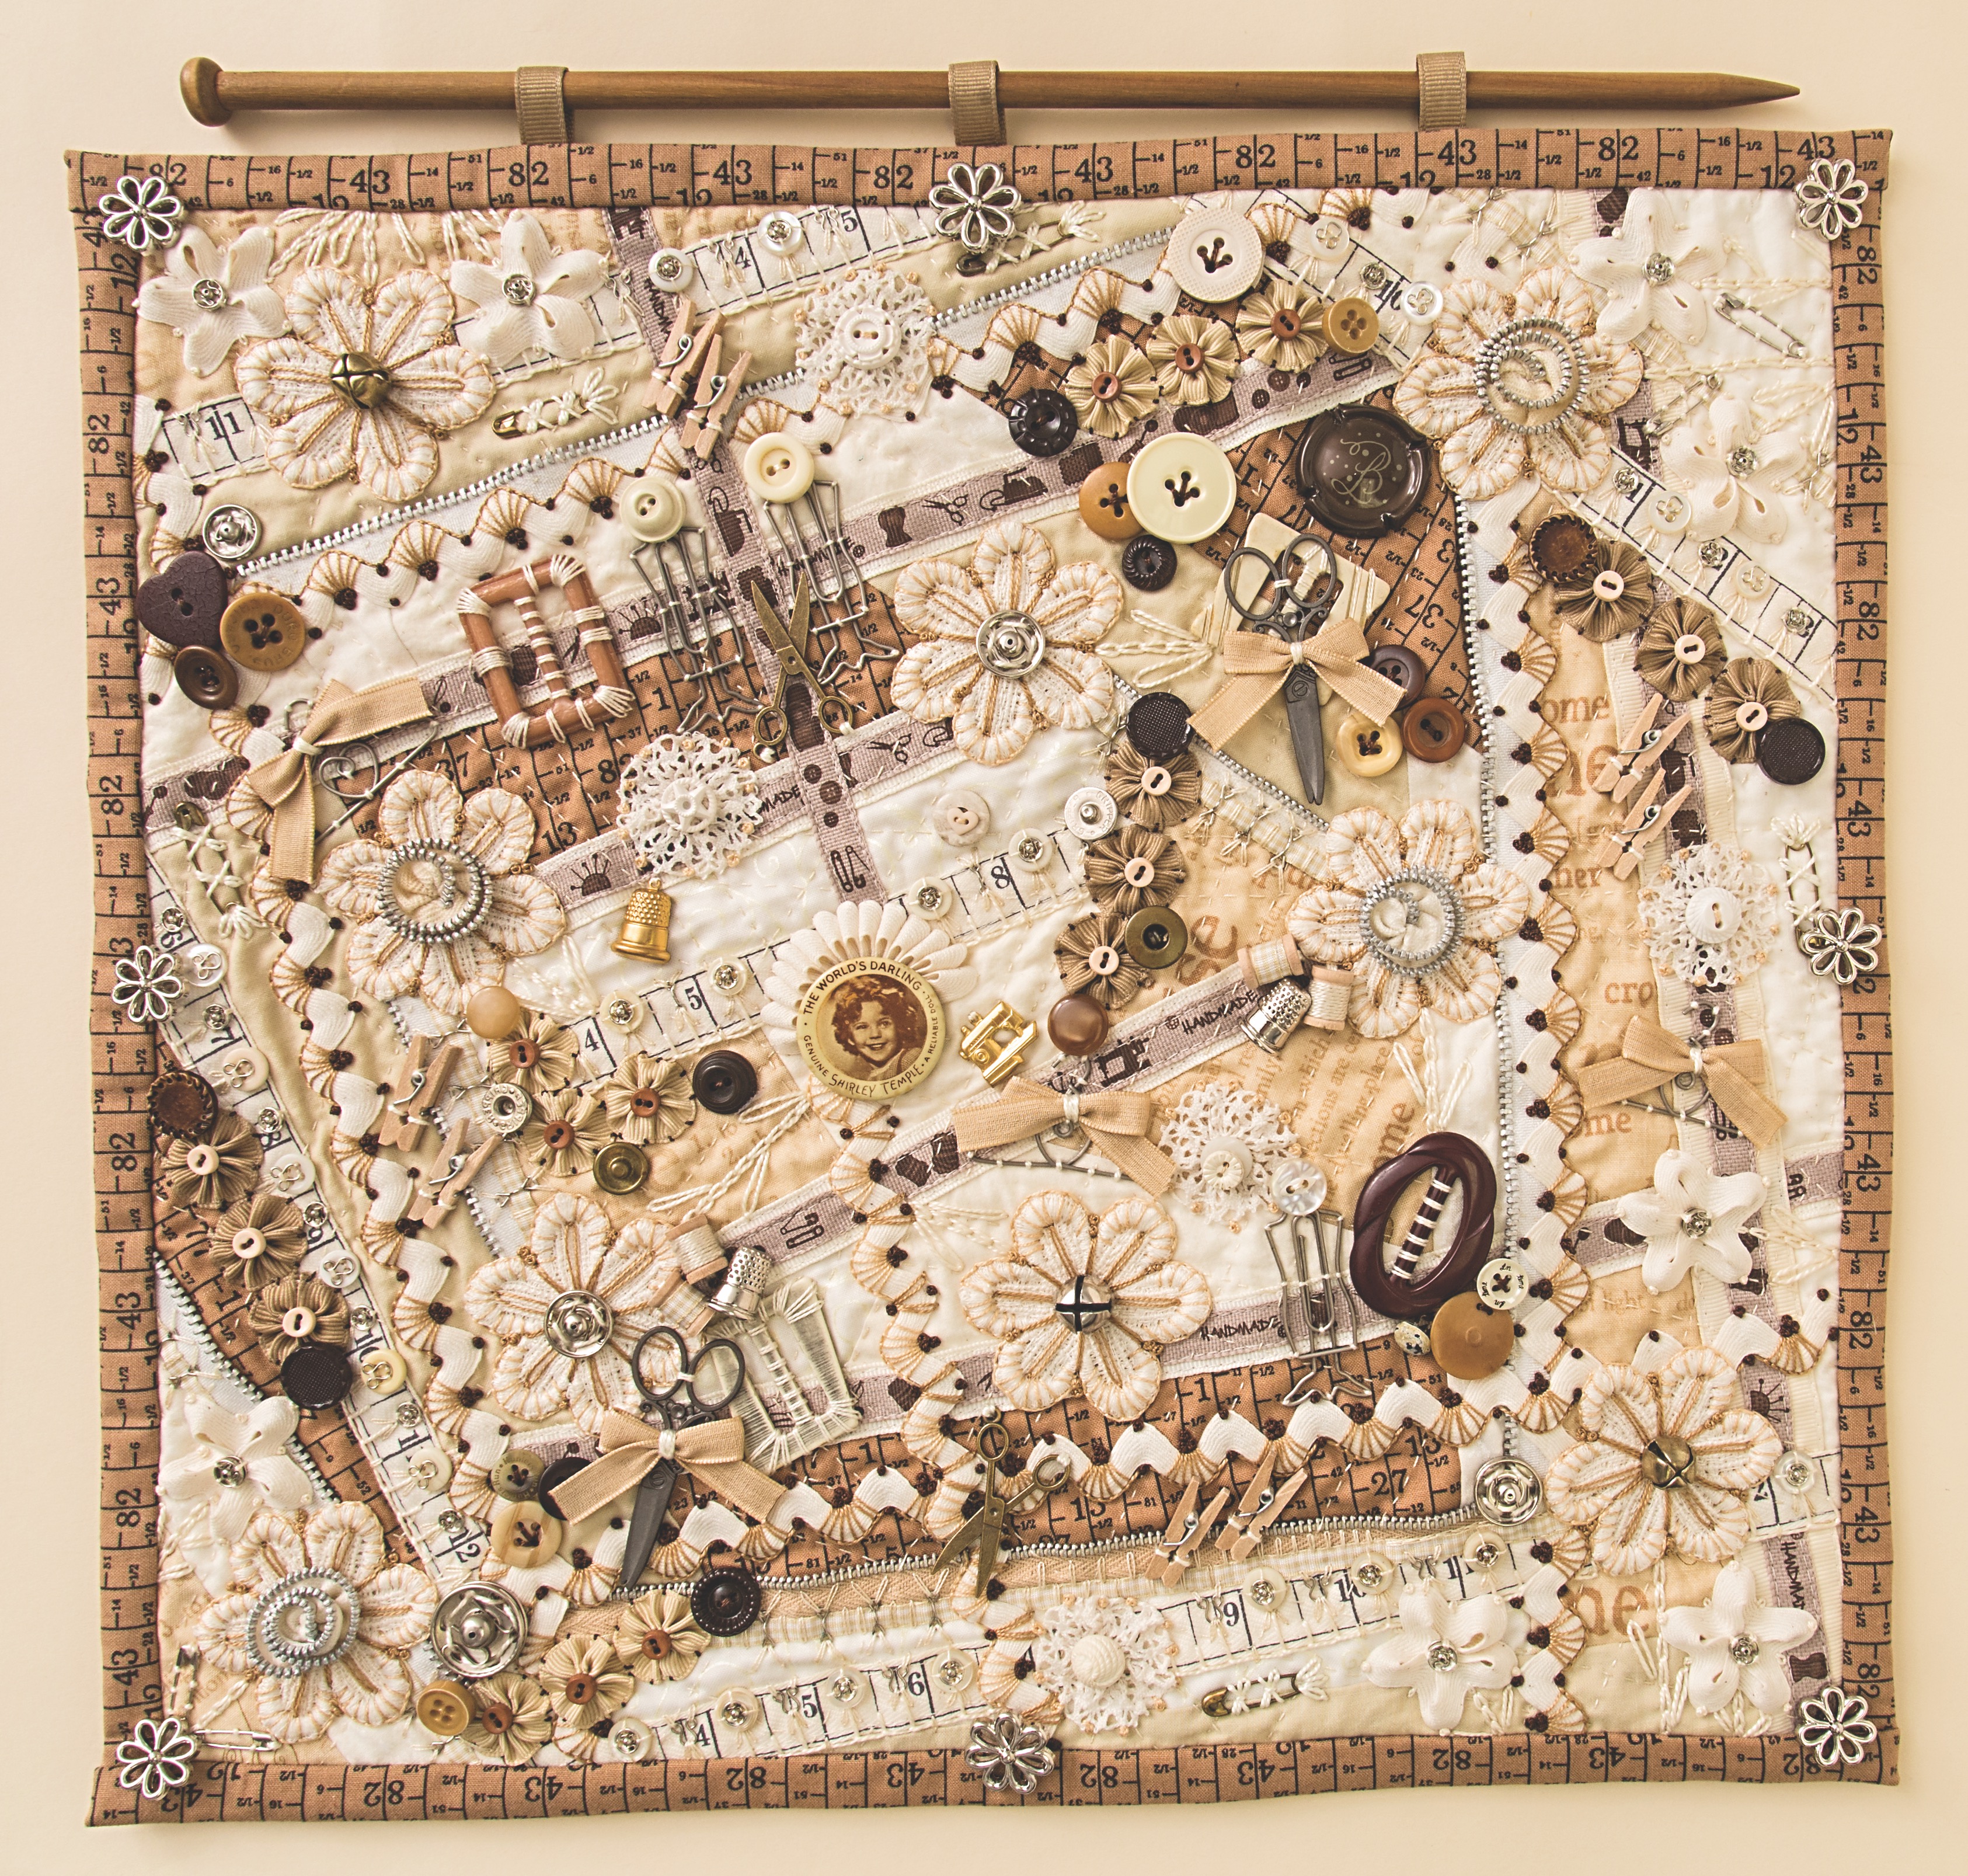
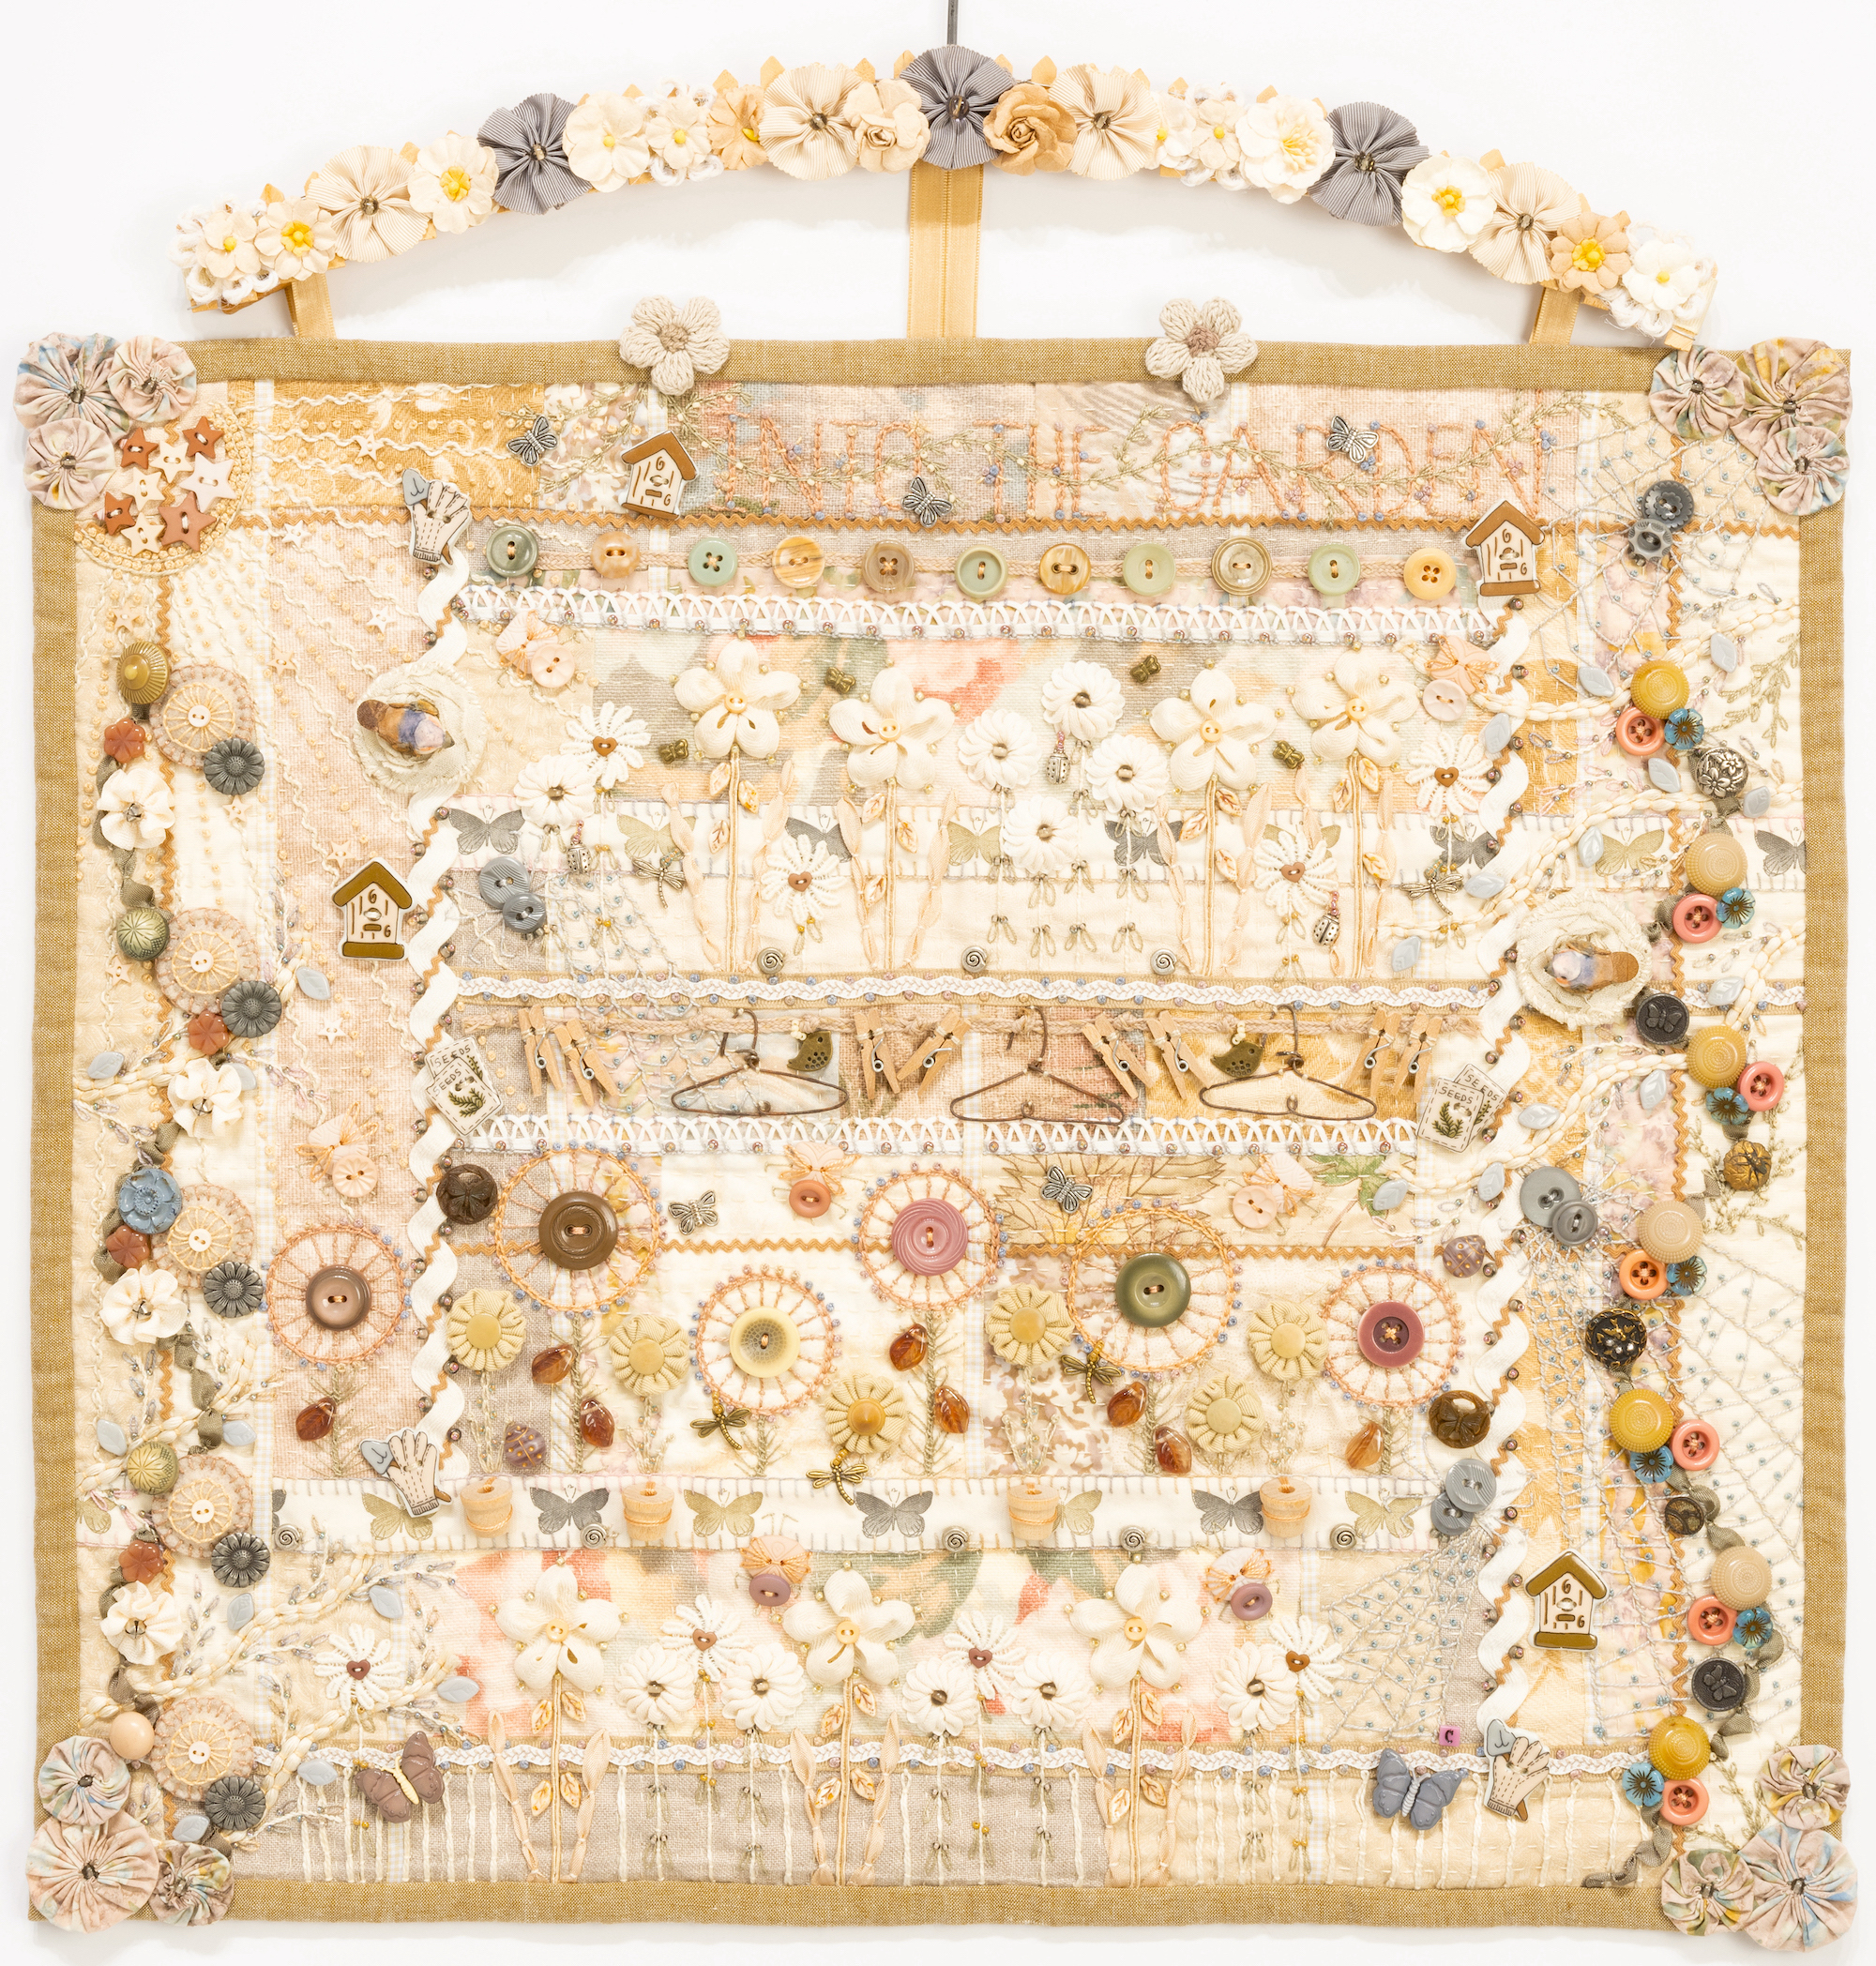
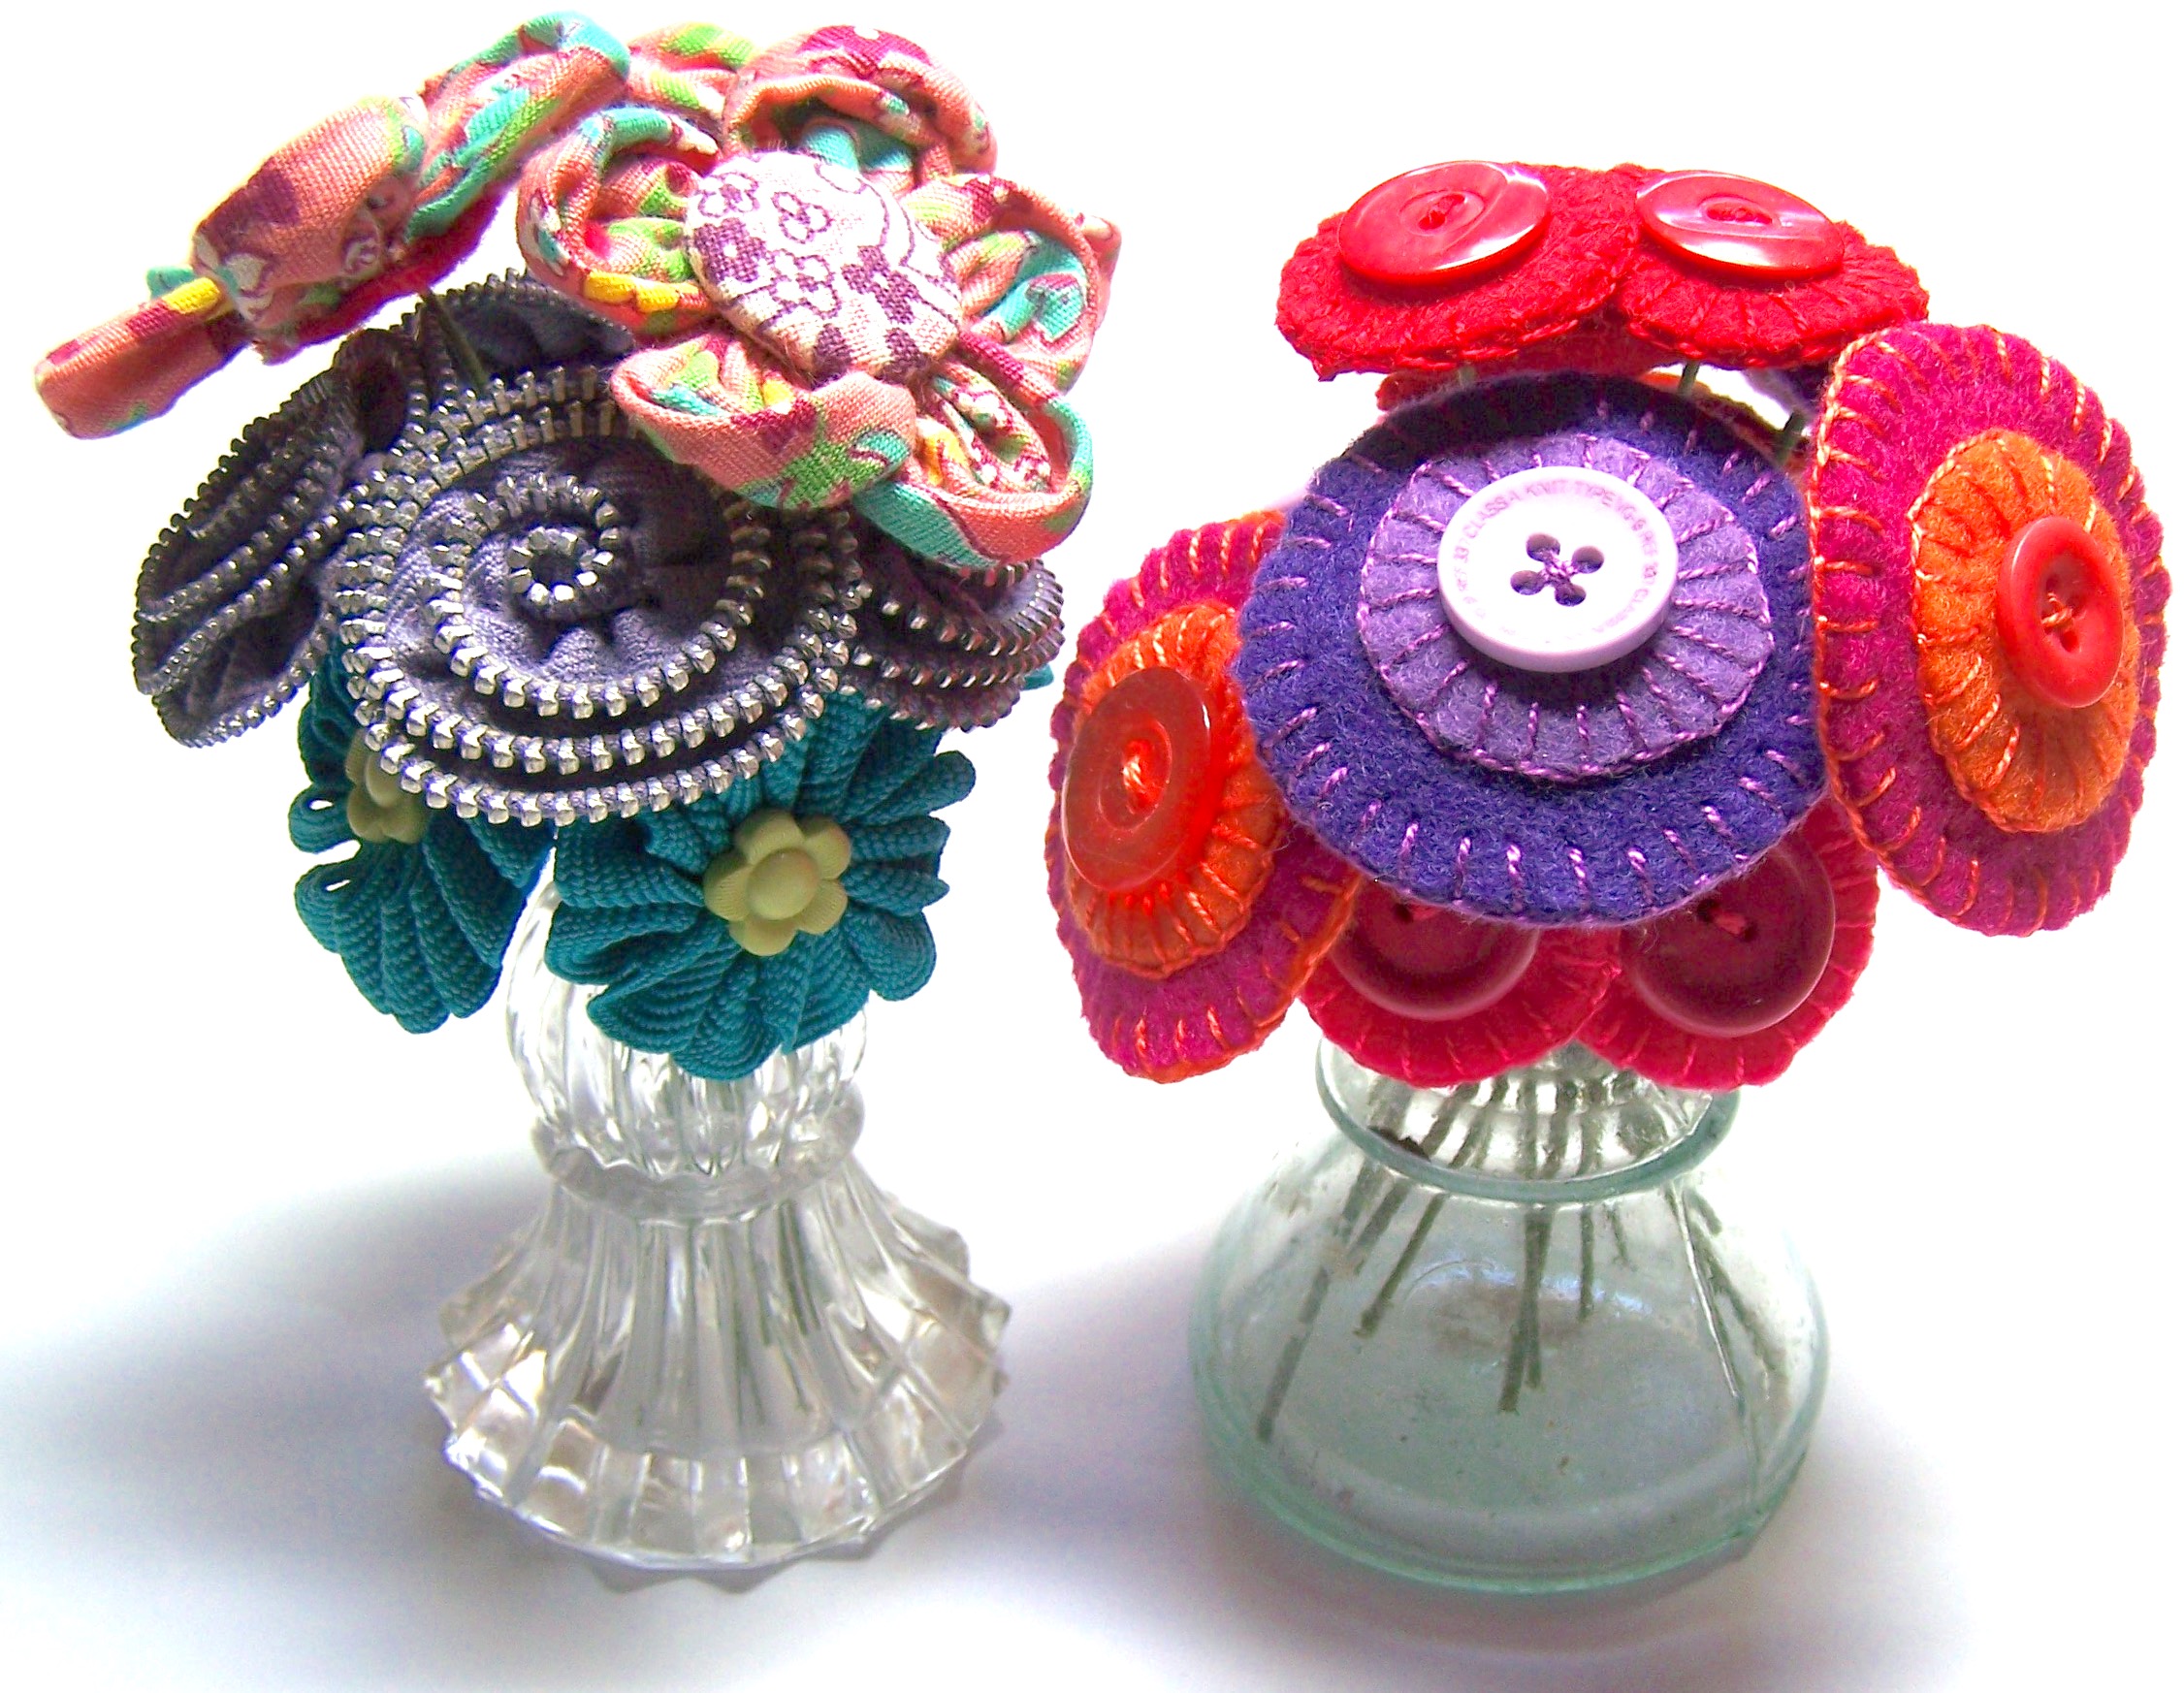
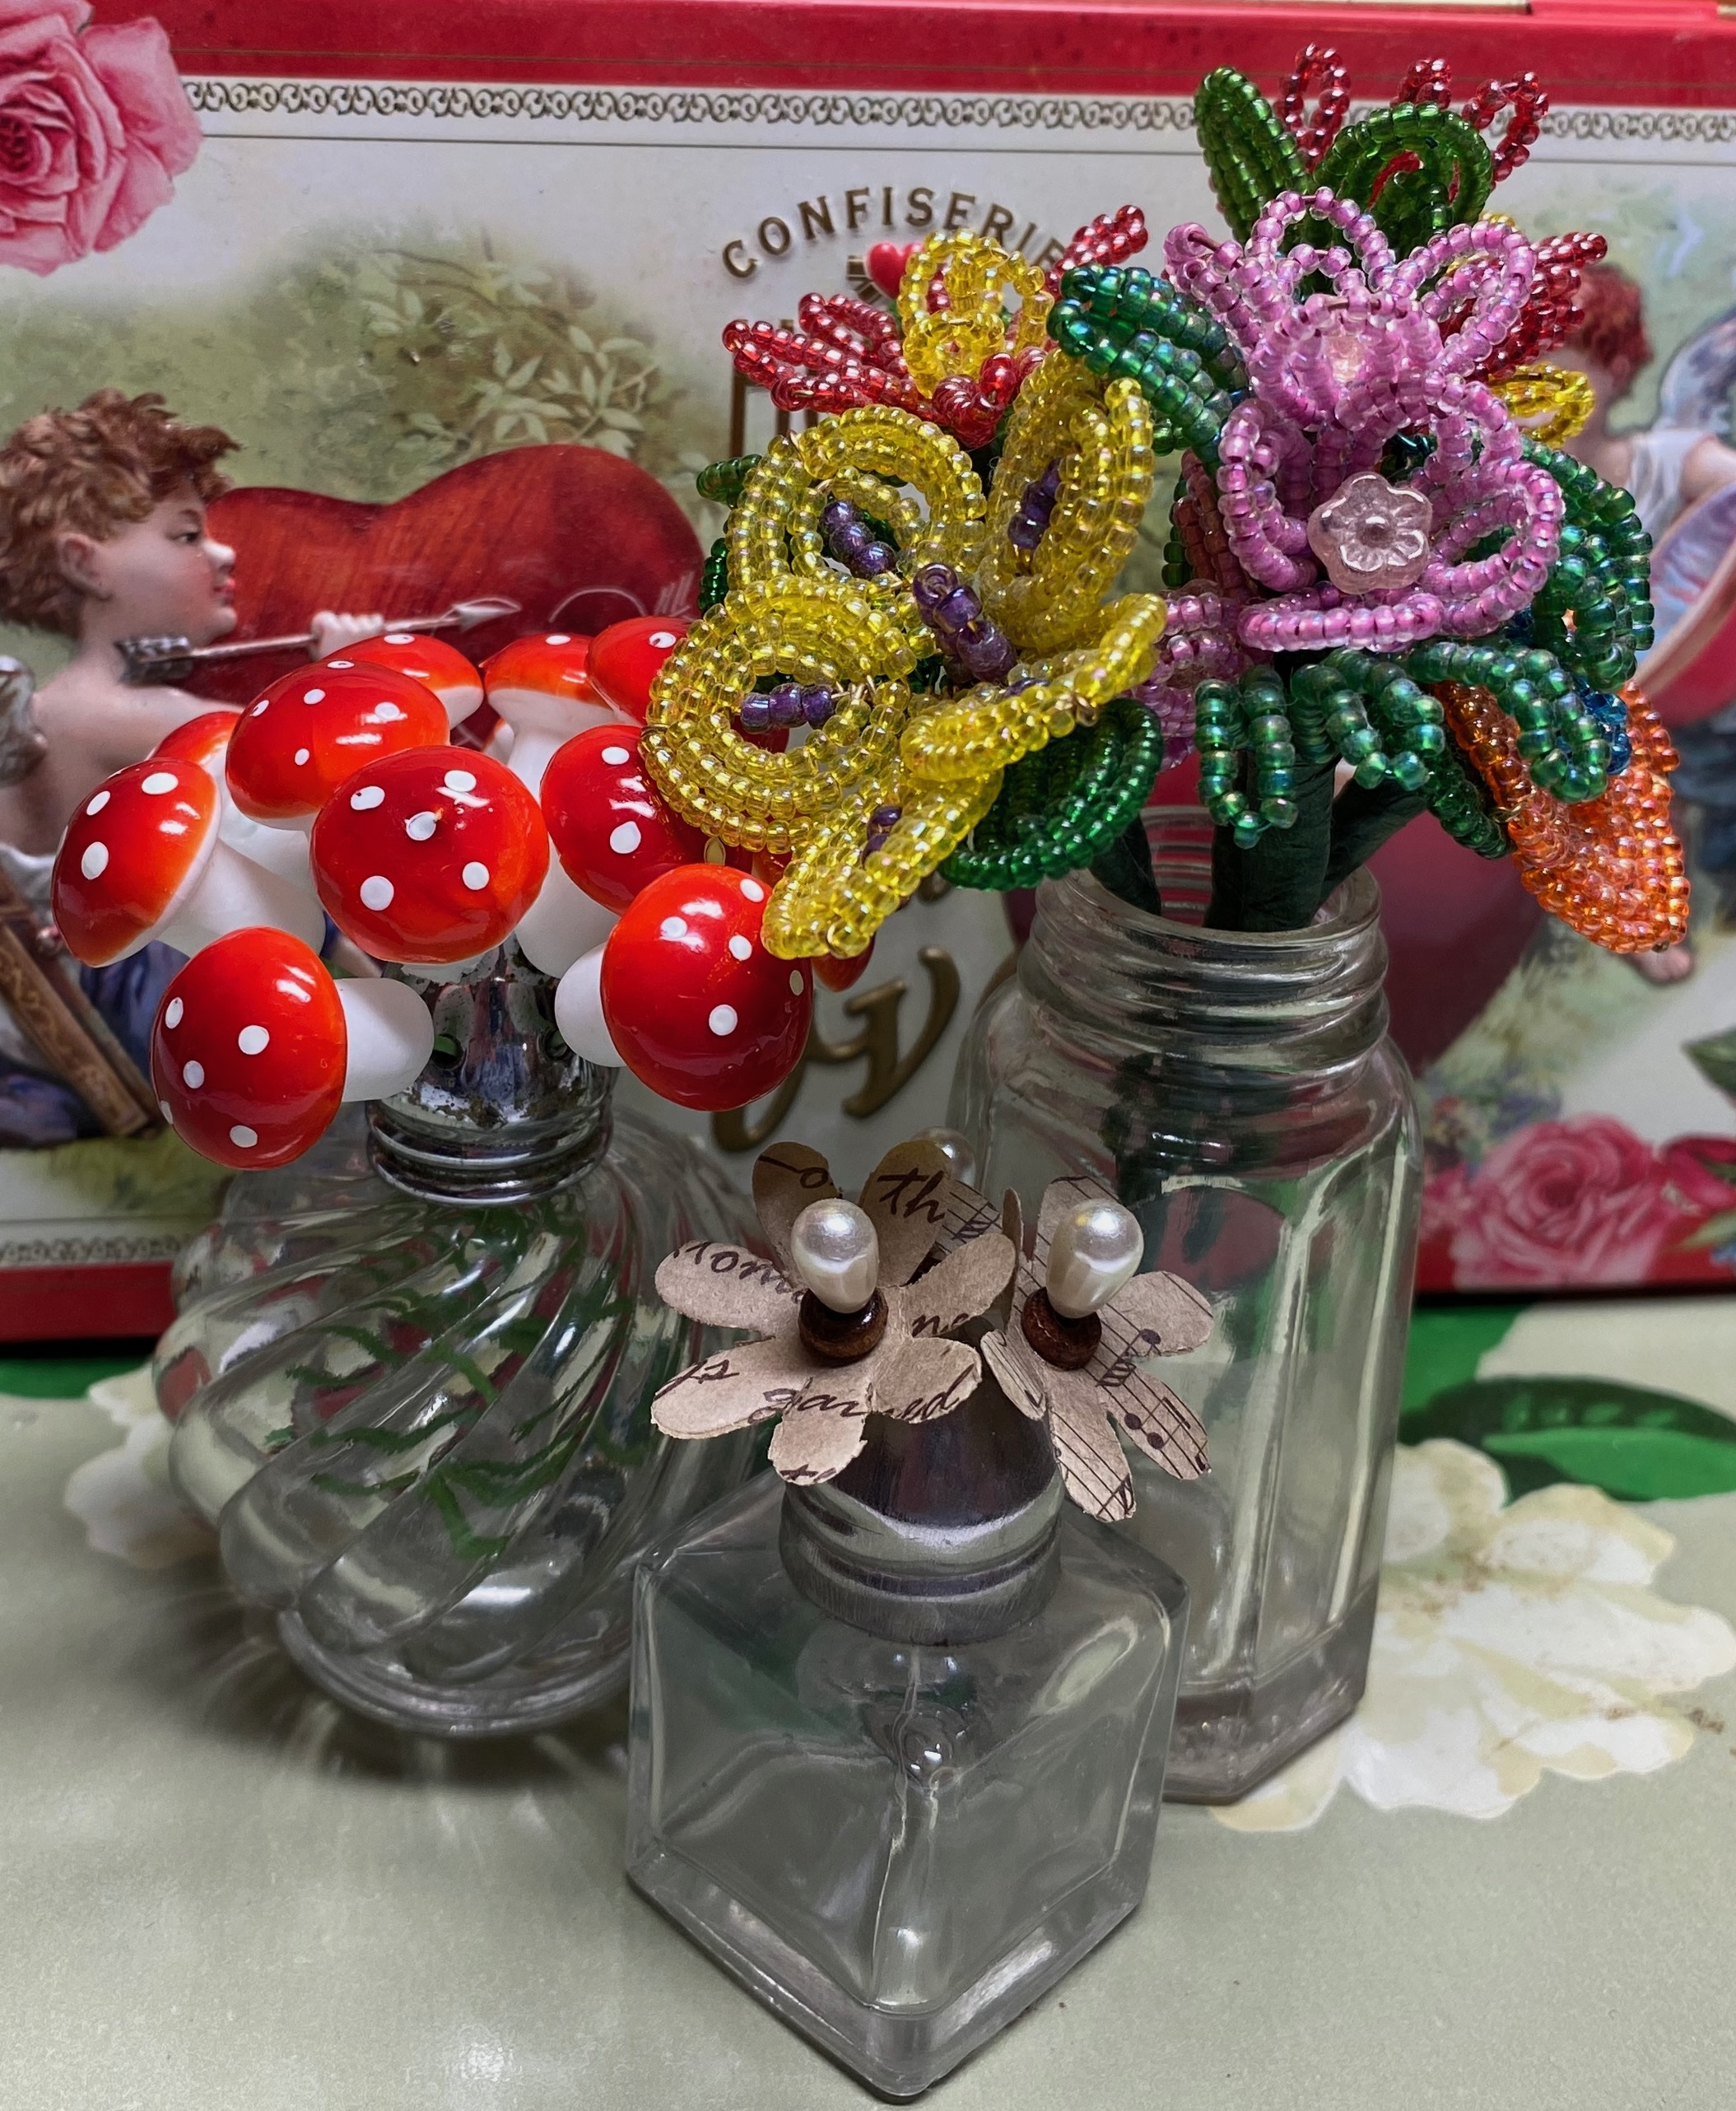
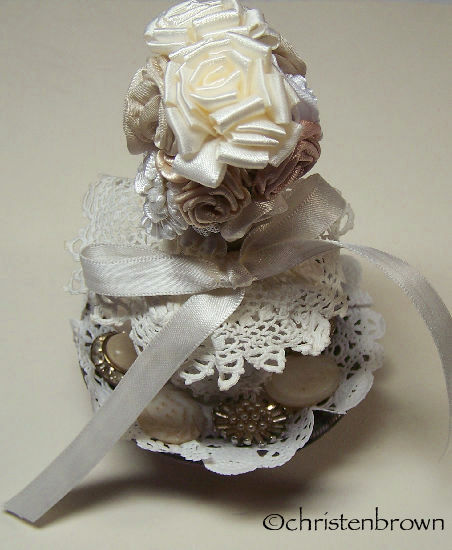
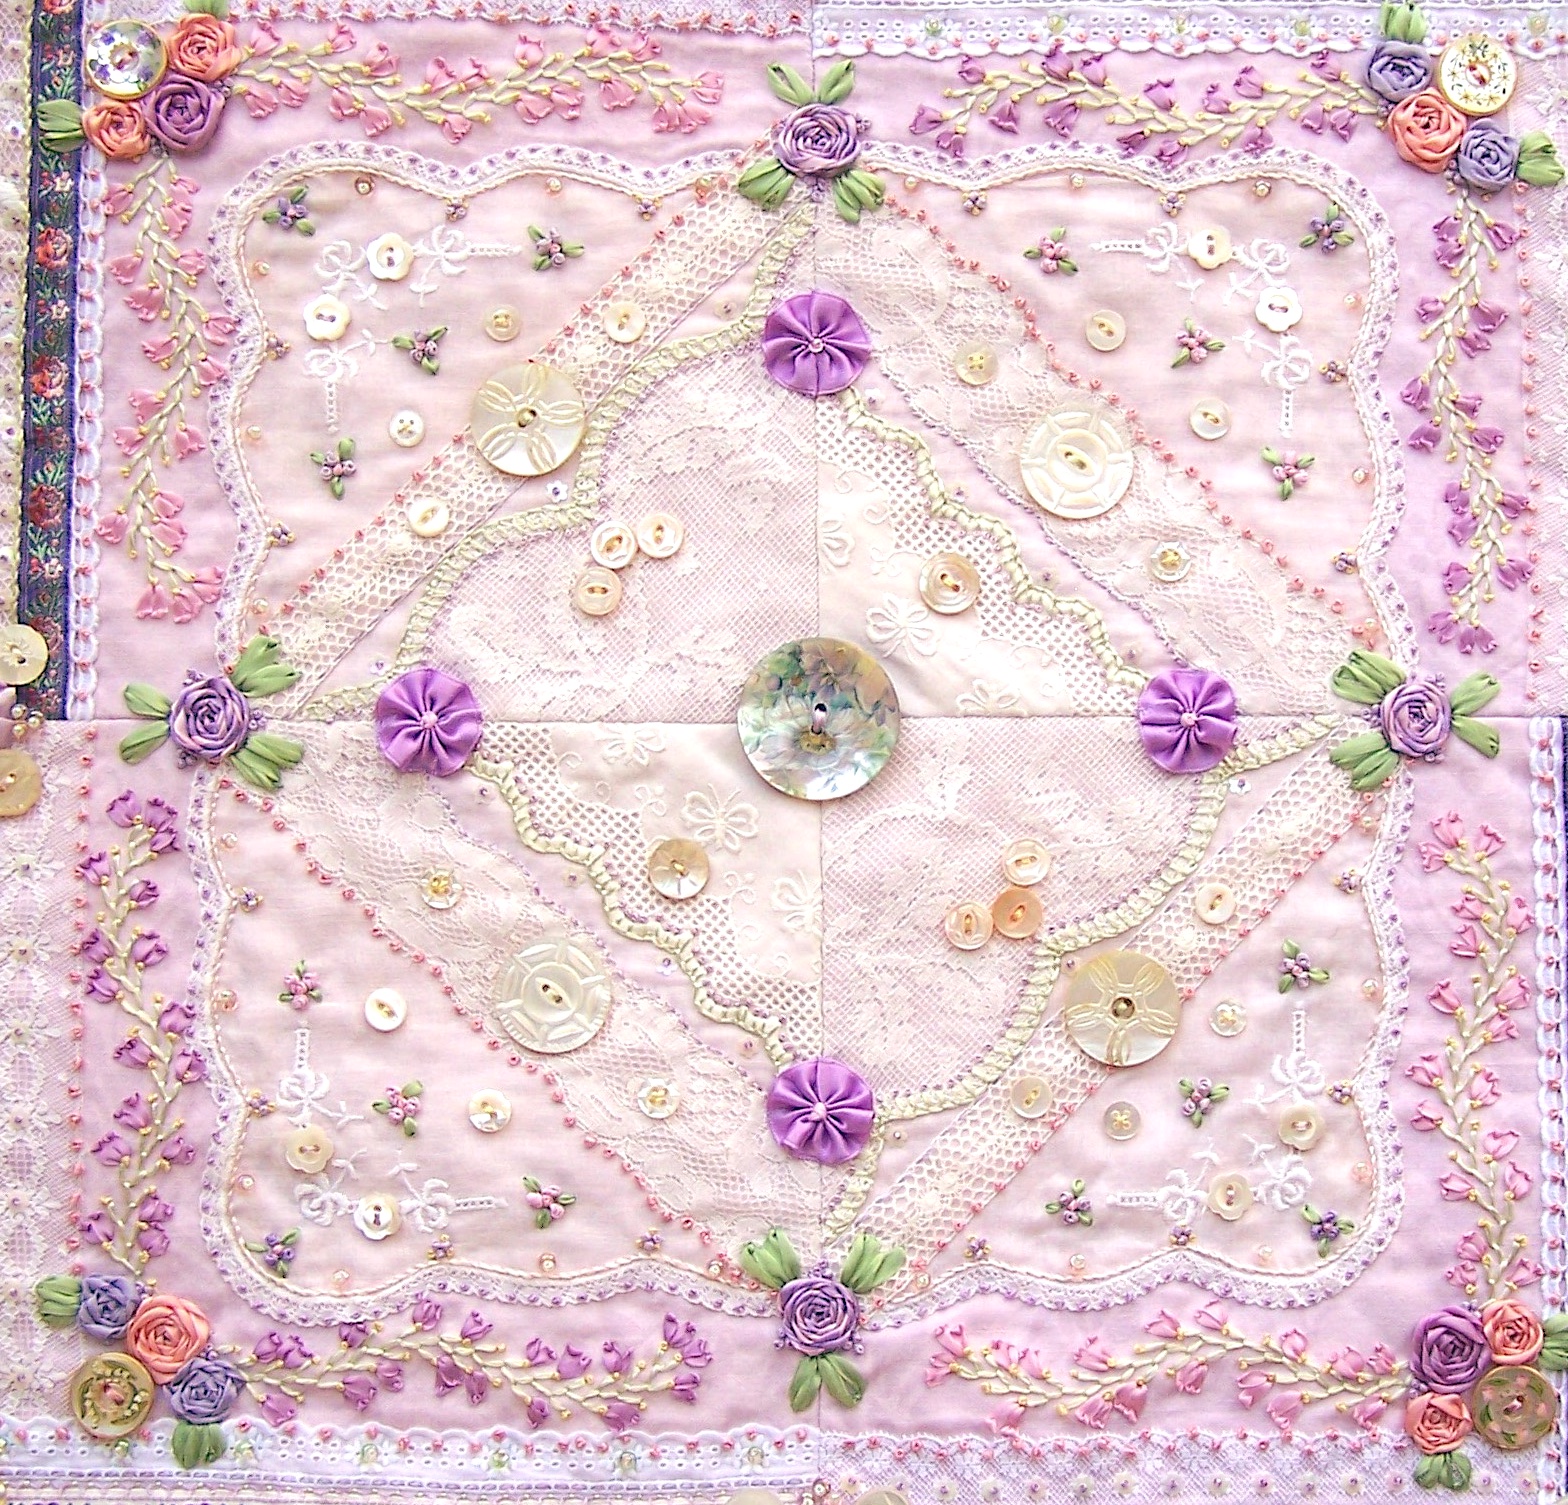
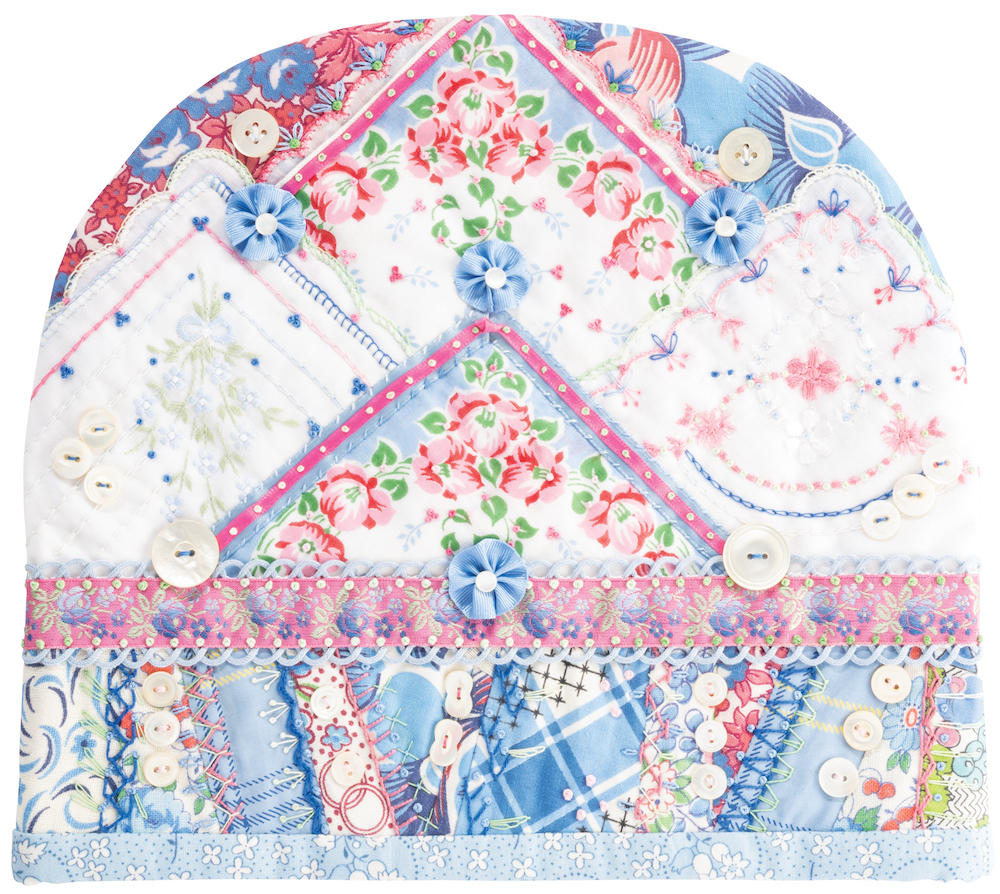
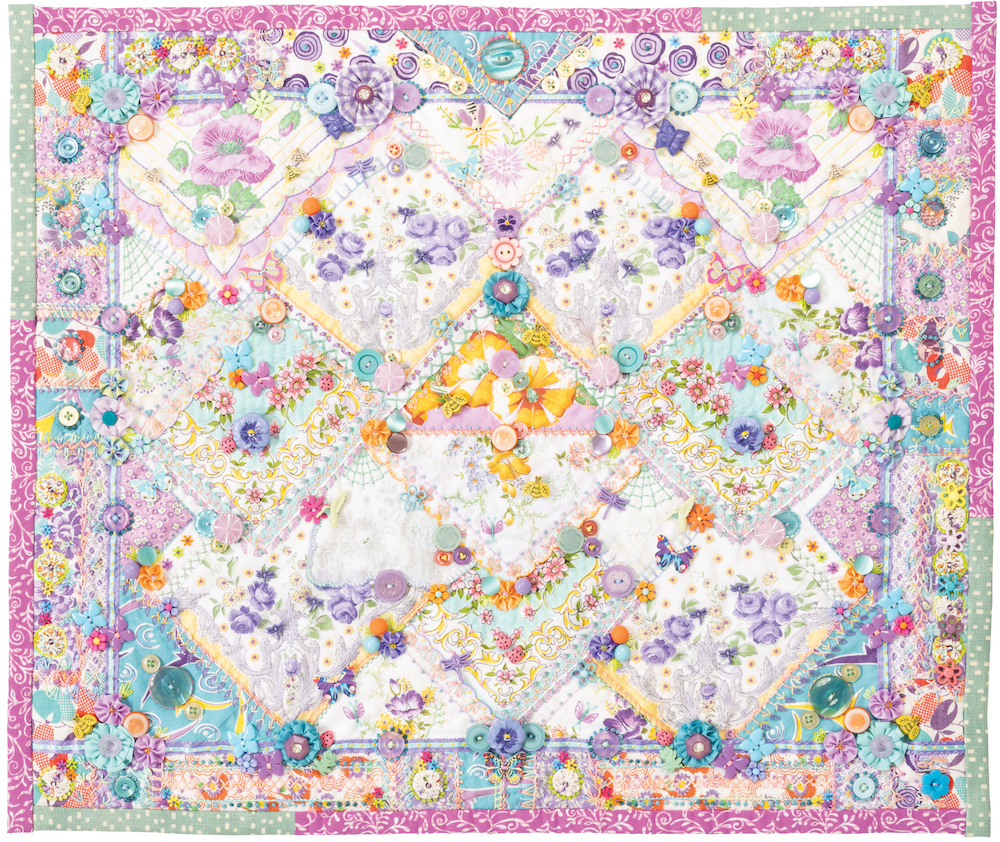
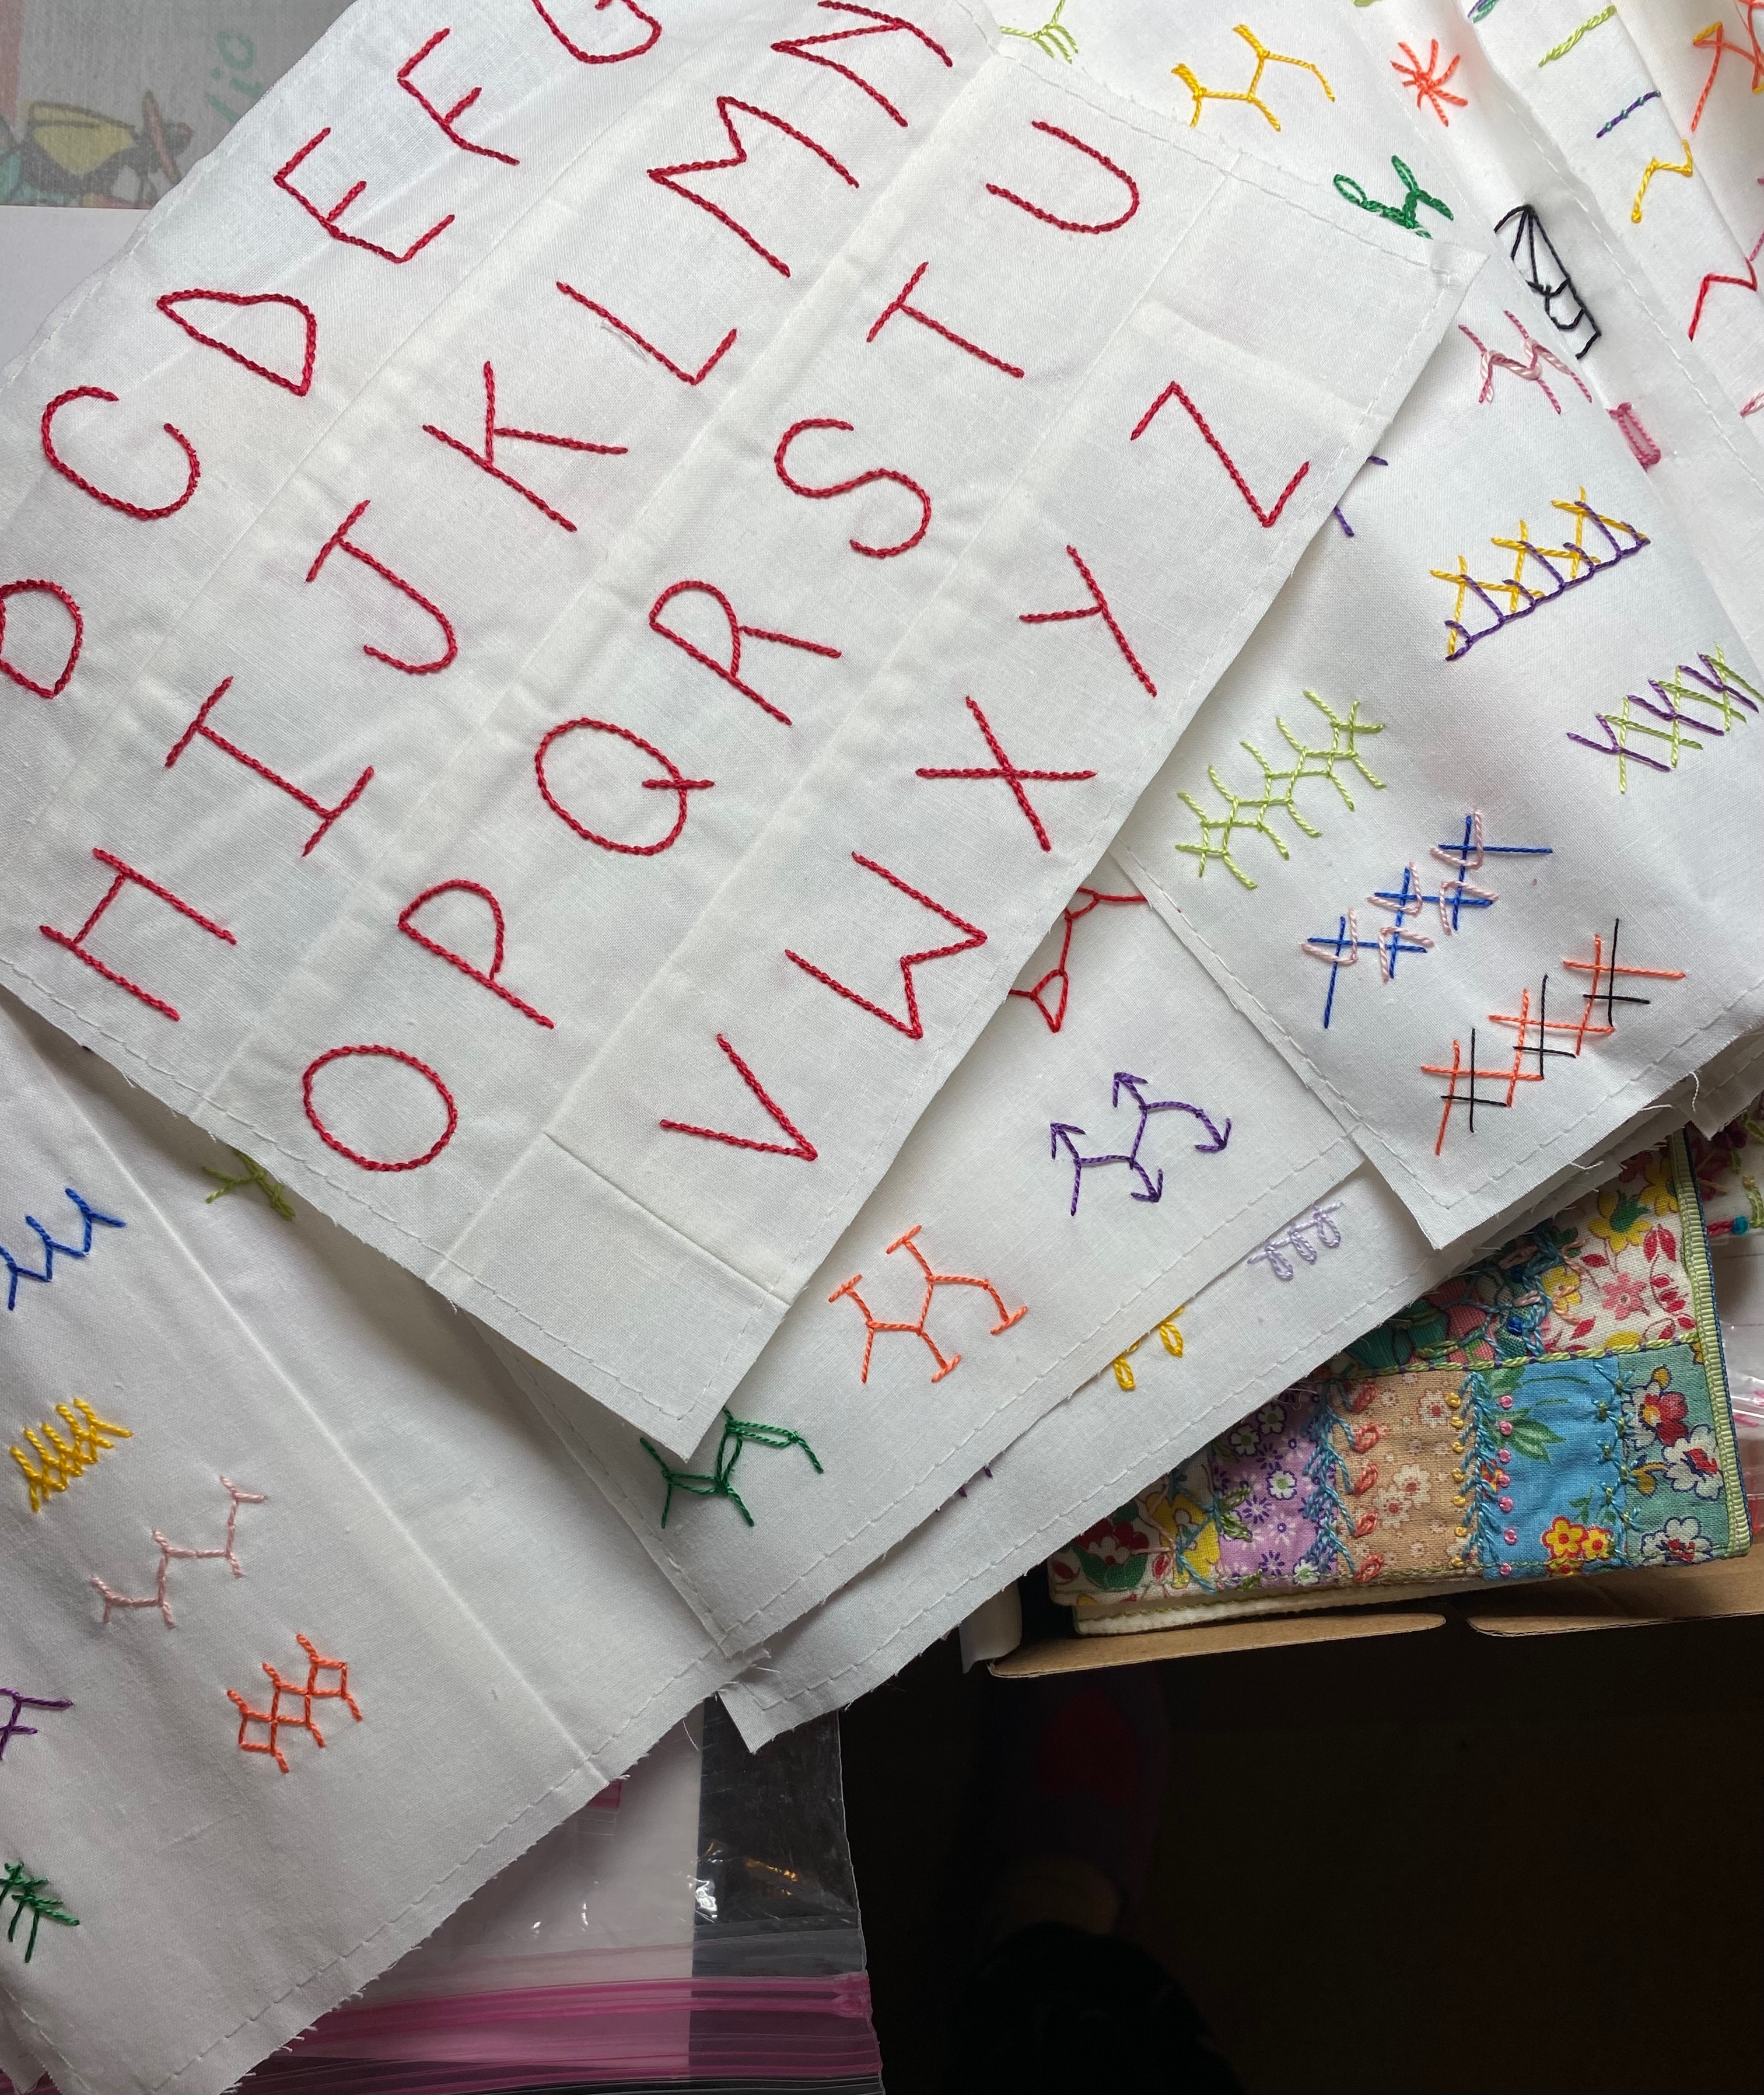
Here are some classes that show you how you can use up scraps, tiny bits, and left-overs.

Here are some other tips to live by:

  • Reduce your carbon footprint: travel less, use electric vehicles, or use public transportation.
  • Keep your home more energy efficient: buy energy efficient appliances, utilize solar, insulate your home to keep the heat in, and out.
  • Plant a tree, donate to the Arbor Tree Foundation, or to your local conservation group.

Happy Earth Week, be kind to her, she is the only one we have. Thank you for your time this week!~Christen

Earth Week April 2024: Day Six

Today is Day Six of celebrating Earth Day, which I will be doing for the entire week! I hope to provide ideas and useful tips showing you how to use items that would either have been thrown out, dumped off at the thrift-store, or are just perhaps forgotten.

Today I want to share some ideas on how you can use up scraps, tiny bits, and left-overs. These “Stash Projects” are all great small, non-daunting projects that can be completed in a few hours, or over a weekend. They make great gifts for your “crafty and creative” friends, and can be customized to their own unique style. You can find all of the directions in my book, Creative Embroidery, Mixing the Old With the New.

  1. Scrap Pins: This hand-sewn project starts with a piece of ribbon or fabric, which is stitched with tiny bits of lace and ribbons, then adorned with treasured buttons and embellishments.
  2. Treasure Keeper Pocket: This project turns bits or ribbon, lace, and a collection of buttons, into a pocket to keep a secret stash of treasures safe.
  3. Buckle Bookmarks: This fun, simple, project uses scraps of fabric, bits of lace, embroidery stitches, and embellishments to create a bookmark that would surely please all of your “bookish” friends. Who, by the way, are my kind of people!
  1. Lace Collage Brooch or Needle Keep: This elegant, hand-sewn project is created with precious bits of lace, and fabrics, and is embellished with embroidery stitches and buttons. You can create a brooch, turn it into a needle keep, or even an ornament by following the instructions given for the Heart Ornament in the the book.
  2. Heart Ornament or Pin: If you know my work, you know that hearts, hearts, and hearts are my favorite things to make. This hand-sewn heart project uses a bit of fabric, a bit of lace, and lots of buttons, and can be finished in an afternoon.
  3. Scrap Pins: This is another example of the project listed in the previous group, which shows you the variety of design choices your stash could provide.

Here are a few classes that I offer, that use ups those precious bits and pieces.

Here are some other tips to live by:

  • Use gauze gift bags, for storing little precious bits of lace, ribbons, or plastic buttons.
  • Re-purpose gift boxes, or other cardboard boxes to store buttons, beads, and embellishments.
  • Re-use plastic sushi boats to store and organize your embroidery threads while working on a project.

Happy Earth Week, be kind to her, she is the only one we have. ~Christen

Earth Week April 2024: Day Five

Today is Day Five of celebrating Earth Day, which I will be doing for the entire week! I hope to provide ideas and useful tips showing you how to use items that would either have been thrown out, dumped off at the thrift-store, or are just perhaps forgotten.

Today is also Friday’s Favorites: Jean Jackets!!!

Let’s talk a little bit more about recycling, Upcycling, and having a rummage through your closets, today we are looking for jeans and jean jackets. If you would like to learn more about re-purposing and updating your wardrobe, see my lecture, (with handout) on Creative Spark, Upcycle It with Embellishments.

Blue Jean Baby, LA Lady! I am a jean girl, I admit it, when I go out for casual events, that is what I am wearing, a pair of Gloria Vanderbilt’s Amanda jeans, and a jean jacket. Below are a few of my favorite “fancier” jean jackets. For more suggestions on using denim fabrics see my post Recycled Blue Jeans and Denim Fabric.

  1. Phred’s Jean Jacket: My friend Phred, created this jacket from 6 or 7 pairs of jeans that he found at several different thrift stores. He made this jacket in the 70’s. At some point he gave it to me, and it has been worn at various times, by both myself and my daughter. As you can imagine the raw edges of the jeans had frayed through the years. So I sat down one week, and trimmed off all the frayed edges, and then repaired any rips that had occurred. I then took 2 colors of perle cotton #5, and hand-stitched a running stitch around the edge of each square. I added in some white vintage buttons, and a few corsages that I made from old ties. VOILA a star was re-born.
  2. Ribbonwork Jean Jacket: This is a jacket that I found at the thrift store, I think that it cost $9.99. I embellished it with a multitude of ribbonwork flowers and leaves that were made from a variety of ribbons. The majority of the flowers were made using the instructions included in my books, some were prototypes that I made during the design process. I love working with ribbon, as you can tell from my two ribbonwork books: Ribbonwork Gardens and Ribbonwork Flowers, by C&T Publishing.

Hanky Trimmed Jean Jacket: I bought this jacket at the thrift store as well, and it was such a fun project to work on. The jacket already had one layer of hankies sewn to the bottom edge, and over the pocket, but it seemed plain to me. So, I decided to add one more layer of hankies over the first layer on the bottom edge. I took the remaining hanky halves, and folded stitched these into butterflies. I added in ribbon to cover the raw edges of the new layer of hankies, and to create linear interest. I added in quite a few buttons, and embroidered details to the lapels, butterflies, flowers, and buttons. The ribbonwork flowers can be found in my book Creative Embroidery, Mixing the Old with the New, and my two other ribbonwork books.

Here are some other tips to live by:

  • Patch it.
  • Adorn it.
  • Re-work it.

Happy Earth Week, be kind to her, she is the only one we have. ~Christen

Earth Week April 2024: Day Four

Today is Day Four of celebrating Earth Day, which I will be doing for the entire week! I hope to provide ideas and useful tips showing you how to use items that would either have been thrown out, dumped off at the thrift-store, or are just perhaps forgotten.

Let’s talk about recycling, Upcycling, and having a rummage through your closets. I also have a great lecture, (with a handout) called Upcycle It with Embellishments that can be found on Creative Spark, that gives you some great pointers!

  1. Labels Purse: This is a fun raw silk purse, that I covered, and I mean covered, in vintage and new sewing labels. Some even came from my dad’s old ties. This is a gallery example in my book, The Embroidery Book.
  2. Labeled Tie: This silk tie belonged to my husband, which he kindly let me commandeer, so that I could stitch on some fun labels, a few of the labels also belonged to my dad.
  1. Old Rose Corsages: The directions for these roses can be found in my class Upcycle It with Embellishments.
  2. Hollywood Rose Brooch and Bracelet: This group is made from a tie that my dad had worn, and the label was Hollywood! Loved the kitsch of it all!
  3. Ribbonwork Tie: This silk tie is adorned with flowers from my book Ribbonwork Gardens and Ribbonwork Flowers.

Here are some other tips to live by:

  • Save when you can, with a purpose.
  • Re-use when you can, with intent.
  • RECYCLE always.

Happy Earth Week, be kind to her, she is the only one we have. ~Christen

Earth Week April 2024: Day Three

Today is Day Three of celebrating Earth Day, which I will be doing for the entire week! I hope to provide ideas and useful tips showing you how to use items that would either have been thrown out, dumped off at the thrift-store, or are just perhaps forgotten.

Today, I want to talk about Dyeing, changing COLORS, Updating, and making something more useful. It is a great way to change out something, and it is pretty fun! These examples all use Colorhue Dyes, and they can be found at Dharma Trading Co. Many of the ideas below can be found in my book Creative Embroidery, Mixing the Old with the New.

  1. Dyed Posies Brooch: This is an example of ribbonwork flowers made from hand-dyed silk satin ribbons.
  2. Morris Gardens: This is an example of a hand-dyed linen napkin that I used for the base of an embroidery design.
  3. Flowers in a Cuff: This is an example of a hand-dyed vintage lace cuff used for a basket filled with hand-dyed cotton grosgrain ribbonwork flowers and vintage buttons.
  1. Pistachio Moss: This is a gallery piece in my book Creative Embroidery, Mixing the Old with the New. The pieced background is worked around a center section of silk charmeuse and several pieces of vintage lace and appliqués that were hand-dyed using Colorhue dyes. For more details, see my post that shows you how I choose colors for a project.
  2. Dyed Table Runner: I took an old battenburg lace table runner, and dyed it with Rit Dye. I added in a host of ribbonwork flowers, using the directions from my books Ribbonwork Gardens, and Ribbonwork Flowers.
  3. Scattered Splattered Tatters: This is a gallery piece, from my book Creative Embroidery, Mixing the Old with the New. Left-over pieces of muslin fabric were crazy-pieced together, then hand quilted with perle cotton #12. Crochet and mother-of-pearl buttons are nestled into the lengths of tatted and machine-made lace, scattered crochet, and tatted appliqués. The finished piece was hand-dyed using Colorhue dyes, using a formula I call “Rustic Aging”.

I also have several classes that explore creative ways to use the Colorhue Dyes:

Here are some other tips to live by:

  • Use products that are friendly to the environment, like Colorhue Dyes are.
  • Re-use twist ties and rubber bands from packing when space dyeing.
  • Recycle the paper and plastic products that you use when dyeing.

Happy Earth Week, be kind to her, she is the only one we have. ~Christen

Earth Week April 2024: Day Two

Today is Day Two of celebrating Earth Day, which I will be doing for the entire week! I hope to provide ideas and useful tips showing you how to use items that would either have been thrown out, dumped off at the thrift-store, or are just perhaps forgotten.

Today is also Tips and Tea on Tuesdays. Tea today is a a sarsaparilla tea, which is new to me. It has a slightly soft, sweet taste that is reminiscent of the old soft drink. Sort of a snappy change, with a twist, that will certainly get me started on today’s post.

Sewing Notions and Button Boxes!

Let’s have a fun little poke through the that stash of discarded buttons, snaps, hooks, eyes, tape measures, and old clothing labels! Surely you will find something in there that you will want to play with.

Ugly Bug Ball! These are samples from my Creative Spark class. These are bugs you will actually love to have hanging around the house, they don’t eat anything, and they use up all of the buttons, beads, and notions, that you have hanging around. The class features six designs each of spiderwebs, spiders, and more of your favorite creepy crawling garden dwellers. Thanks to the digital format of this course, you’ll get up close detailed video instructions.

Vintage Sewing Notions: Is a gallery collection that can be seen in my book Creative Embroidery, Mixing the Old with the New). The Needle Keep on the right is a Free Project that can be found on C&T Publishing website.

Create, Sew and, Stitch, and Play, Garland: I created this gallery piece for my book, Creative Stitching, Mixing the Old with the New, by C&T Publishing. To see it in full, check out my post: National Sewing Month: Day 1.

For other ideas check these past Friday’s Favorites posts:

Here are some other tips to live by:

  • Recycle the cardboard packaging left over from the notions and buttons you use.
  • Cover ugly old chipped buttons with fabric, to recycle and create a new look.
  • Place old unusable buttons, charms, and notions in an empty jam jar with a lid, to create a visual collage.

Happy Earth Week, be kind to her, she is the only one we have. ~Christen

Earth Week April 2024: Day One

This year I wanted to celebrate Earth Day for an entire week! I hope to provide ideas and useful tips showing you how to use items that would either have been thrown out, dumped off at the thrift-store, or are just perhaps forgotten.

Many of the ideas can be found in my book Creative Embroidery, Mixing the Old with the New, where I show you how to put all of your stashed, hoarded, and handed-down bits and pieces to creative use! Through techniques and projects I walk you through innovative uses for all kinds of embellishments — like lace, vintage linens and hankies, trims and ribbons, buttons of all sorts, and vintage notions. I provide tips for taking care of your treasures; from cleaning vintage finds to fiber identification. 

ATTIC, GARAGE, AND JUNK DRAWER FINDS
Rummage through your stash of stuff hidden in the sewing room, the kitchen, or the garage, and look for unused and forgotten items like the ones below.

  1. Cookie Cutter Wreath: I wrapped different sizes of heart-shaped cookie molds with twill tape, burlap and grosgrain ribbons. I attached them together with a glue gun, and added in zipper roses, lace roses, and burlap roses, (directions for the flowers can be found in my book Creative Embroidery, Mixing the Old with the New).
  2. Jell-O Mold Pincushion: This is a simple, fun, Stash Project in my book Creative Embroidery, Mixing the Old with the New. It uses an aluminum aspic mold, a bit of fabric, and in about an hour you have a fun, funky pincushion.
  3. Hoop Frame: This is a Stash Project in my book Creative Embroidery, Mixing the Old with the New, that uses either a metal or wooden embroidery hoop. It is a simple and pretty way to frame a piece of embroidery.
  1. Scrap Pin: This is a simple, fun, Stash Project in my book Creative Embroidery, Mixing the Old with the New, that uses a large laundry safety pins, or knitting counters to hang a small scrap-pieced project.
  2. Mushroom Garden: Utilizes an old metal frog that I found at the thrift-store, I use it to display my collection of felt mushrooms that I made for a gallery piece in my book Hand Embroidery Dictionary.
  3. Wooden Spool Vase: This is a simple, fun, Stash Project in my book Creative Embroidery, Mixing the Old with the New. Make a few rosettes, put them on a stem, wrap a spool with a bit of zipper tape, and in about an hour you have made this fun little adornment.
  1. Scraps and Leftovers, is a gallery piece that I made for my book The Embroidery Book. I used a wooden knitting needle that had belonged to my husband’s grandmother for the hanger.
  2. Into the Garden is a gallery piece that I made for my book Creative Embroidery, Mixing the Old with the New. The old wooden hanger is a perfect way to hang a project, as well as a place to add more color.

For other ideas check these past Tips and Tea on Tuesdays Posts:

Here are some other tips to live by:

  • Take a walk, instead of driving a short distance.
  • Use your decorative grocery bags, every time, even when shopping at the quilt or craft store!
  • Go paperless, send receipts to your email address, you know that you are only going to throw it away when you get home.

Happy Earth Week, be kind to her, she is the only one we have. ~Christen

Tips and Tea on Tuesdays

On Tips and Tea on Tuesdays, I will cover a topic and hopefully provide you with some tips that will be helpful! And just as an afterthought, tea may occasionally be a cup of Joe!

Tea today, is a hibiscus tea, a beautiful ruby red color, made from Nigerian hibiscus blossoms. Good job hibiscus! This is a lovely, juicy, herbal blend with hints of berry and citrus flavors. And look at those strawberries! Yummy, and again, good job, and shout-out to Mother Nature!

Tuesday is also my “Junking Day”, which I of course love to do. We have several stores in town, that I visit monthly. Usually I don’t have a purpose other than to peruse, and see what treasures I can find. I think that this leaves the options open to all sorts of possibilities.

Here are some of last week’s finds, a cache of saltshakers that caught my eye. So, what can you do with saltshakers?

Tips: Repurposing Saltshakers

First thing to do is to give them a little clean up. I usually just pop them into the dishwasher, and voila, all clean. If you find a particularly “grungy” one, then let it soak in hot water and soap, rinse it when clean, and let it air-dry.

If the top of the shaker is rusted, or dented and not usable, then remove it, and fill the vessels with flowers on wire stems. Here are some suggestions:

If the top is usable, then the holes can be used to position the bouquet in an arrangement.

  • I filled one of the saltshakers with mushrooms on wire stems. First remove the top, add the stems, then screw the top back on, and arrange the bouquet.
  • Stick hat-pins or floral-pins into paper flowers, then insert into the holes in the top.

Happy tea drinking and stitching to you! ~Christen

PS: If you have any questions or thoughts, just leave a comment! See Tips, Tricks, the Basics, for more helpful ideas.

Tips and Tea on Tuesdays

On Tips and Tea on Tuesdays, I will cover a topic and hopefully provide you with some tips that will be helpful! And just as an afterthought, tea may occasionally be a cup of Joe!

Tea today, is my old stand by, Earl Grey, black tea, good for bringing a smile on a gloomy, cloudy, day. Another old stand by that provides some needed cheering up, is pulling out my collection of vintage handkerchiefs. These are so dear, and I enjoy pulling them out and just imaging a past life-time when I would place one of these in my pocket book, along with my lipstick, and other dainty-lady’s needs.

Here are some pieces where I used some of my hanky collection, for my book Creative Embroidery Mixing the Old with the New. Often, people ask how can you use hankies? Well the book also covers that too, with projects and gallery pieces! Hanky and Lace Collage, is one of the Projects by Design, the Tea Cozy, is a Stash Project, and Bella Fleur Mouchoir, is a gallery piece.

Tips: Working with Hankies

  • Stabilize the hanky with an iron-on sheer-weight or light-weight interfacing.
  • Cut a hanky that has an embroidered pattern on 1 or all 4 corners into 4 sections.
  • For a hanky that has an allover pattern, cut off each corner, leaving a square in the middle that can also be used in a collaged base.

Happy tea drinking and stitching to you! ~Christen

PS: If you have any questions or thoughts, just leave a comment! See Tips, Tricks, the Basics, for more helpful ideas.

Tips and Tea on Tuesdays

On Tips and Tea on Tuesdays, I will cover a topic and hopefully provide you with some tips that will be helpful! And just as an afterthought, tea may occasionally be a cup of Joe!

Tea today, is raspberry zinger, as you can see from the tea stain on my mug. The sun is out, the birds are singing, and all is right with the world. And, after you read today’s post, you will probably chuckle and agree.

Today I bring you a story of lost and found while foraging for this and that….

I am sure all of us have walked into a room, and paused, wondering just what the point of the journey was. Or another example is foraging in your fabric stash (mine is 40 boxes strong in the closet behind me), looking for that special scrap or section of fabric you knew, I mean really KNEW was in that box that you looked into the day before, or was it last week?

Today’s journey started with a song that Neil Diamond was singing, You Don’t Bring Me Flowers Anymore. With a smile, I looked at the bunch on the table that my hubby had brought home the day before, lovely sunflowers, chrysanthemums, and those funky green things. Then I was looking at the crazy-pieced block hanging on my mood board, and thought sunflowers, yes! that is what it needs. So, I found some porcelain sunflower, rose, and bee buttons that I thought would be just right. Then I was thinking about the embroidered sunflower and bee I had stitched, for my book, Hand Embroidery Dictionary. So I pulled out the samplers and there it was, the embroidered Alphabet Sampler that I had been looking for, last week, that was supposed to have been in a folder for a new class proposal.

Tip: Serendipity, enjoy it, celebrate it, and let inspiration come in the quiet moments of reflection.

Happy tea drinking and stitching to you! ~Christen

PS: If you have any questions or thoughts, just leave a comment! See Tips, Tricks, the Basics, for more helpful ideas.