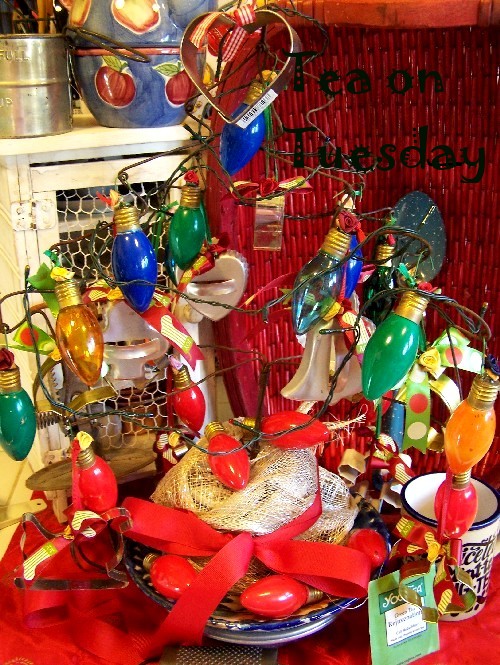
On Tips and Tea on Tuesdays, I will cover a topic and hopefully provide you with some tips that will be helpful! And just as an afterthought, tea may occasionally be a cup of Joe!

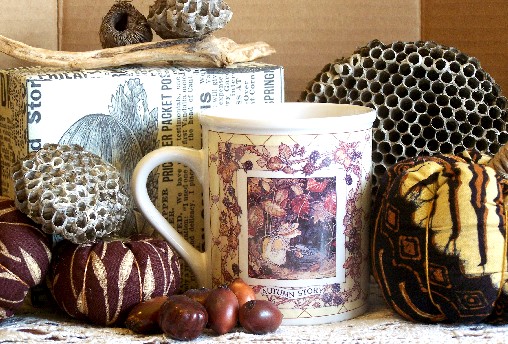
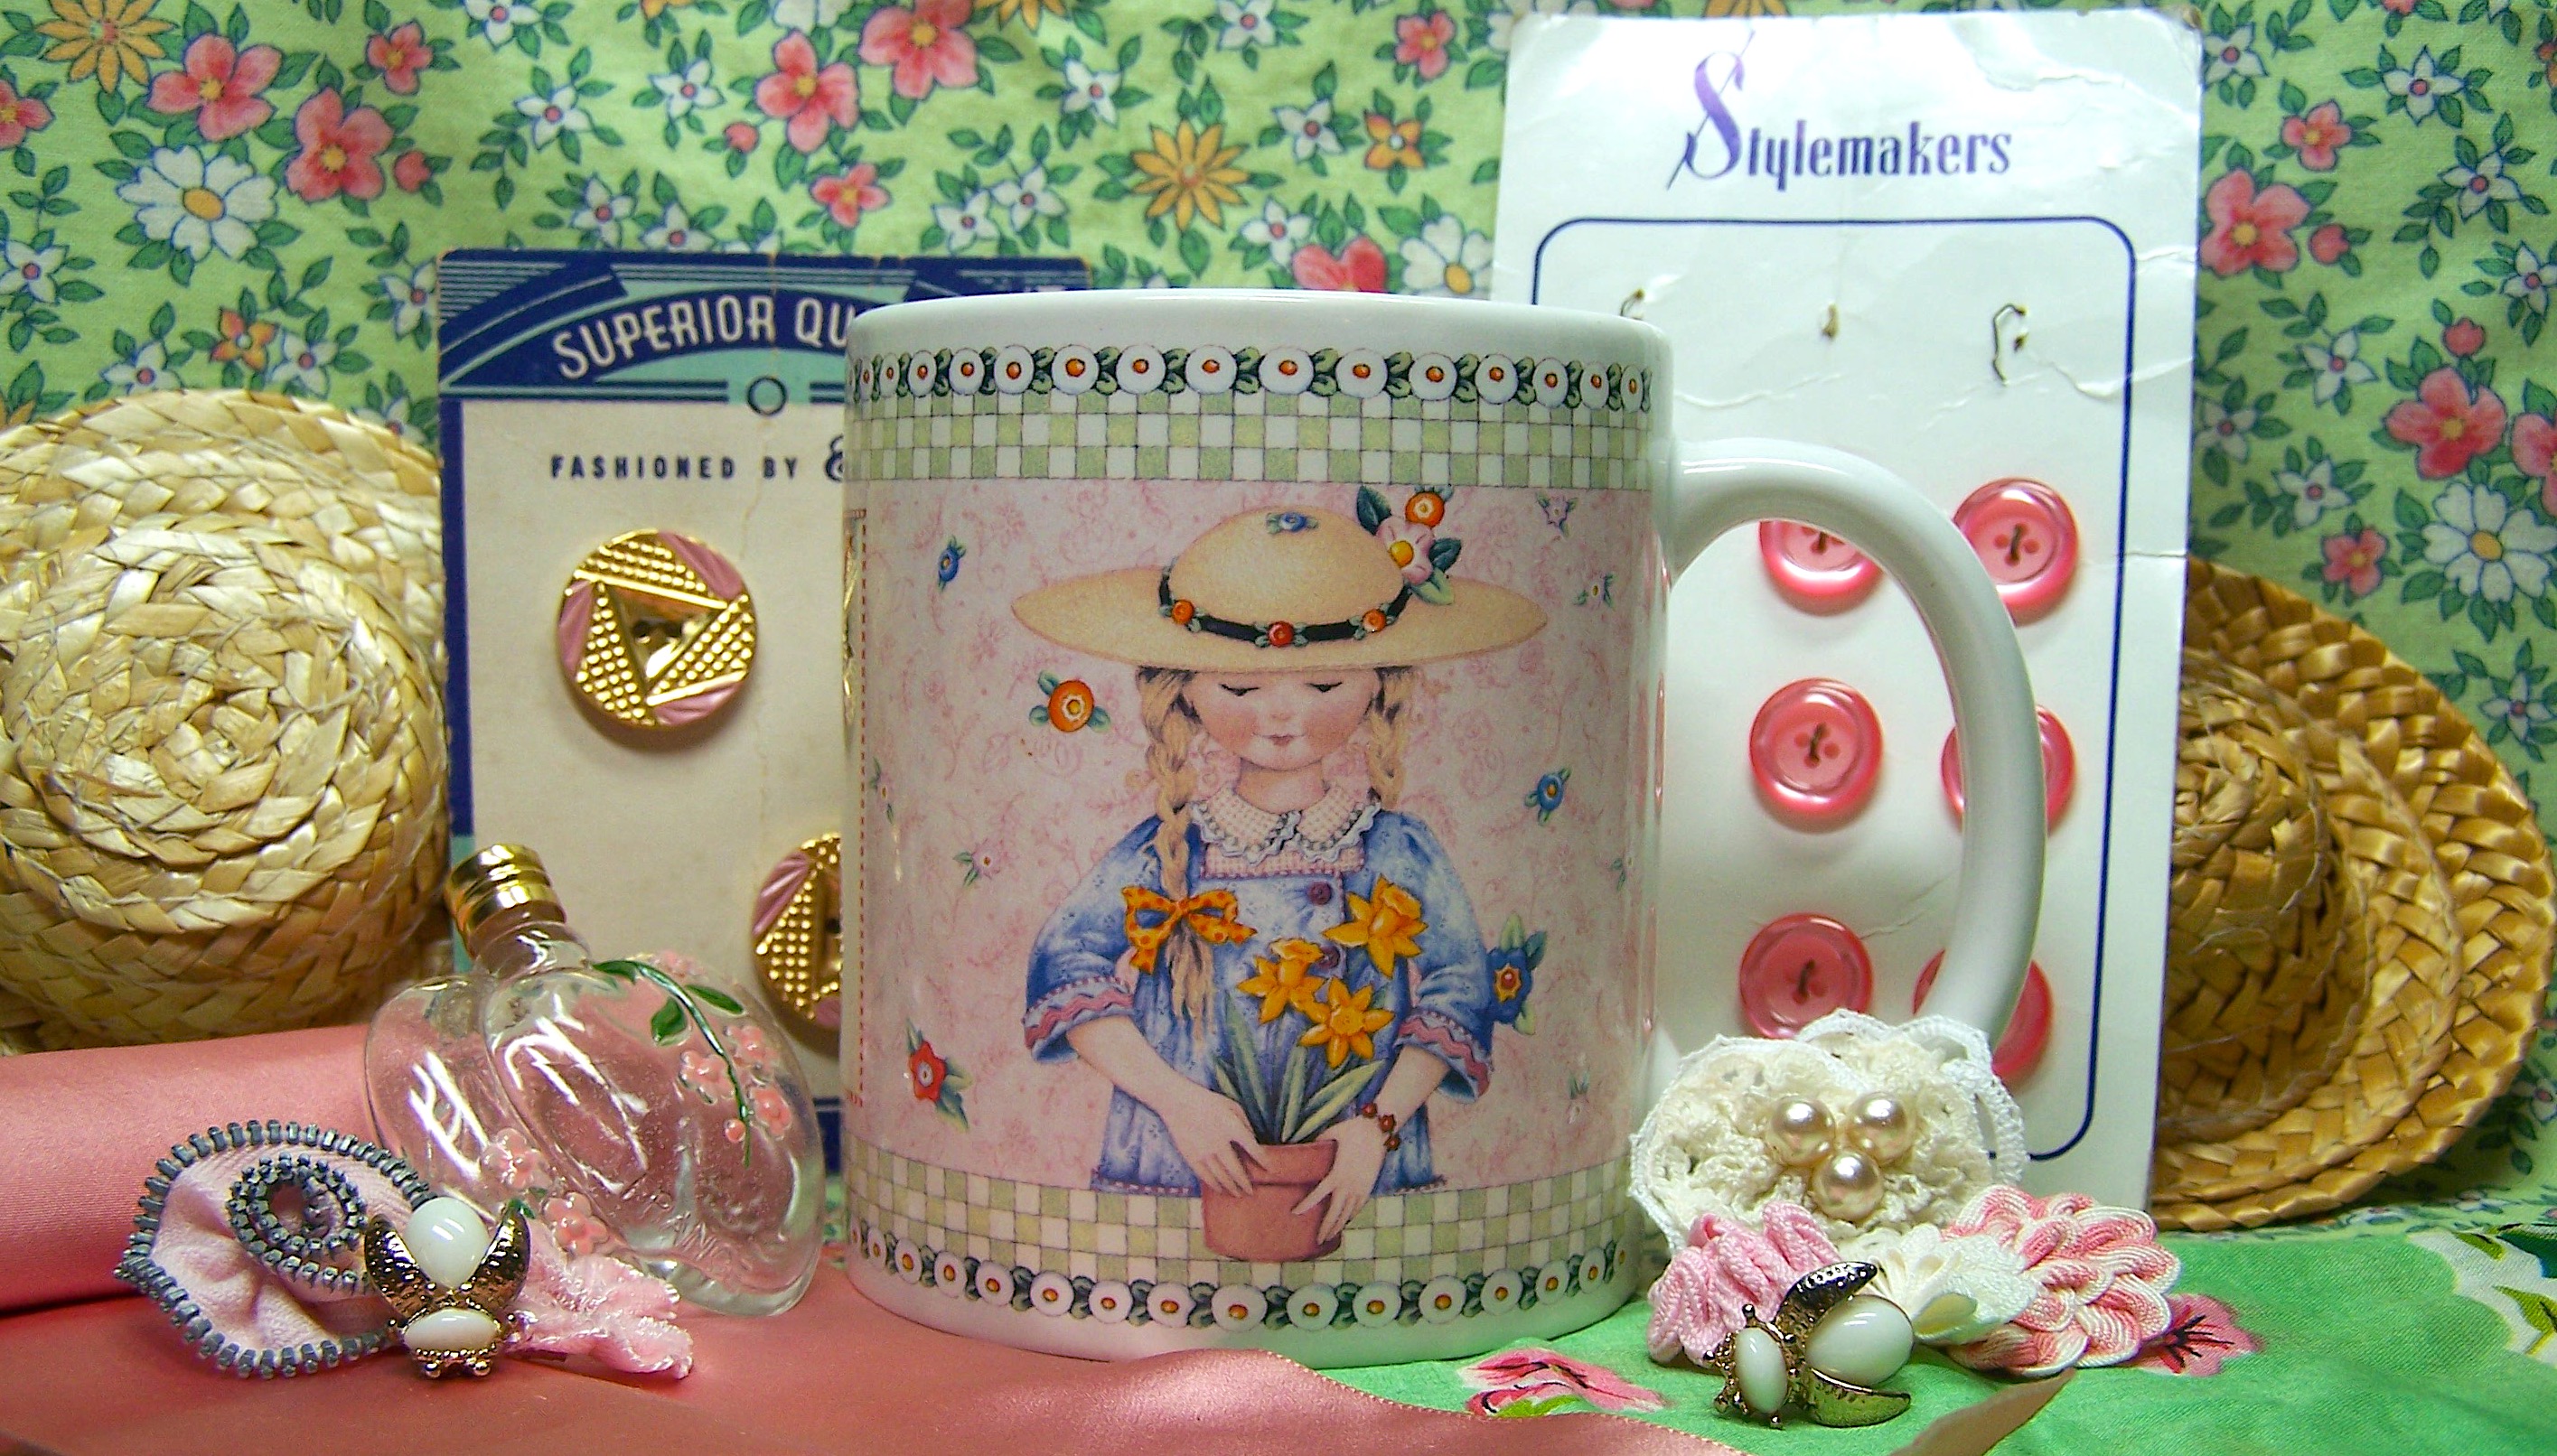
Tea today, is raspberry zinger, as you can see from the tea stain on my mug. The sun is out, the birds are singing, and all is right with the world. And, after you read today’s post, you will probably chuckle and agree.
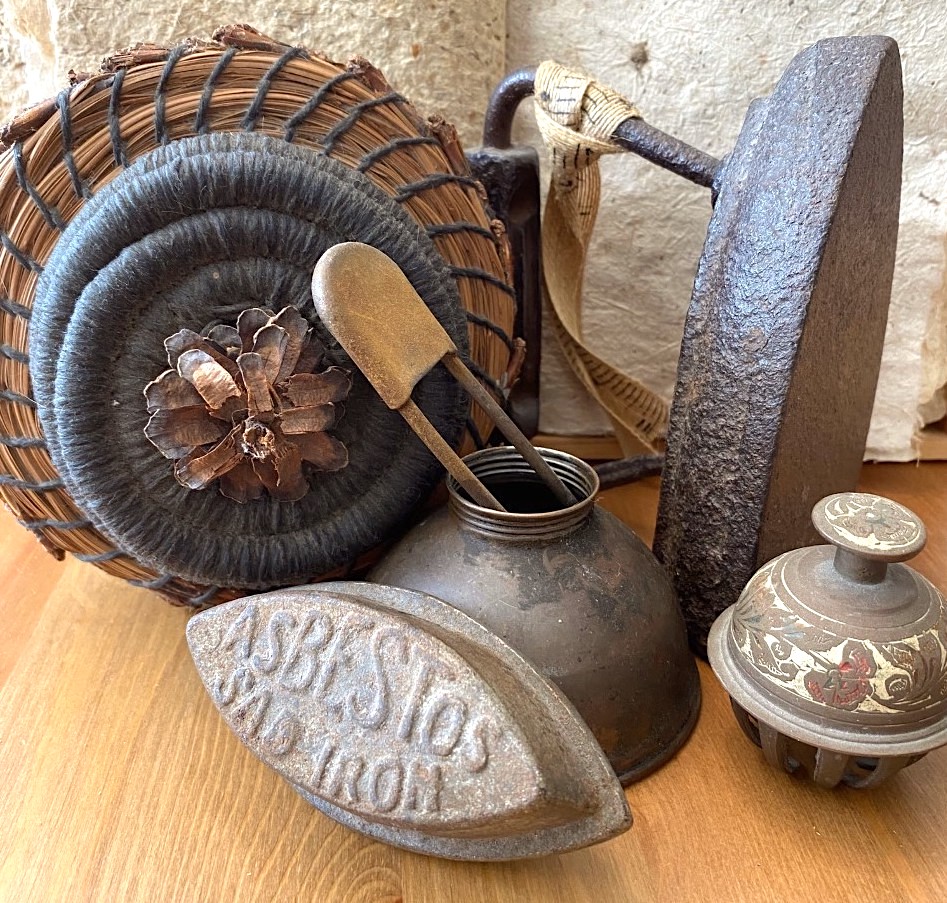
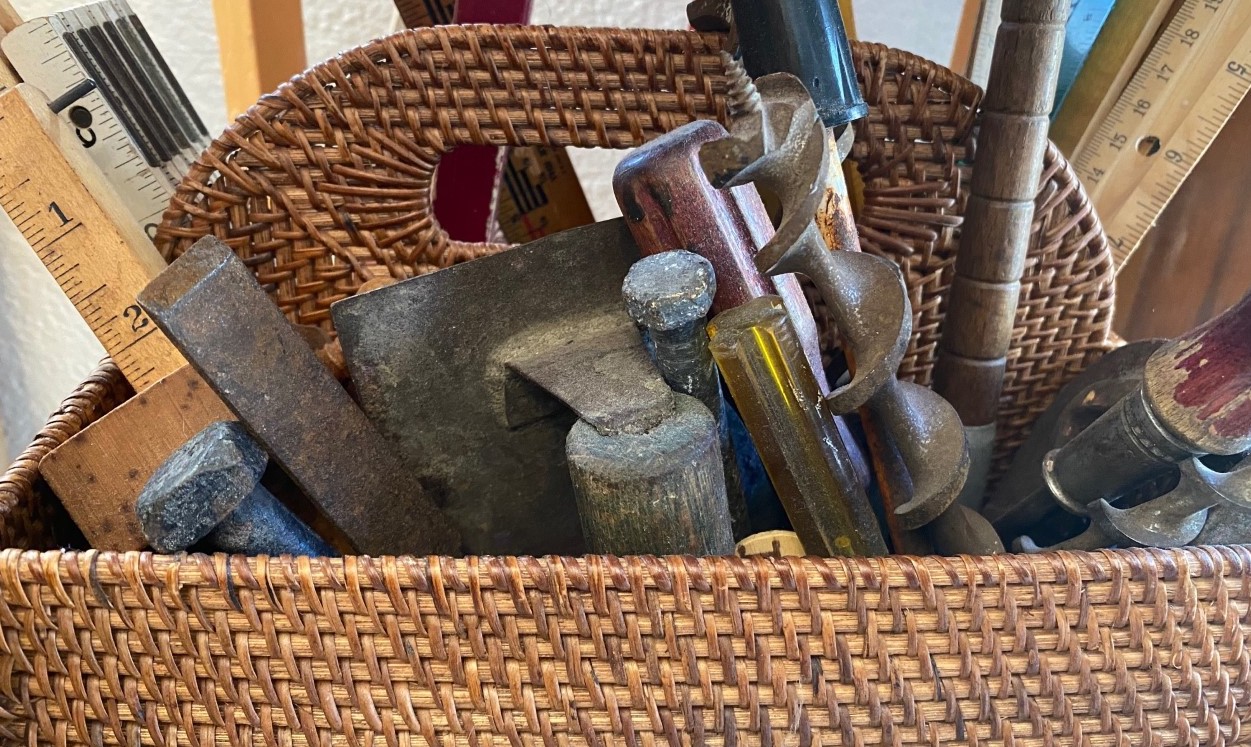
Today I bring you a story of lost and found while foraging for this and that….
I am sure all of us have walked into a room, and paused, wondering just what the point of the journey was. Or another example is foraging in your fabric stash (mine is 40 boxes strong in the closet behind me), looking for that special scrap or section of fabric you knew, I mean really KNEW was in that box that you looked into the day before, or was it last week?
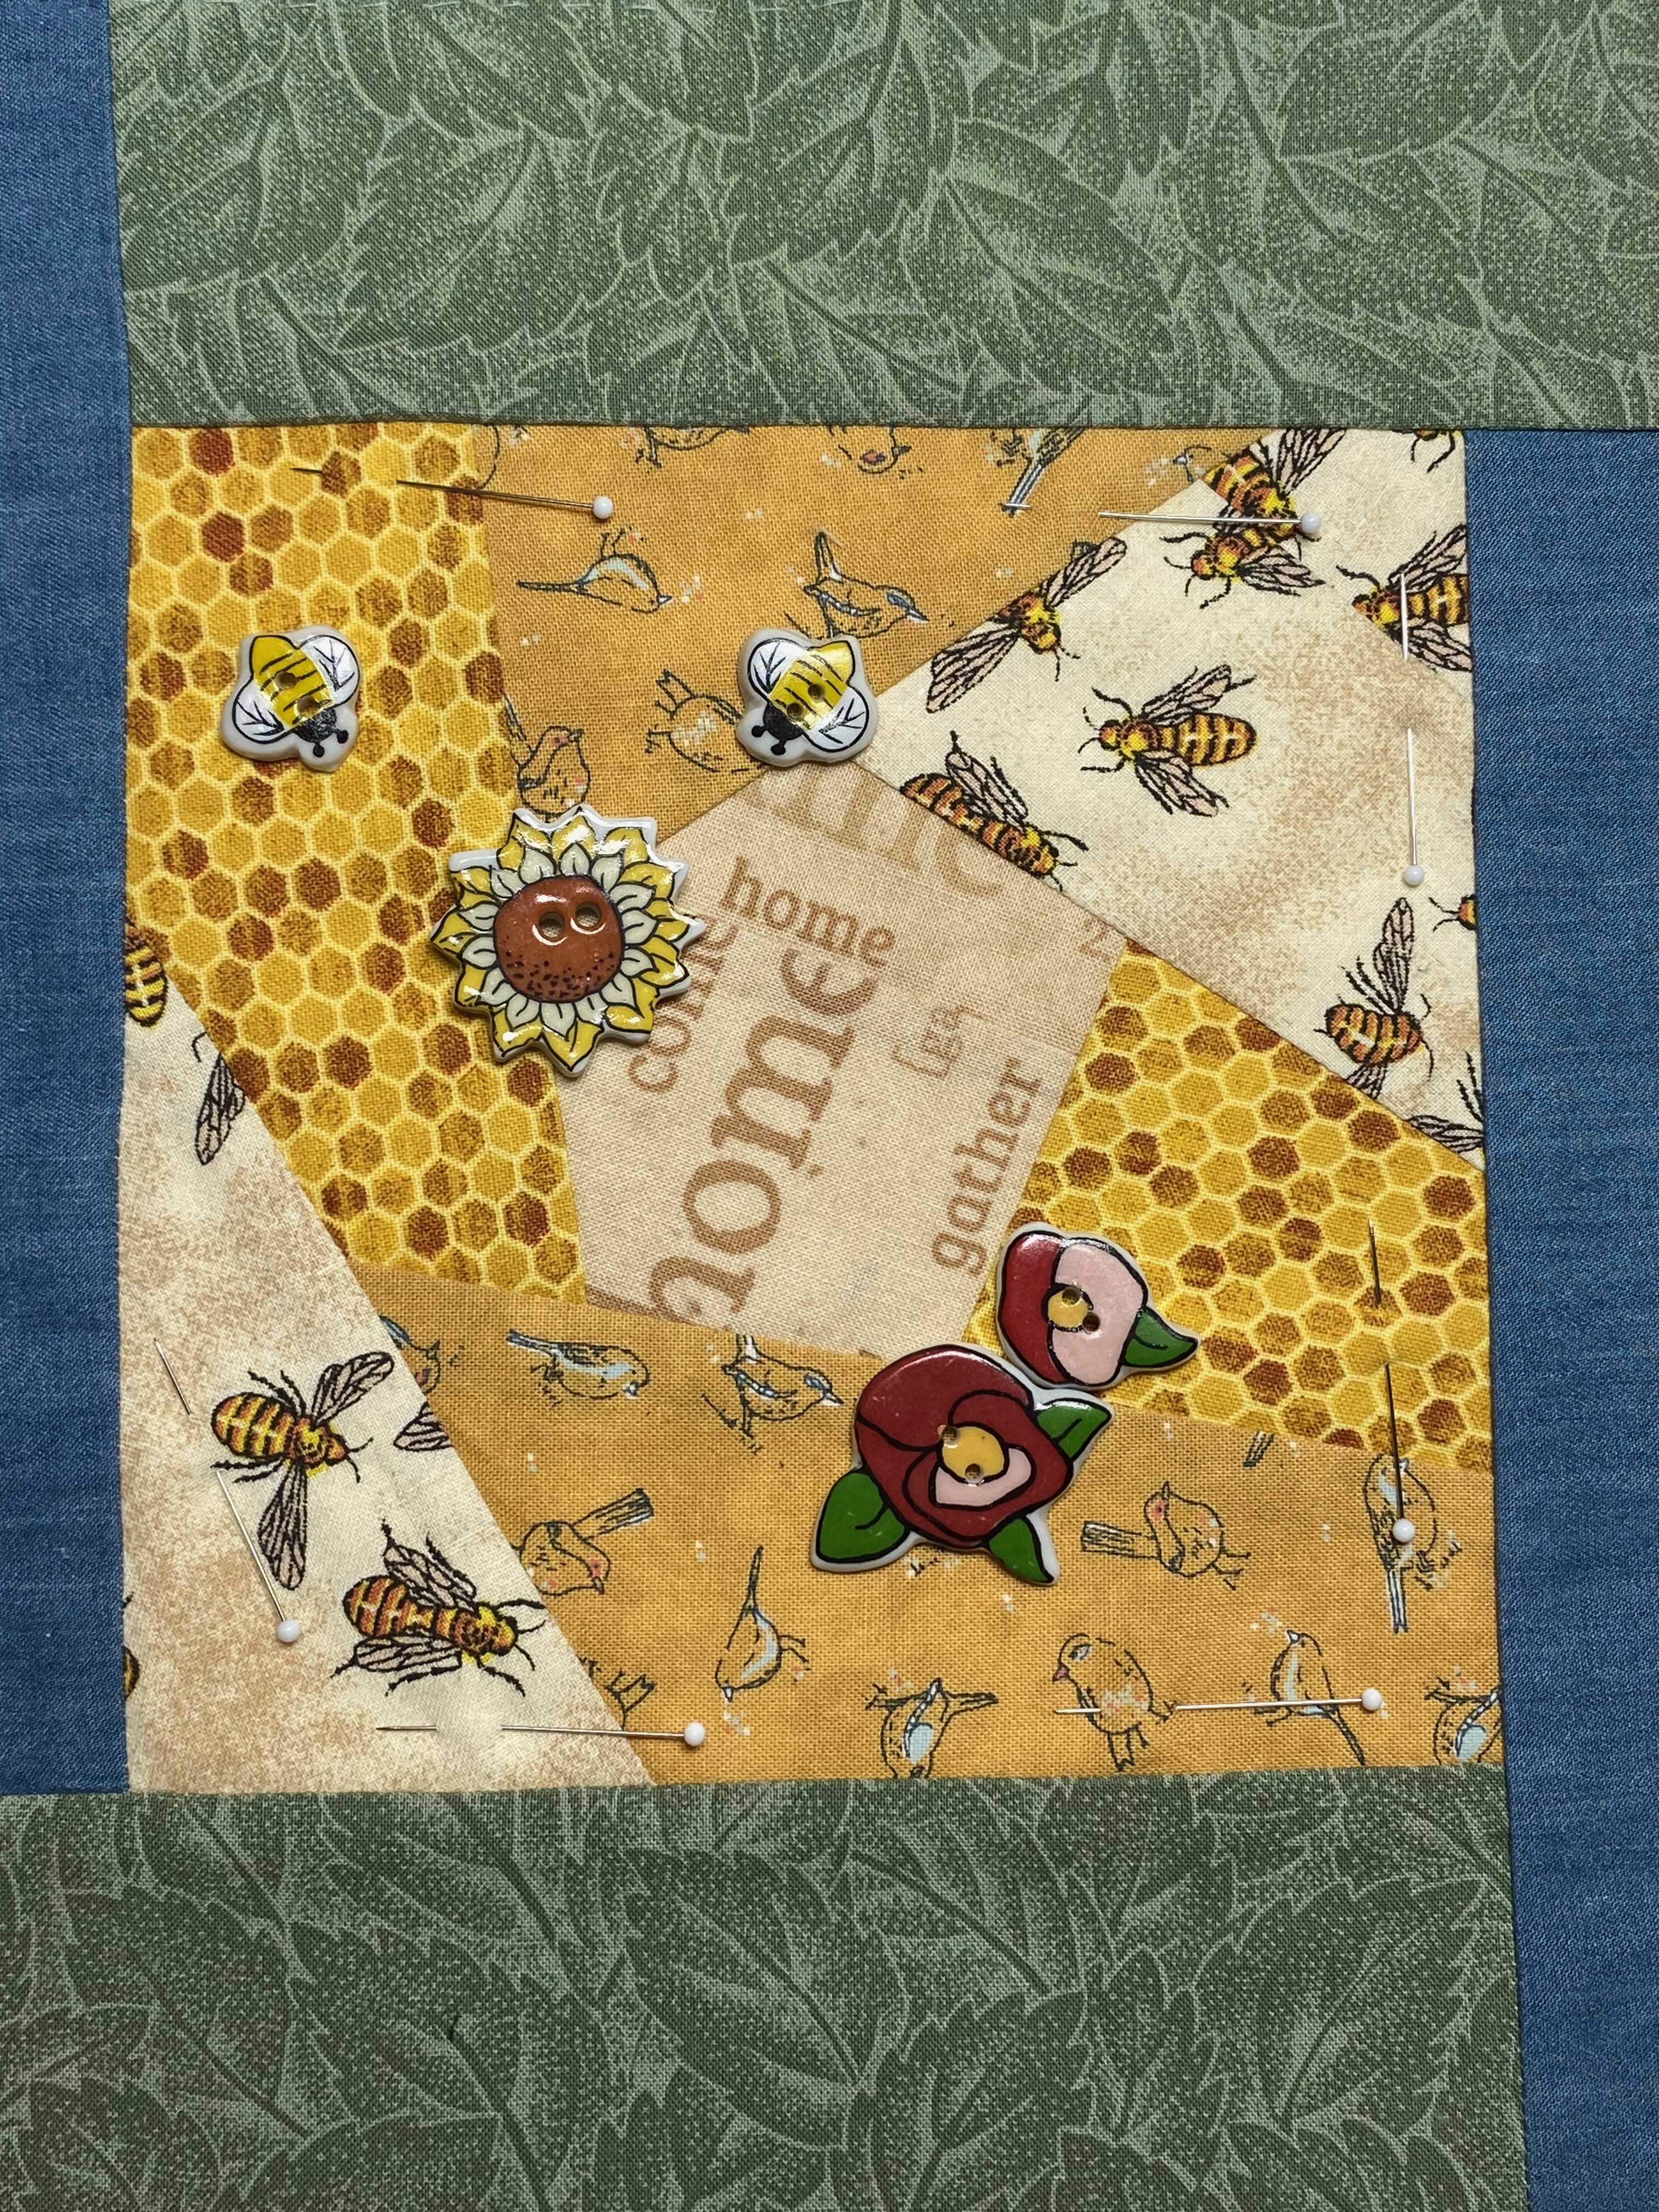


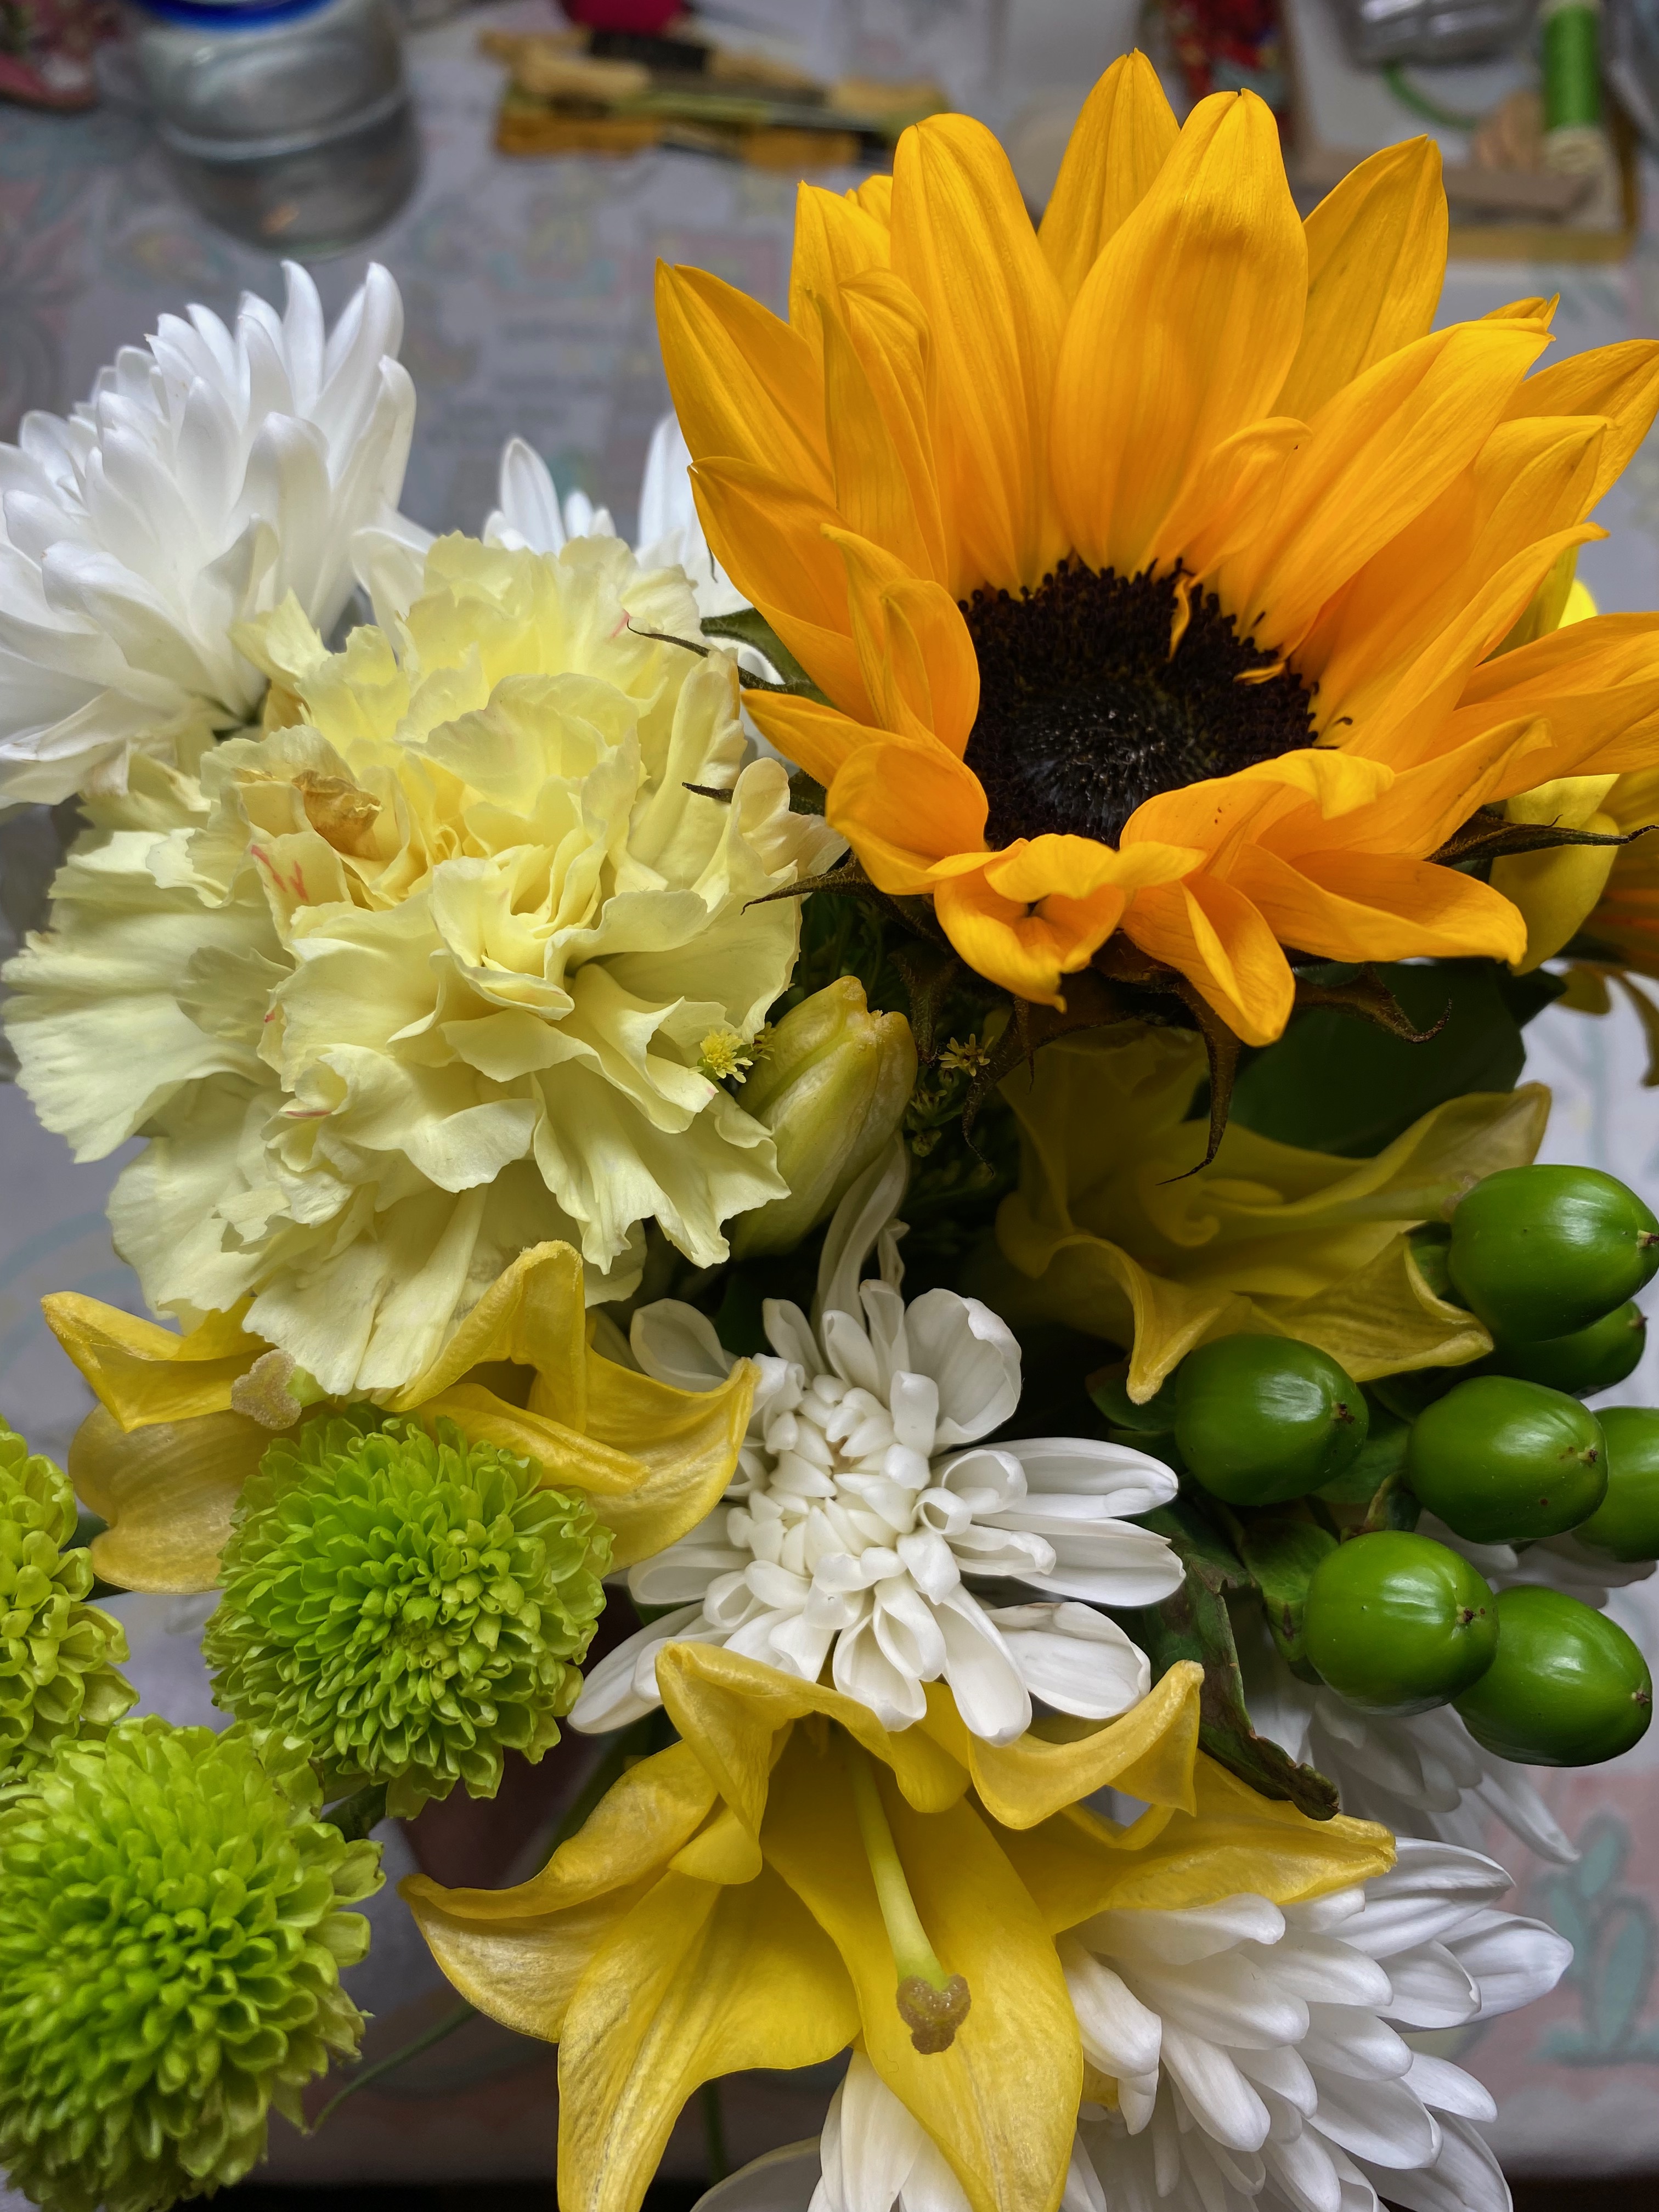

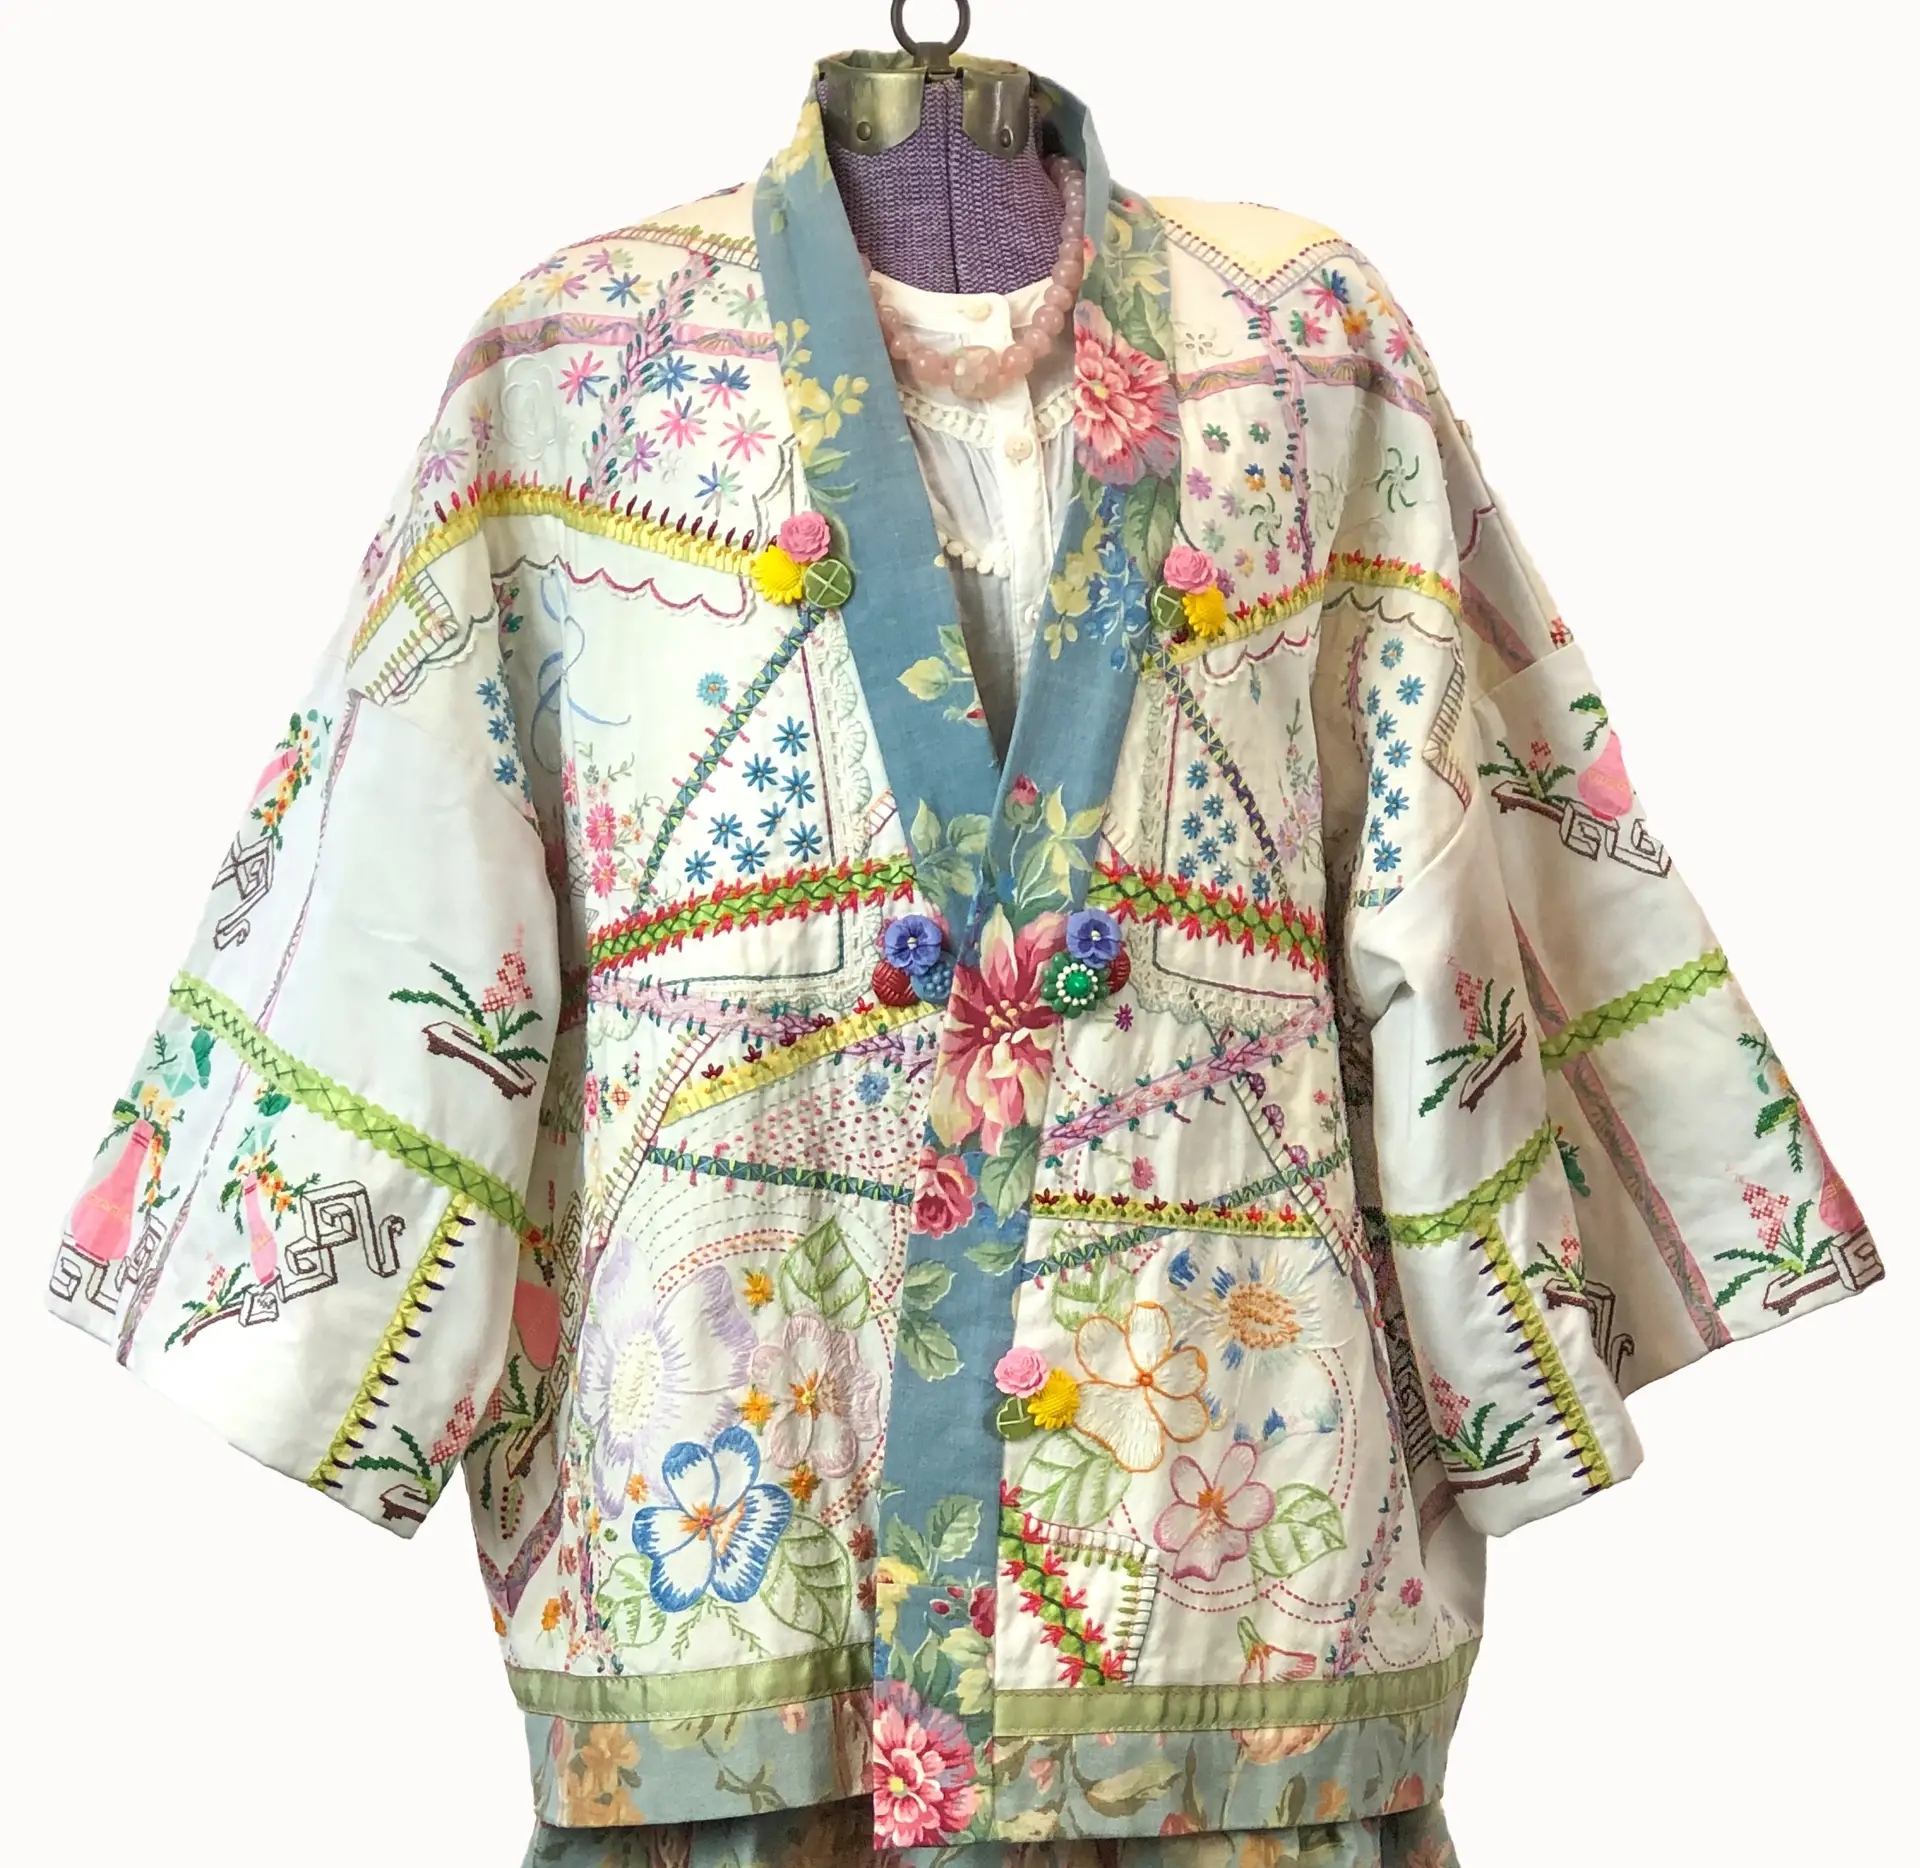
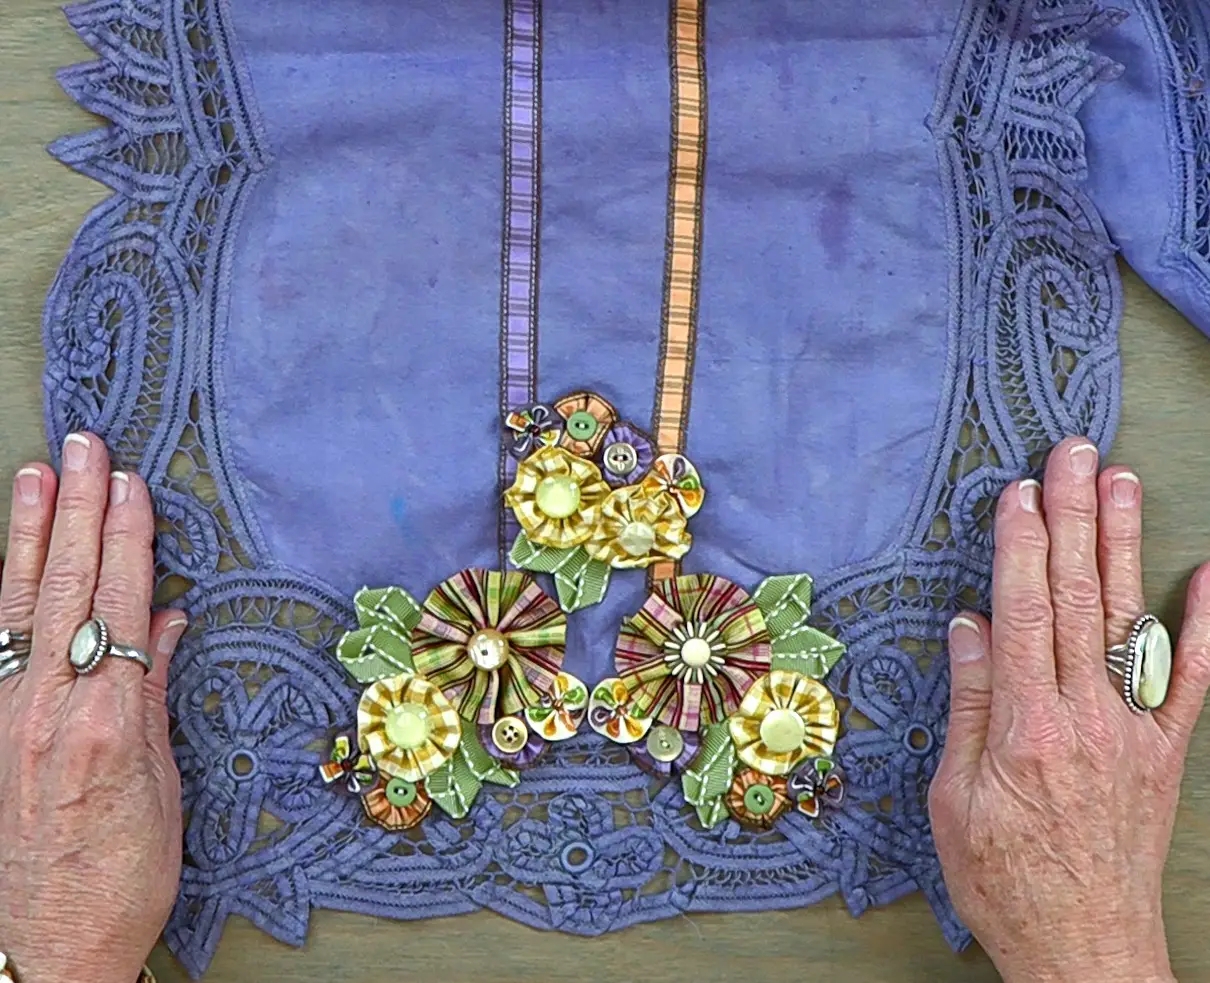
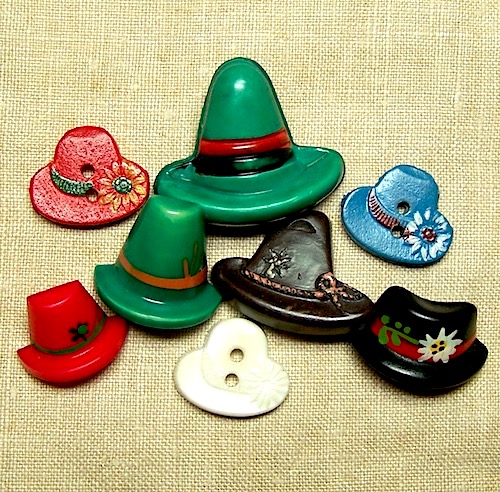
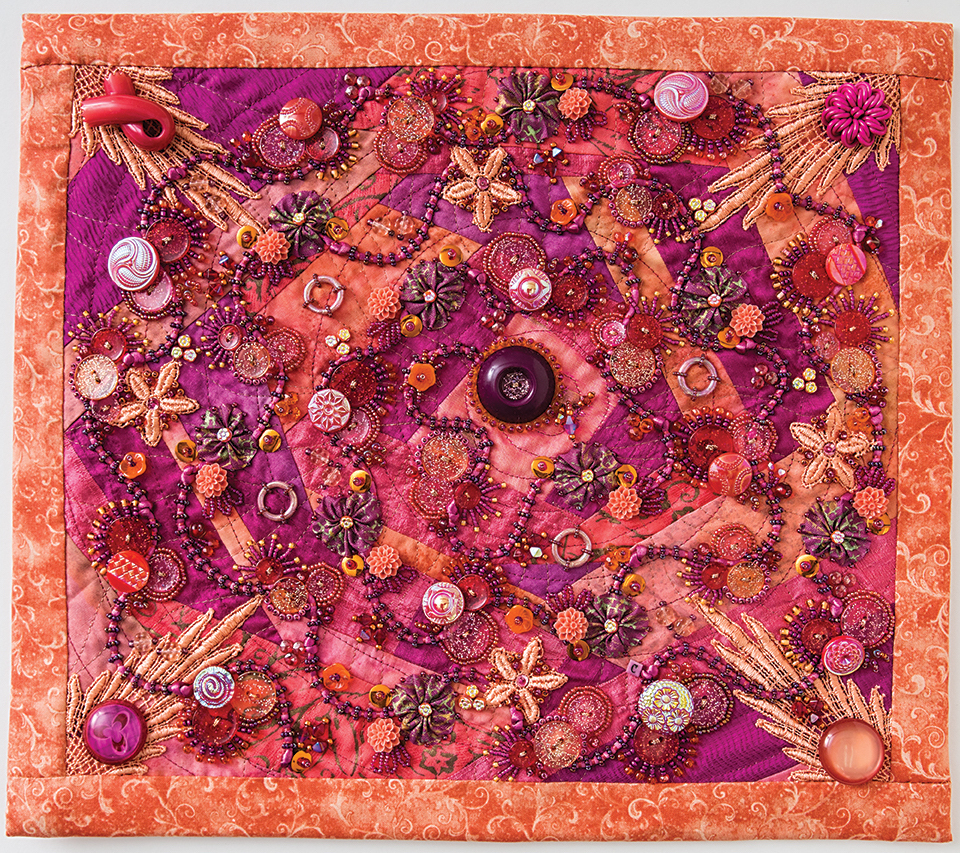
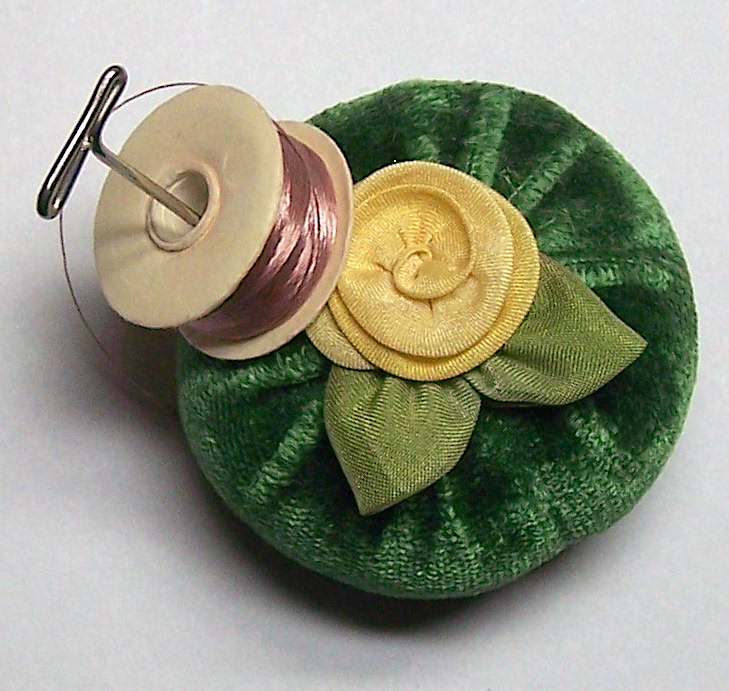
Today’s journey started with a song that Neil Diamond was singing, You Don’t Bring Me Flowers Anymore. With a smile, I looked at the bunch on the table that my hubby had brought home the day before, lovely sunflowers, chrysanthemums, and those funky green things. Then I was looking at the crazy-pieced block hanging on my mood board, and thought sunflowers, yes! that is what it needs. So, I found some porcelain sunflower, rose, and bee buttons that I thought would be just right. Then I was thinking about the embroidered sunflower and bee I had stitched, for my book, Hand Embroidery Dictionary. So I pulled out the samplers and there it was, the embroidered Alphabet Sampler that I had been looking for, last week, that was supposed to have been in a folder for a new class proposal.
Tip: Serendipity, enjoy it, celebrate it, and let inspiration come in the quiet moments of reflection.
Happy tea drinking and stitching to you! ~Christen
PS: If you have any questions or thoughts, just leave a comment! See Tips, Tricks, the Basics, for more helpful ideas.