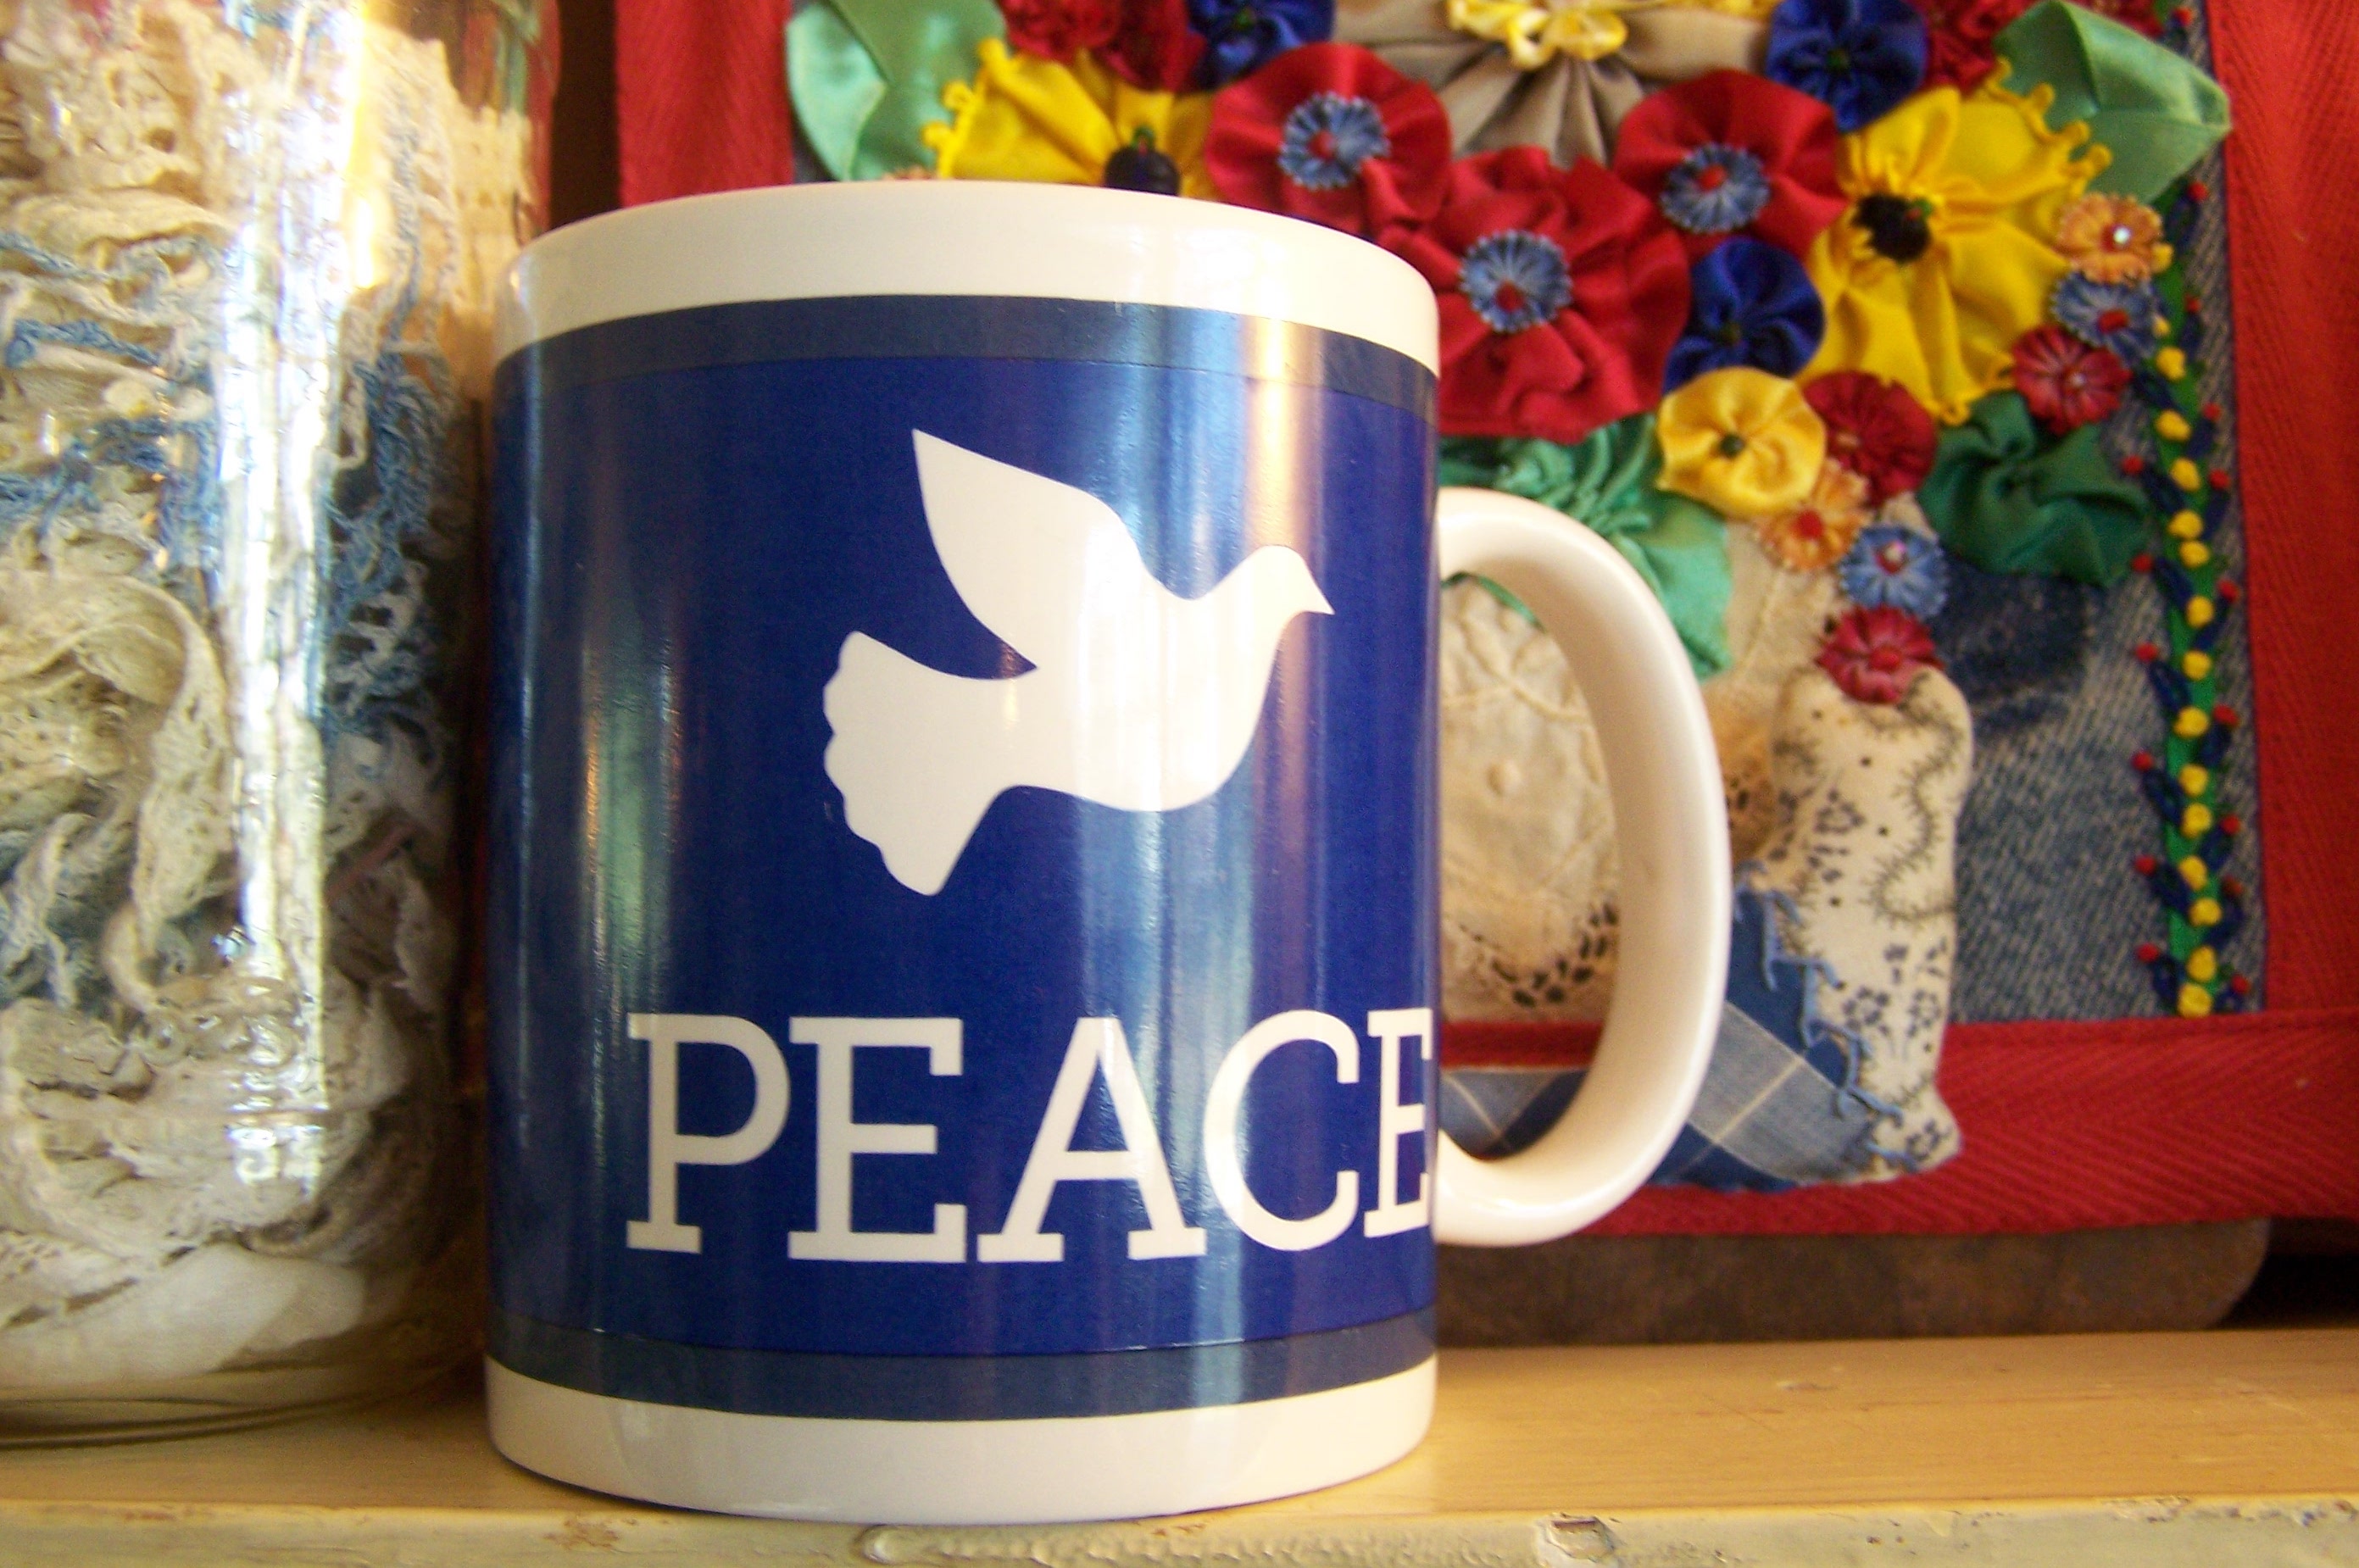
On Tips and Tea on Tuesdays, I will cover a topic and hopefully provide you with some tips that will be helpful! And just as an afterthought, tea may occasionally be a cup of Joe!
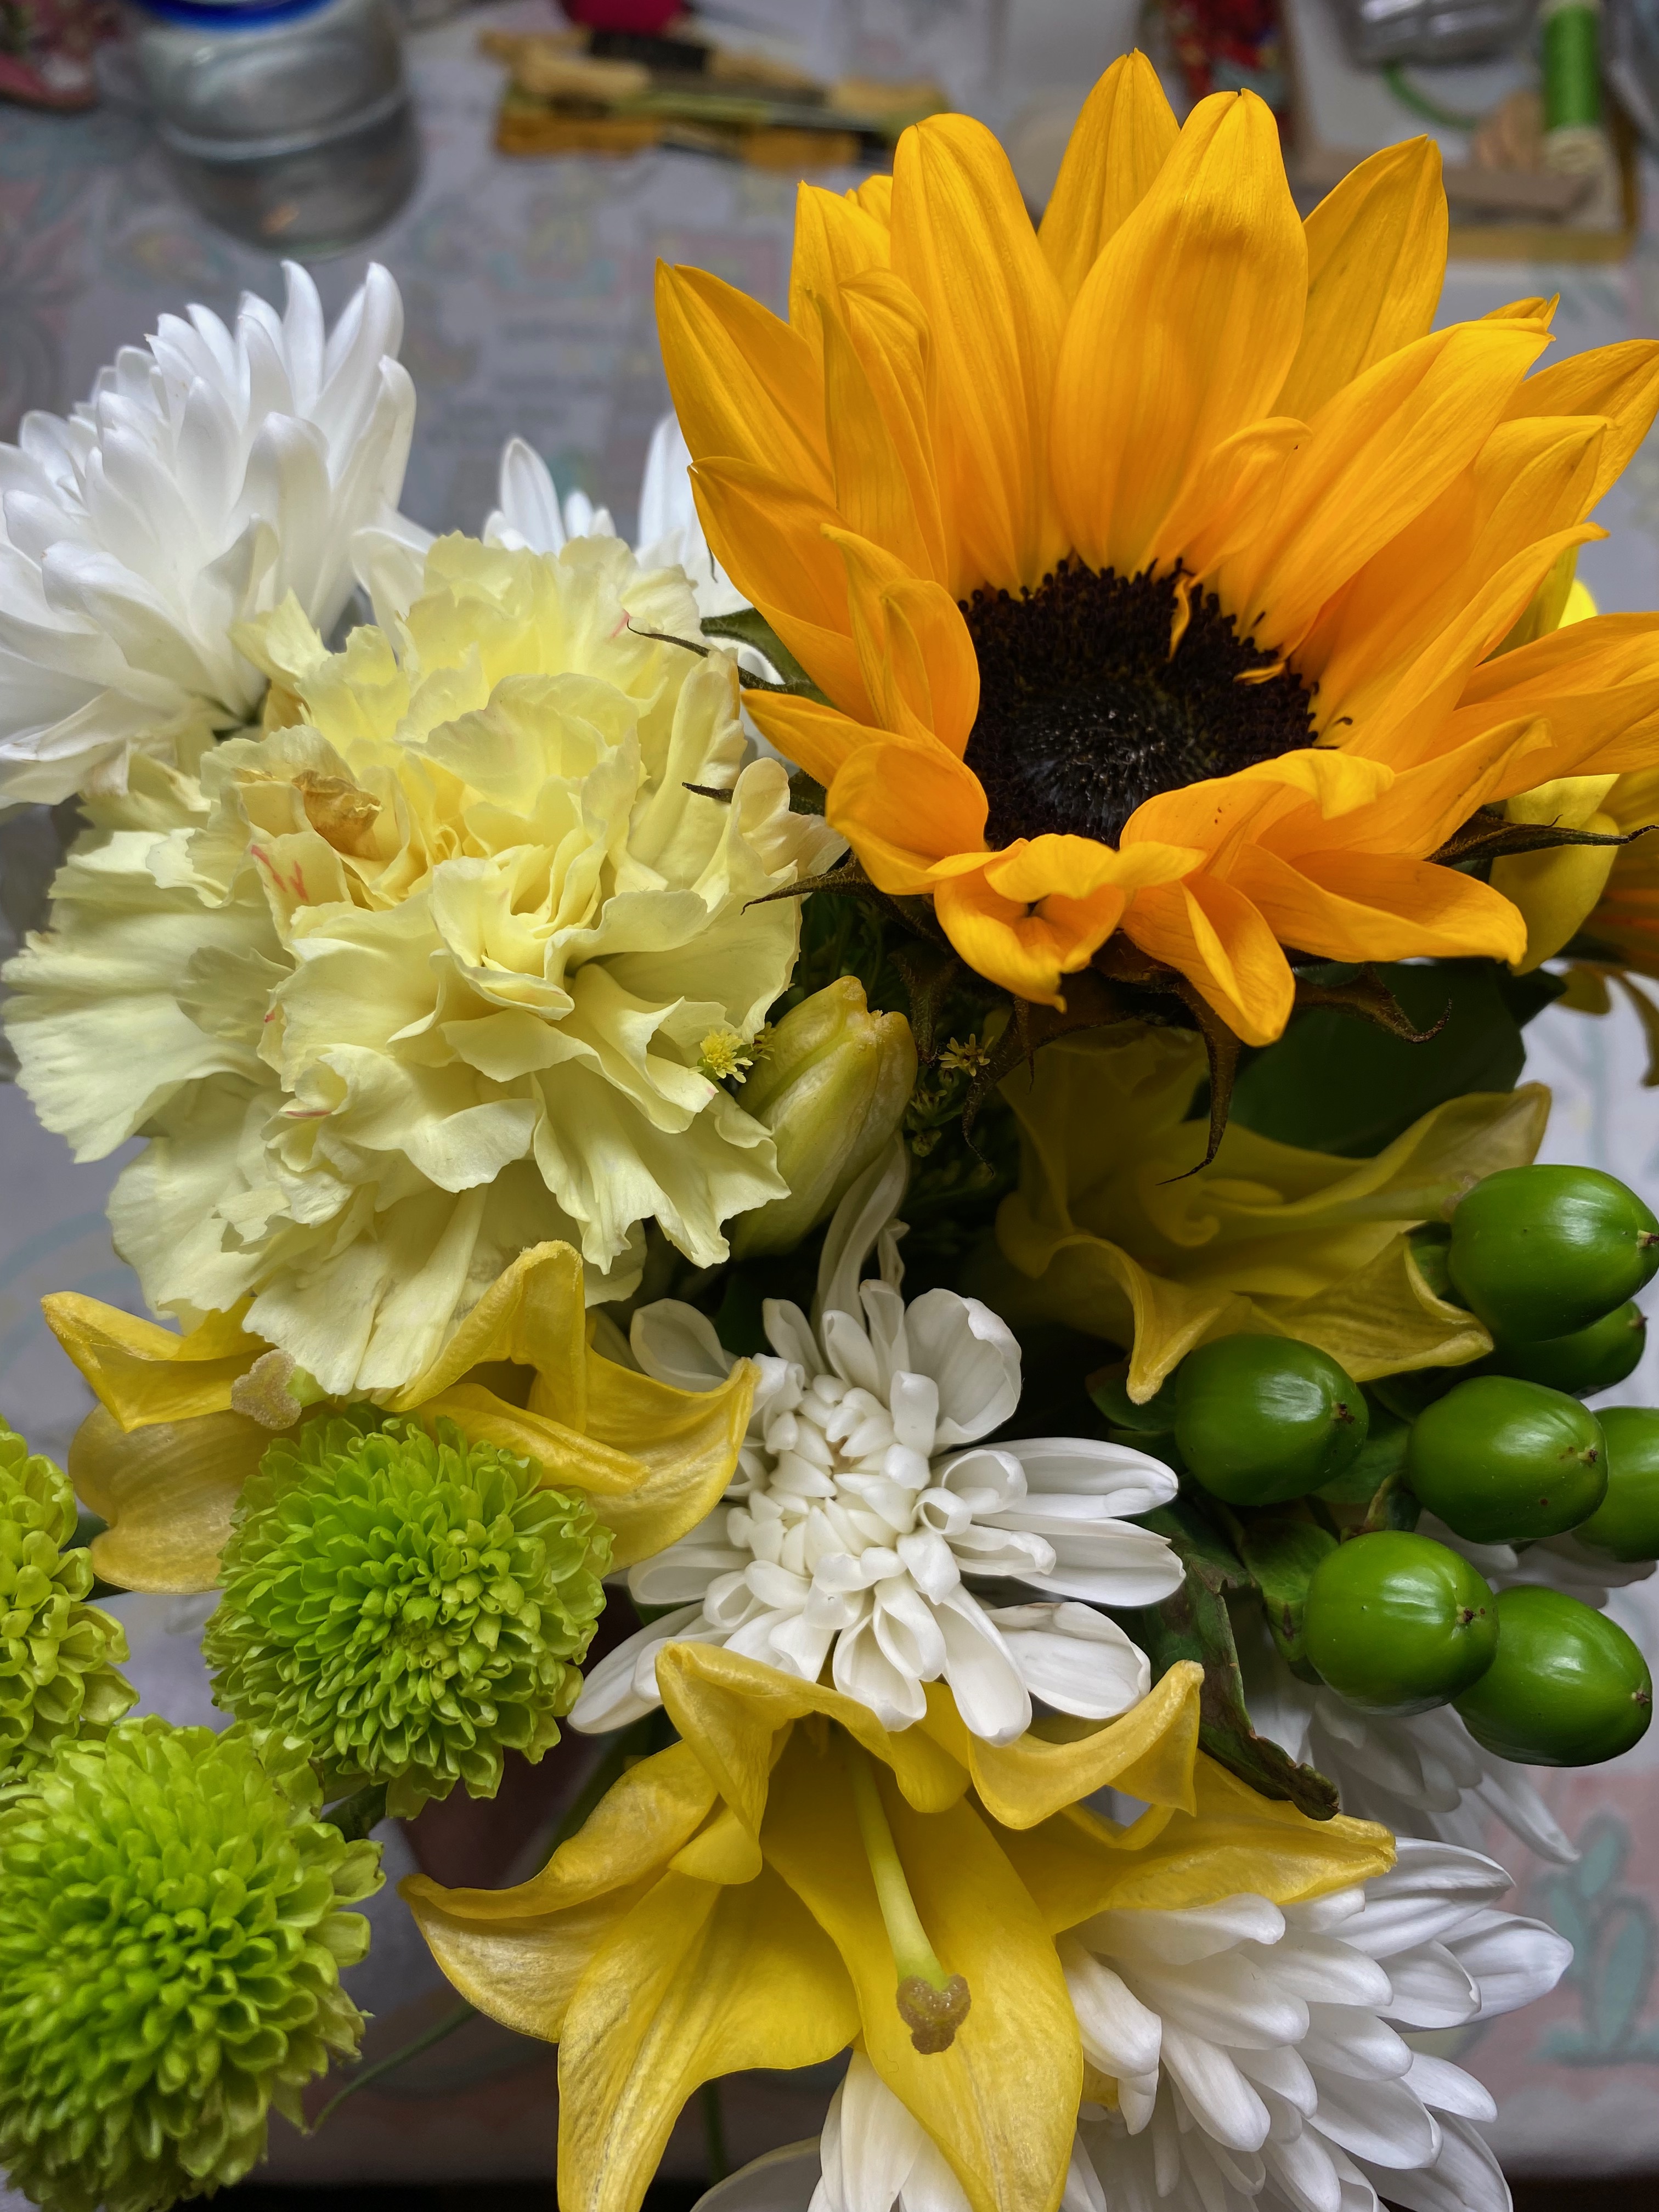
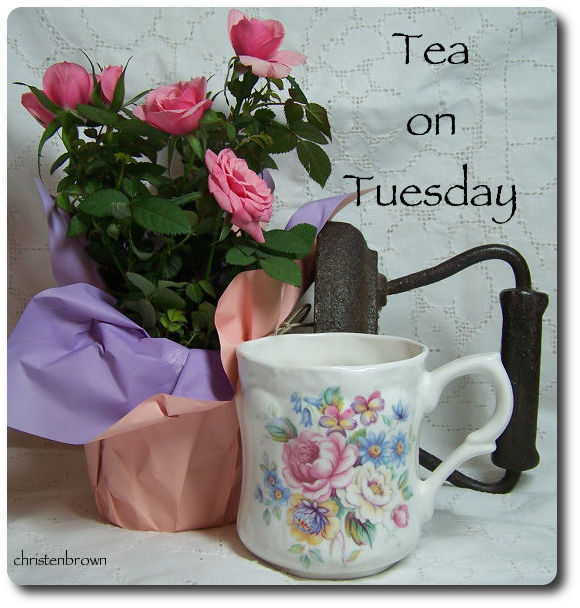
Tea today, is a hibiscus tea, a beautiful ruby red color, made from Nigerian hibiscus blossoms. Good job hibiscus! This is a lovely, juicy, herbal blend with hints of berry and citrus flavors. And look at those strawberries! Yummy, and again, good job, and shout-out to Mother Nature!
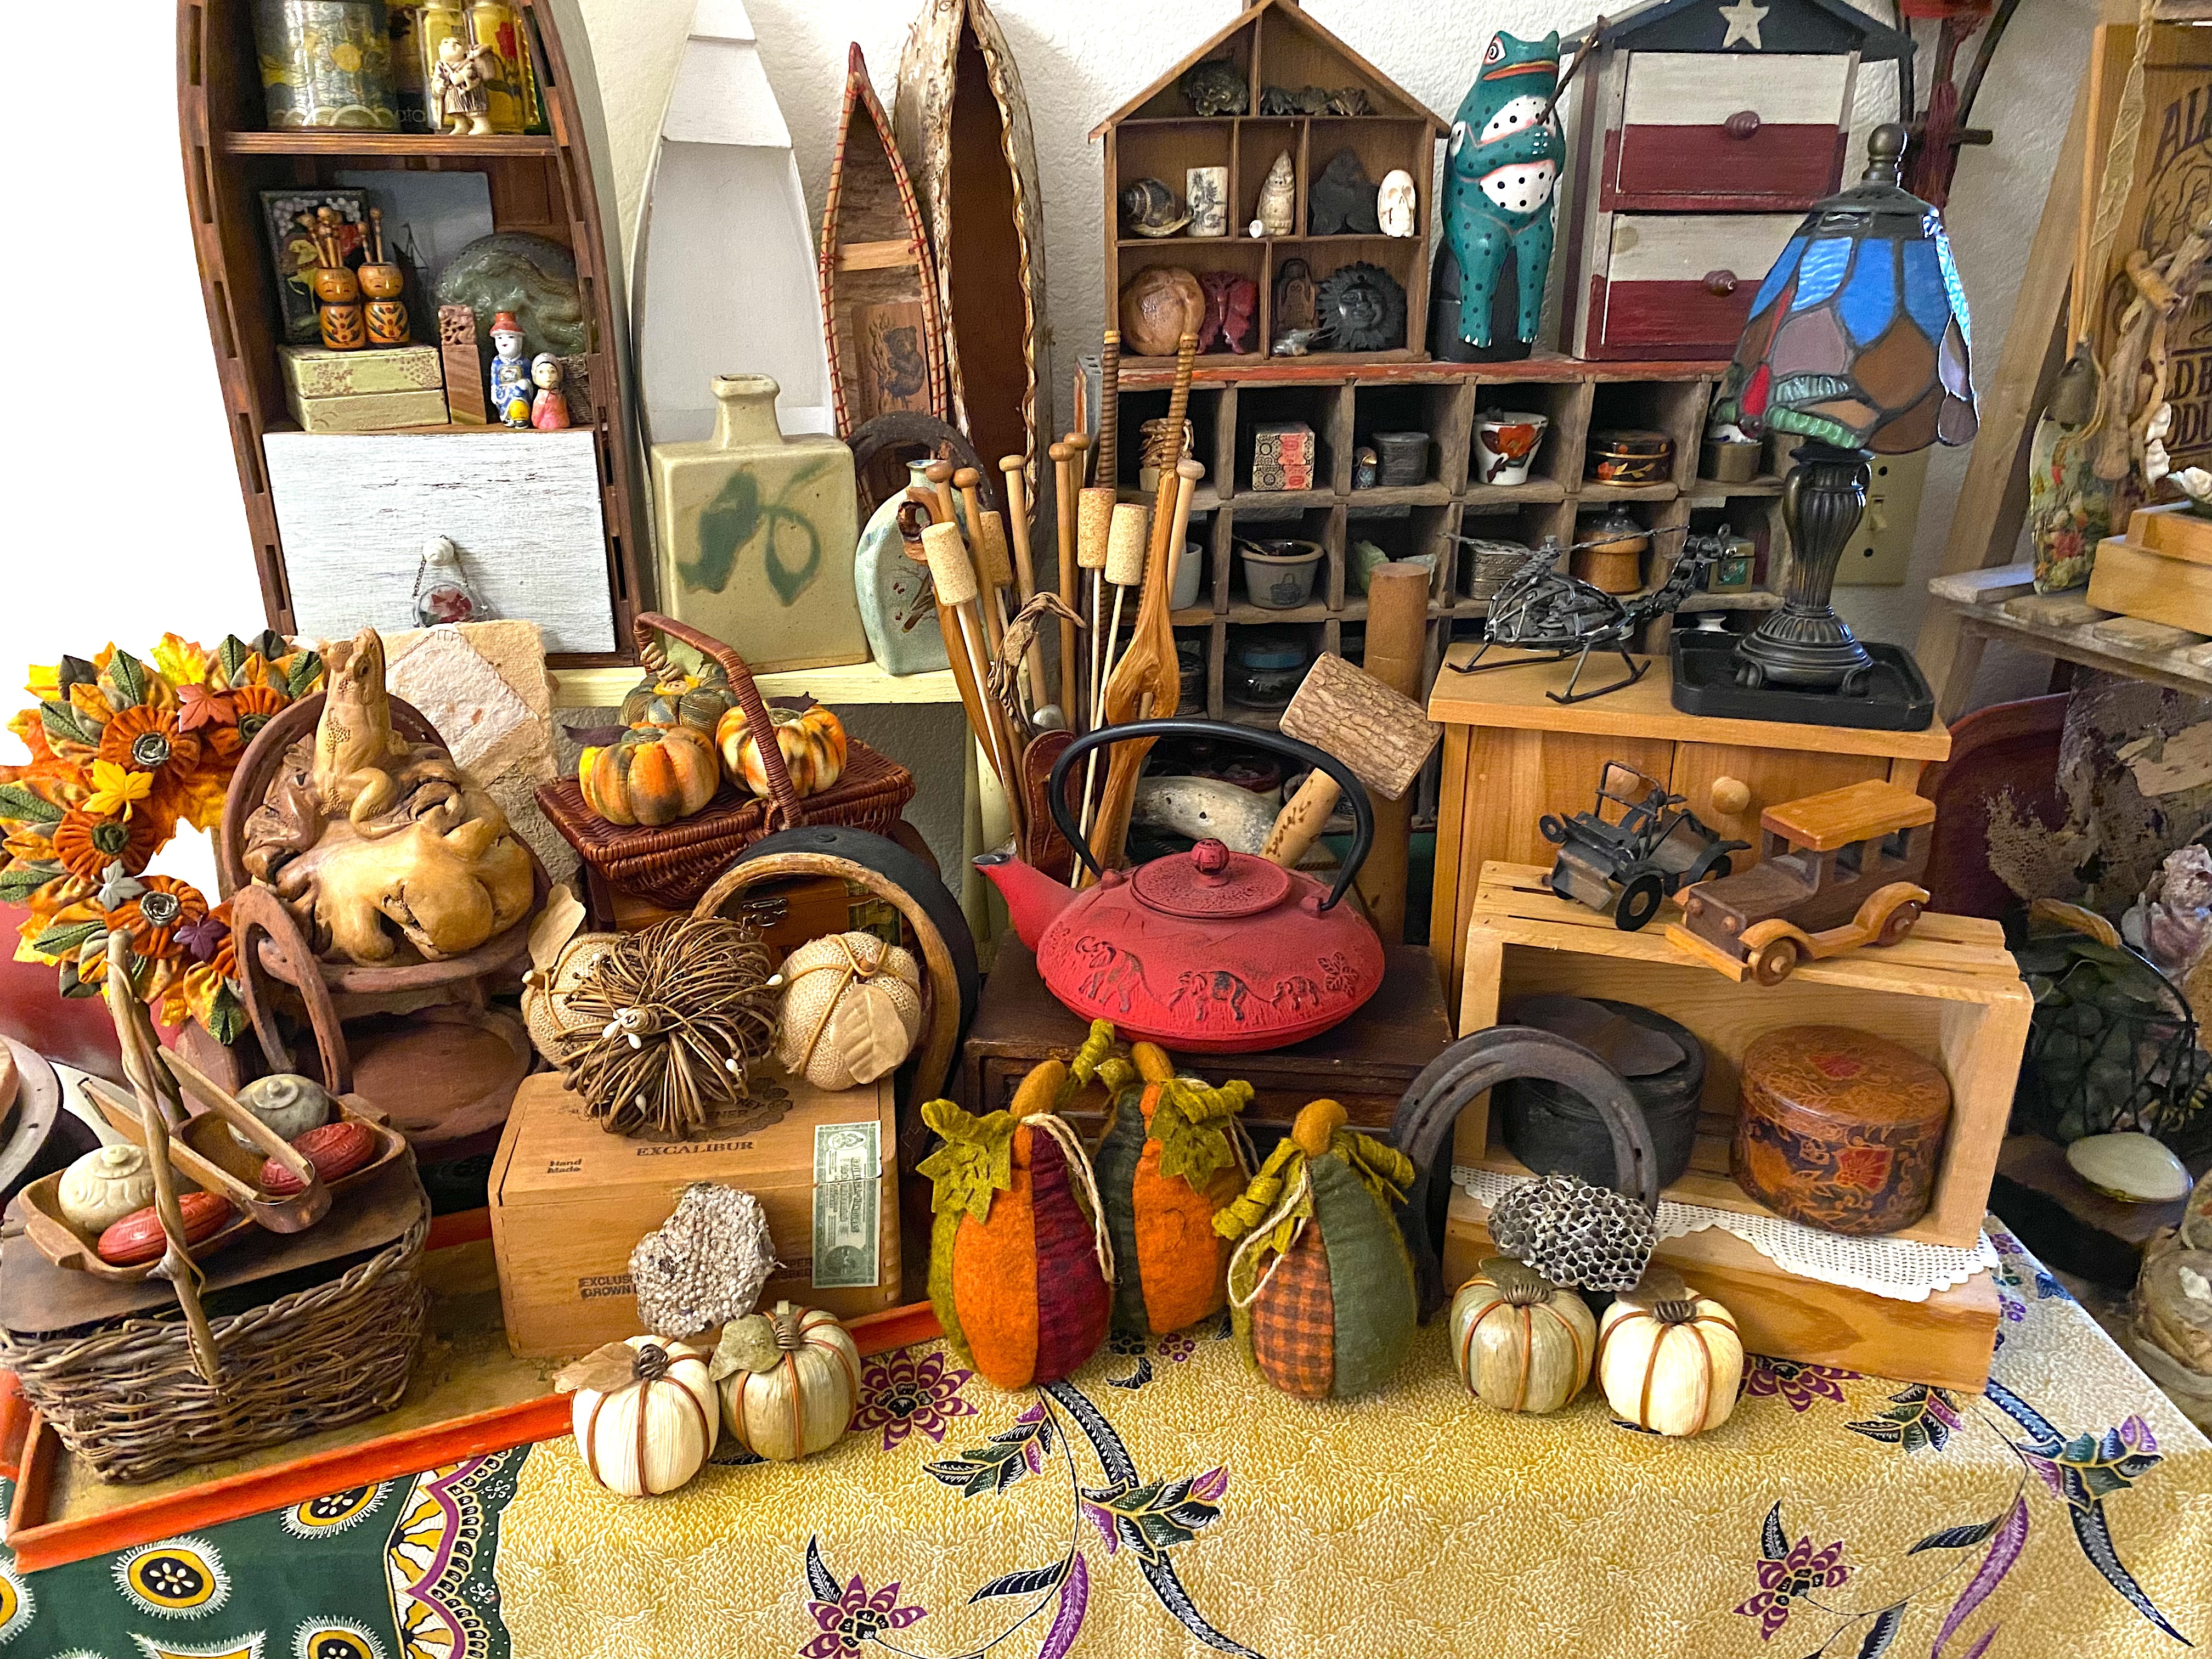
Tuesday is also my “Junking Day”, which I of course love to do. We have several stores in town, that I visit monthly. Usually I don’t have a purpose other than to peruse, and see what treasures I can find. I think that this leaves the options open to all sorts of possibilities.

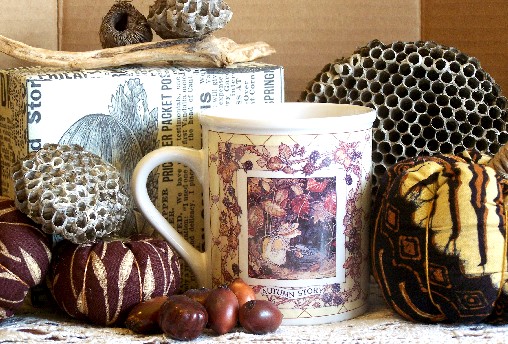
Here are some of last week’s finds, a cache of saltshakers that caught my eye. So, what can you do with saltshakers?
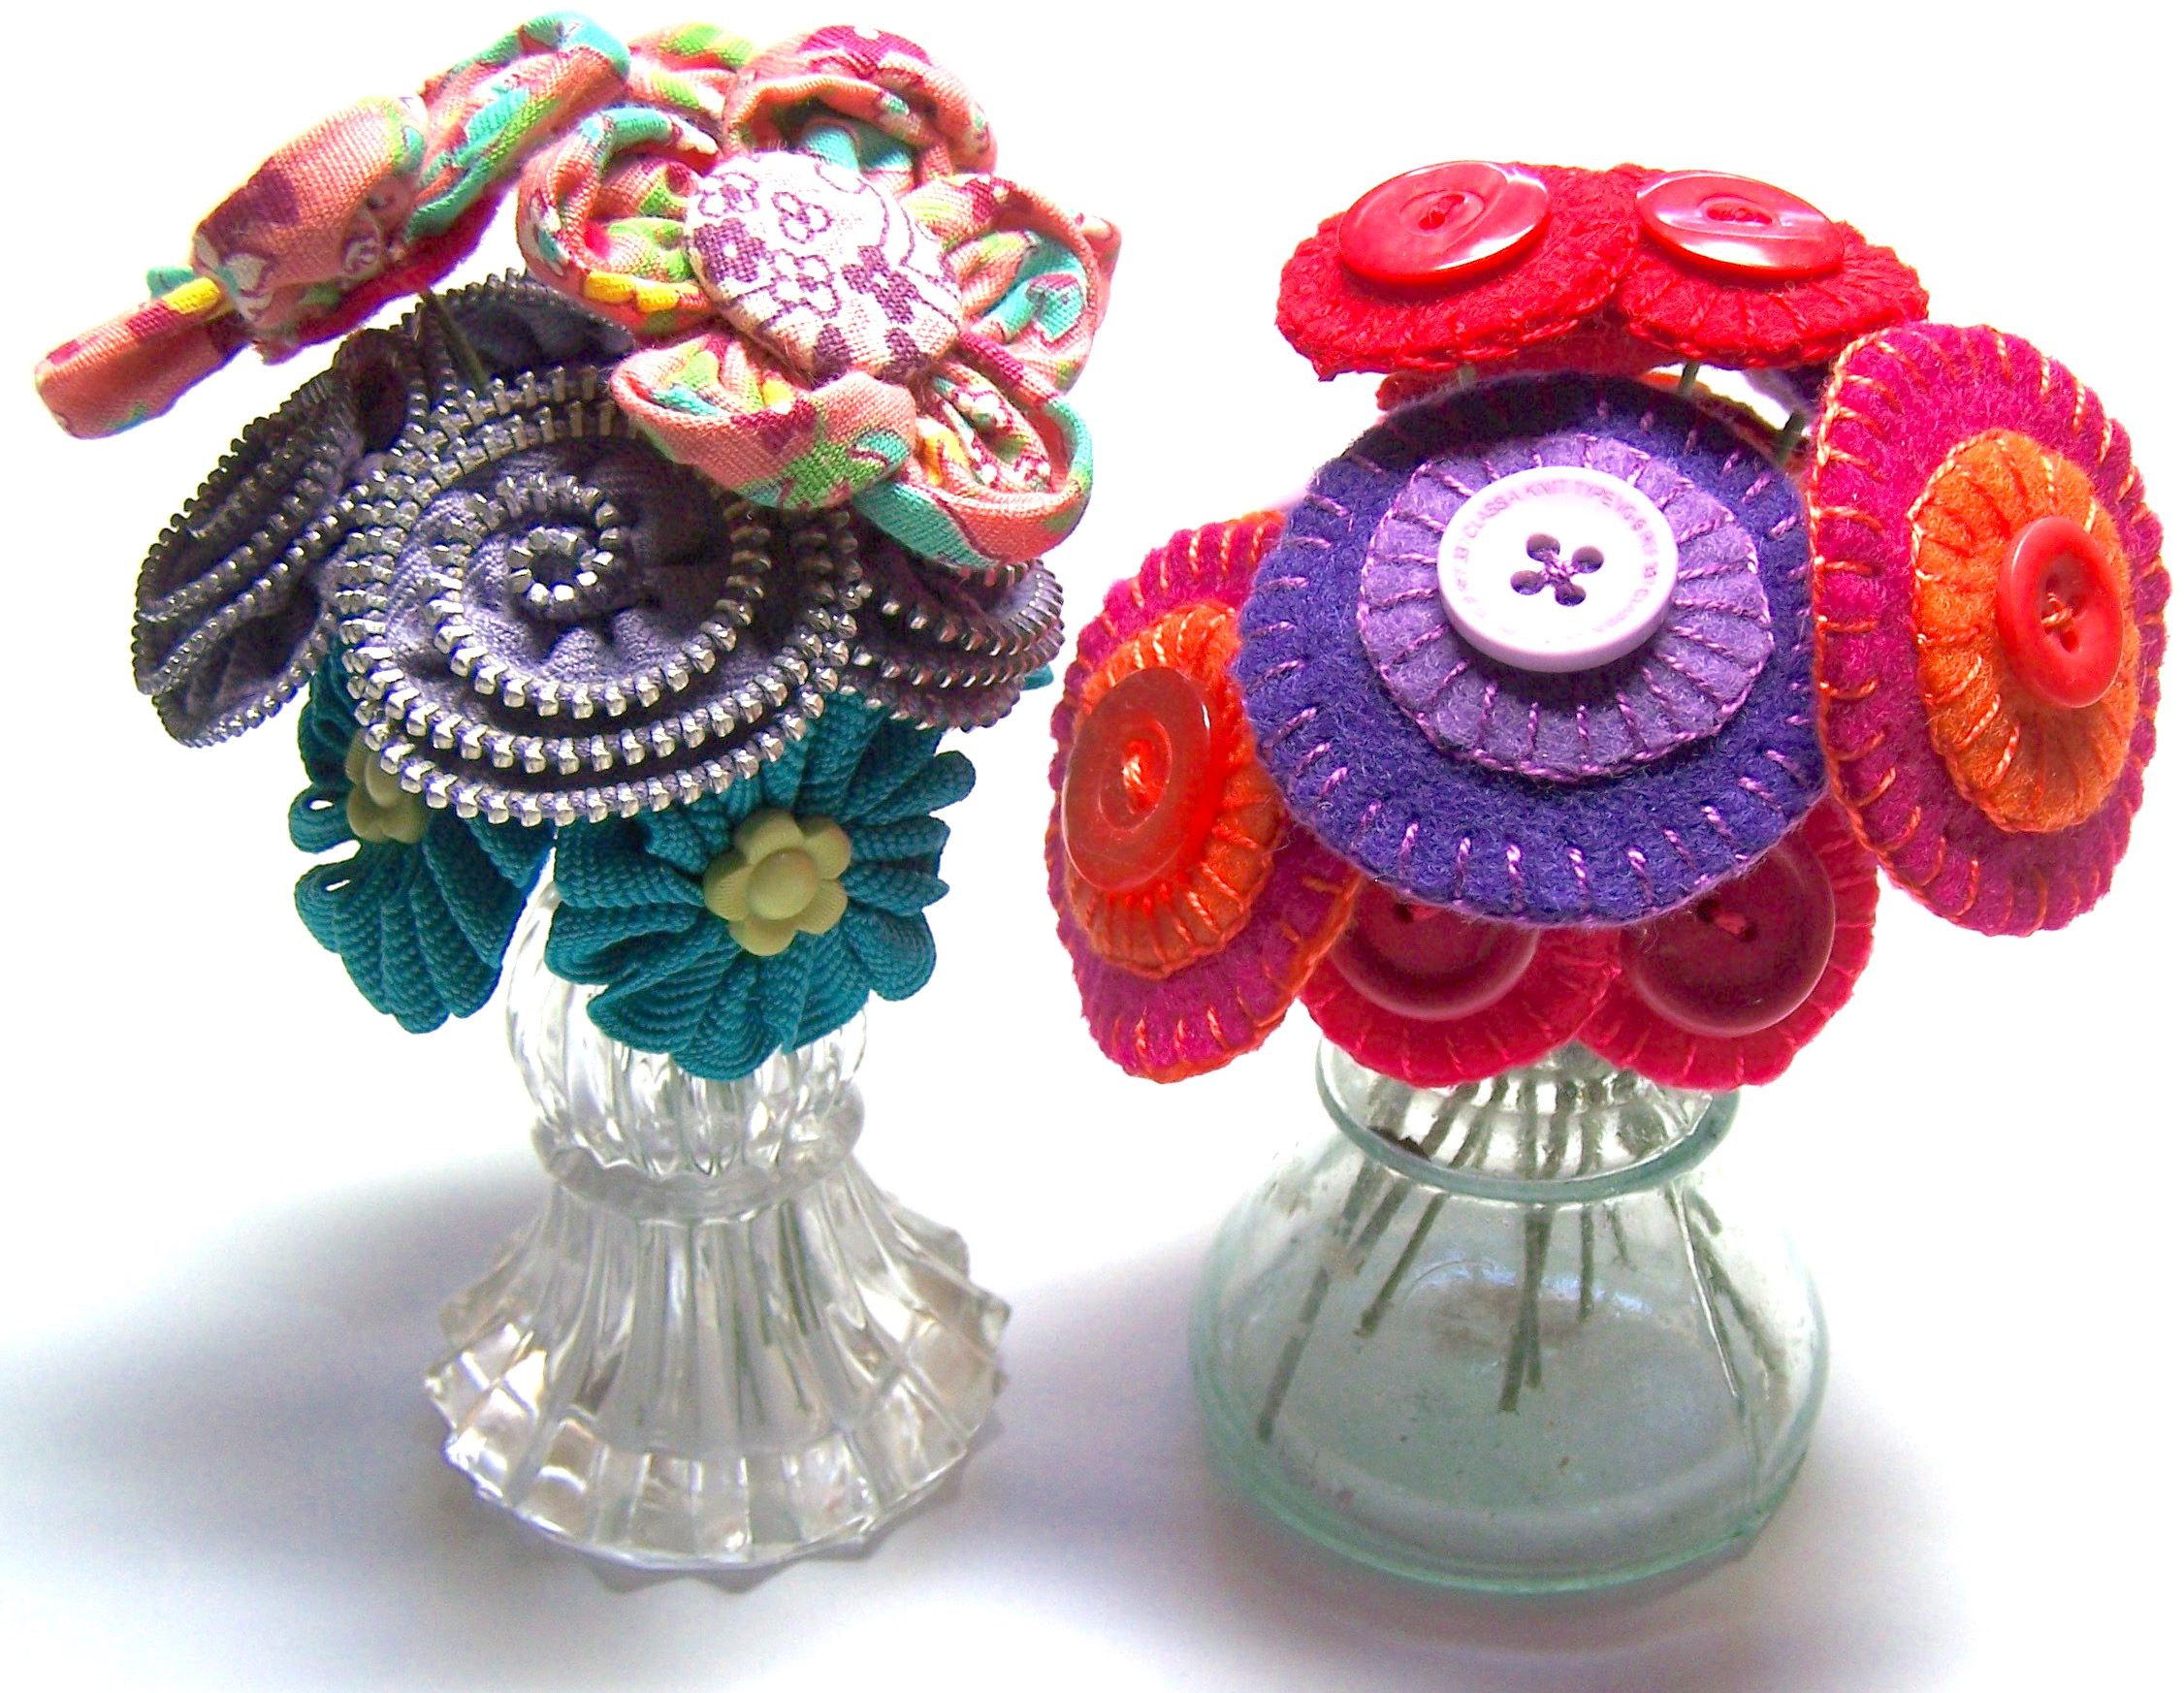


Tips: Repurposing Saltshakers
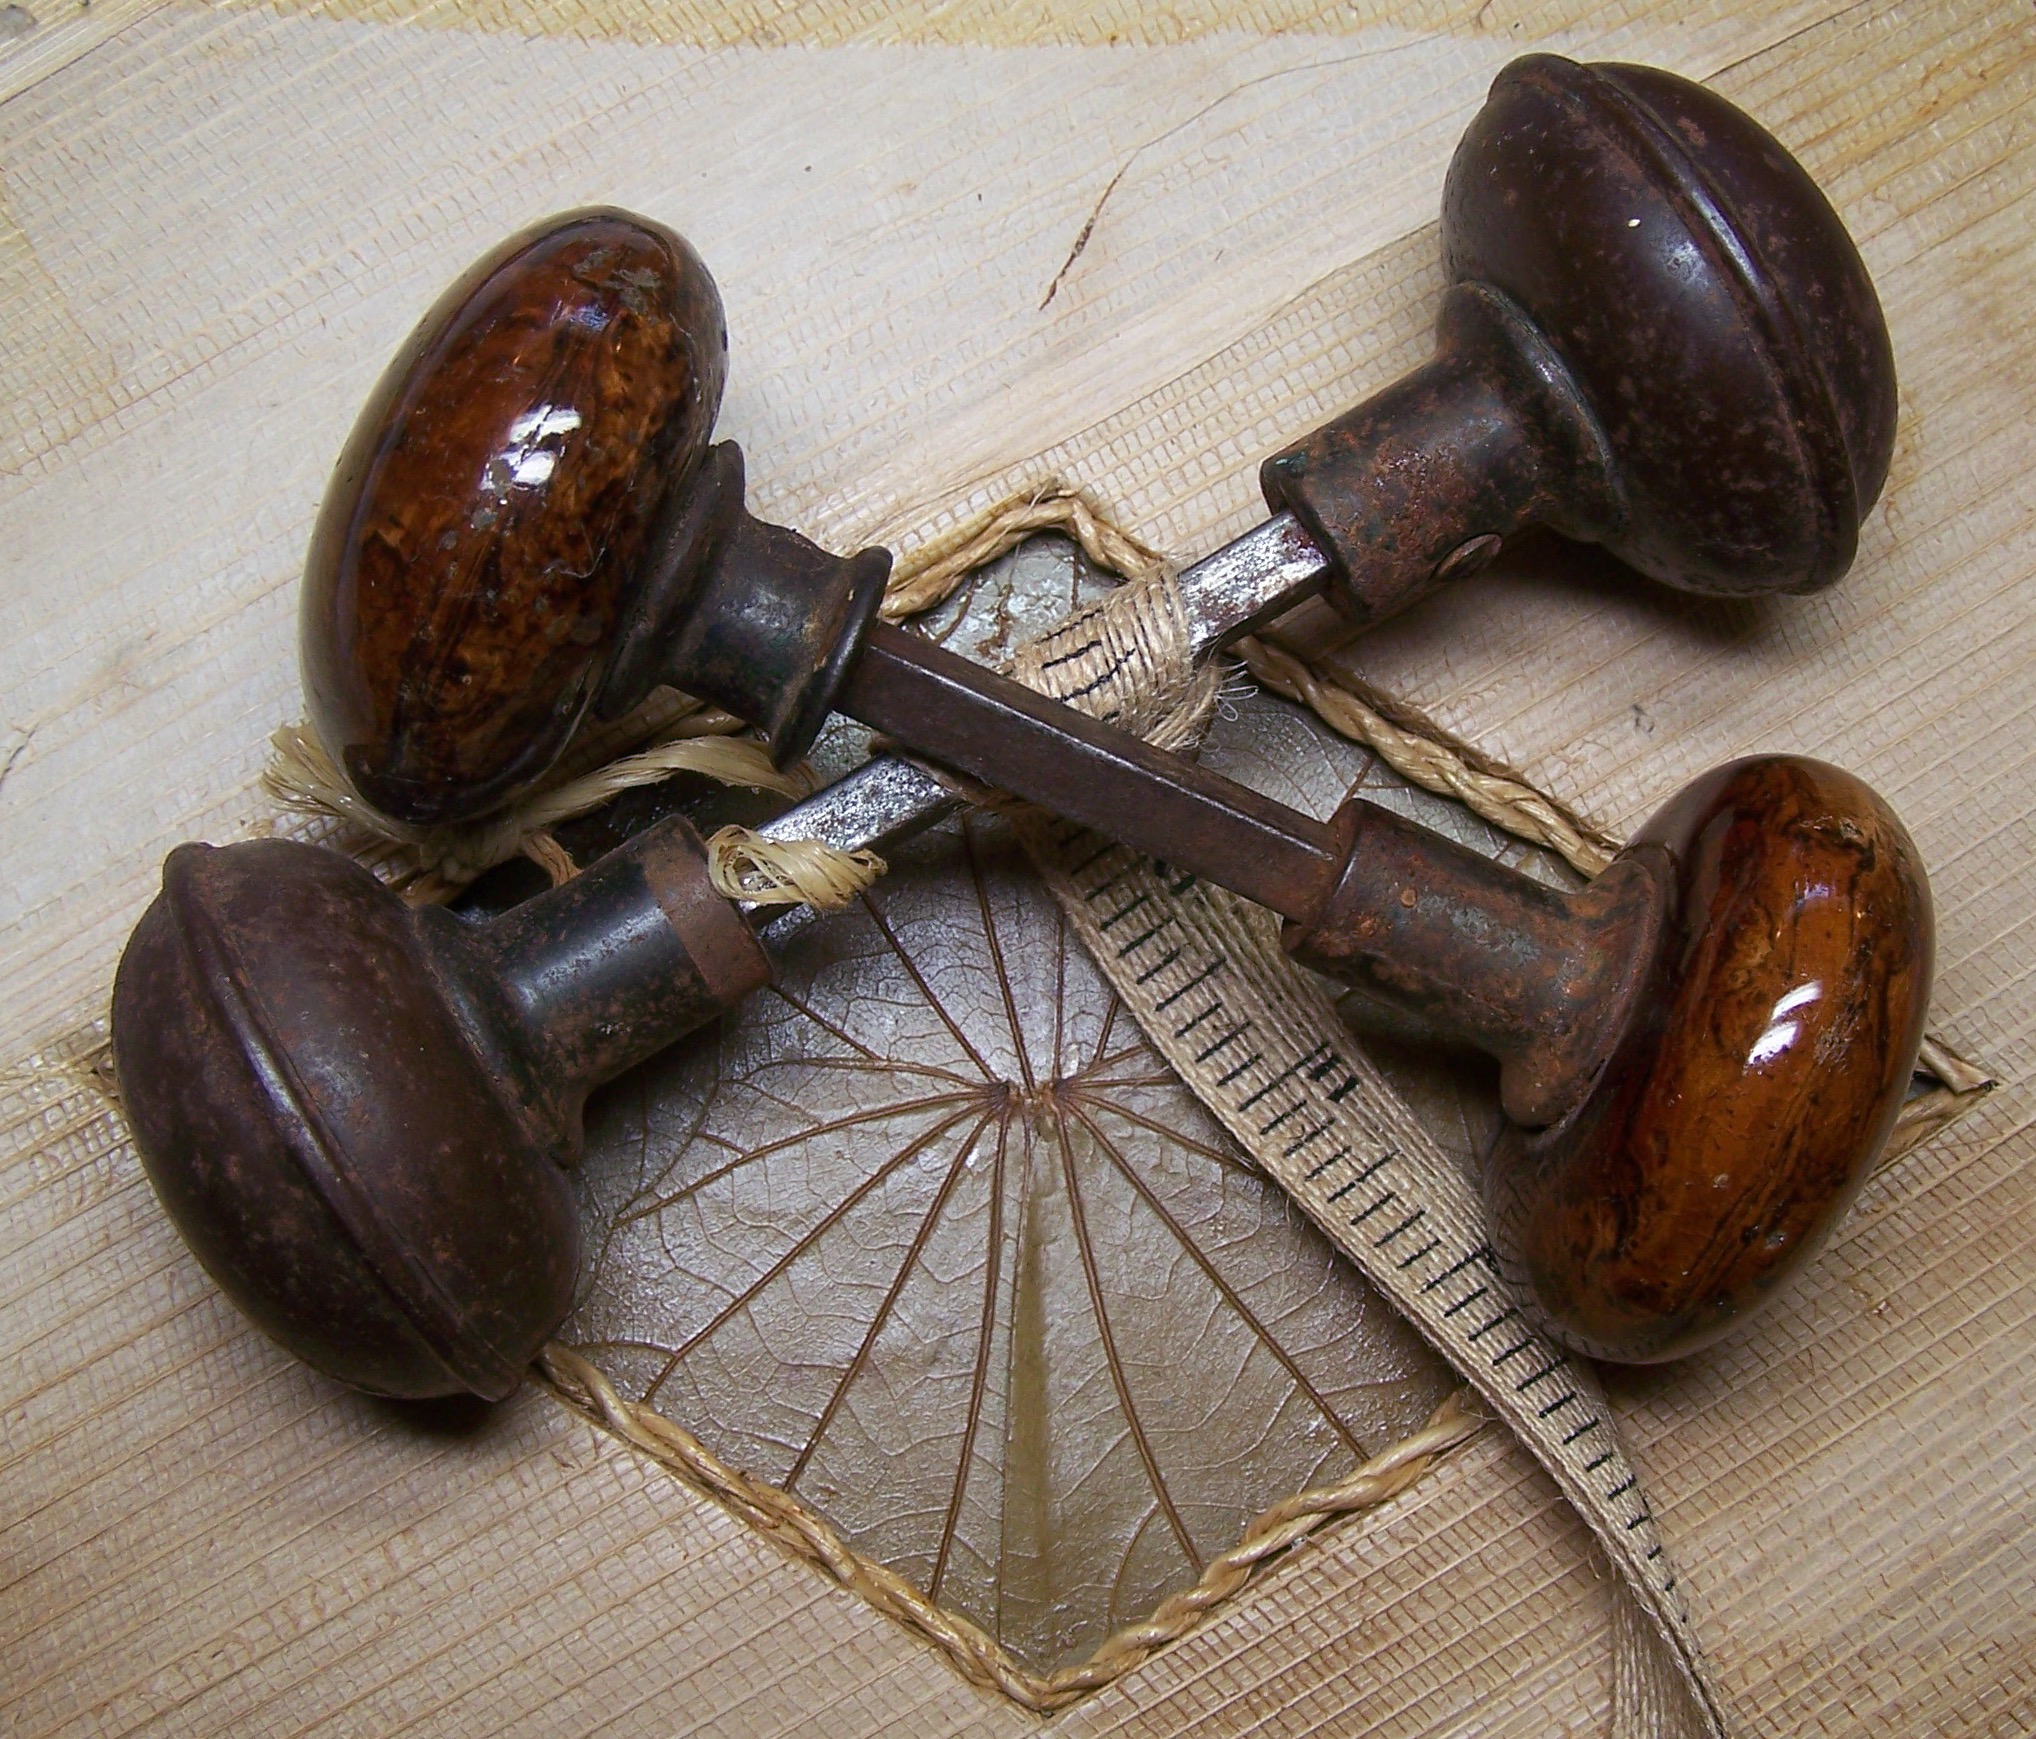
First thing to do is to give them a little clean up. I usually just pop them into the dishwasher, and voila, all clean. If you find a particularly “grungy” one, then let it soak in hot water and soap, rinse it when clean, and let it air-dry.
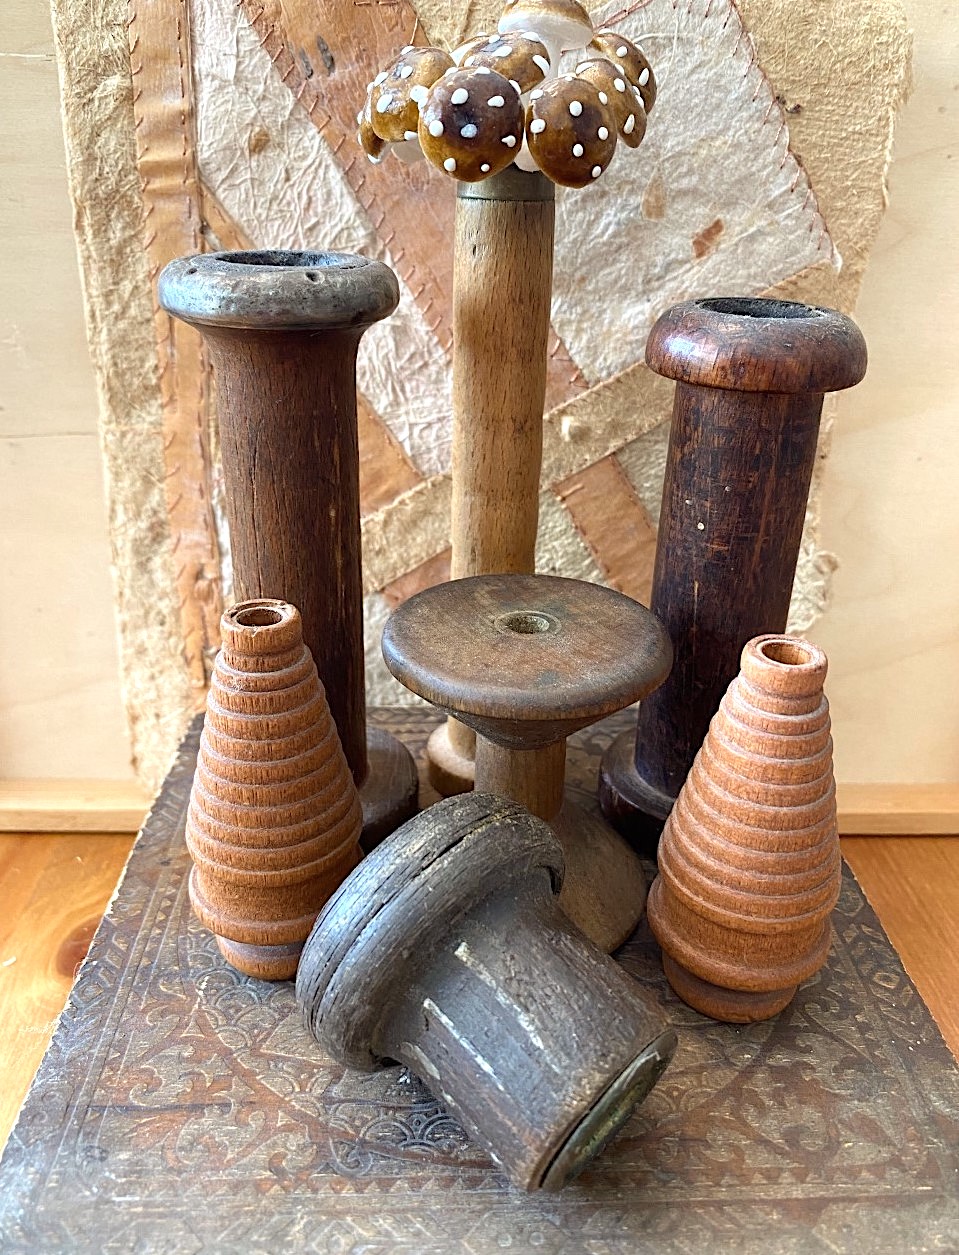
If the top of the shaker is rusted, or dented and not usable, then remove it, and fill the vessels with flowers on wire stems. Here are some suggestions:
- Fabric flowers, zipper roses, and rickrack flowers: see my book Creative Embroidery, Mixing the Old with the New.
- Penny circles: see my book Creative Embroidery, Mixing the Old with the New.
- French wired beaded flowers, this was from a class called Beautiful Beaded Blooms, that I used to teach. But you can find these in vintage shops or on-line resources.
- Ribbonwork flowers: see my books Ribbonwork Gardens and Ribbonwork Flowers.
If the top is usable, then the holes can be used to position the bouquet in an arrangement.
- I filled one of the saltshakers with mushrooms on wire stems. First remove the top, add the stems, then screw the top back on, and arrange the bouquet.
- Stick hat-pins or floral-pins into paper flowers, then insert into the holes in the top.
Happy tea drinking and stitching to you! ~Christen
PS: If you have any questions or thoughts, just leave a comment! See Tips, Tricks, the Basics, for more helpful ideas.