Archives

Kelp Scarf: class/tutorial

Kelp Scarf: 2 lessons/$25.00
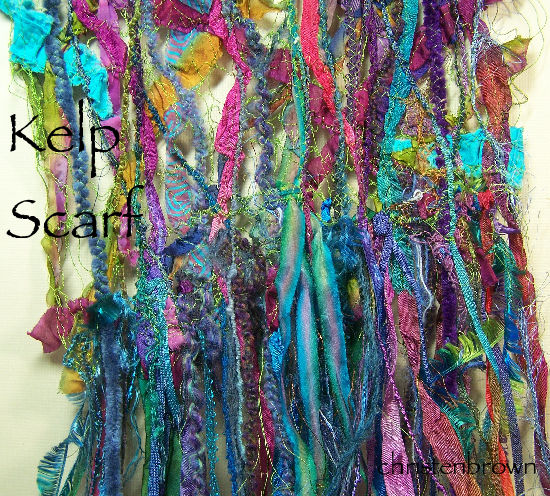
machine stitched threads and yarnsThis is truly a one of a kind scarf, that you can make with practically any fiber that you have on hand. You will make a stitched “mesh” using a Solvy base, and strips and scraps of fabric, decorative yarns, ribbons and metallic or rayon threads. The result will be a lightweight, colorful scarf that can be worn all year round. Fringe can be added at the ends for extra flare.

Skill Level Beginning: sewing machine knowledge needed

Lesson 1: In this class you will learn about working with rayon and metallic threads and using these to make your “mesh”. I will give you ideas on how to cut or strip your fabric, then stitch these onto the base.

Lesson 2: In this class I will show you how to incorporate the decorative yarns and ribbons to further enhance your scarf. The last step is to add the fringe and voila you are done!

Class Information

These classes can be purchased at any time, there is no set schedule.The class can be ordered by contacting Christen: thestoreonthecorner@gmail.com. She will send you an invoice through PayPal.

Once the class is paid for, the supply list will be sent out. The lessons will begin one week after the purchase of the class, unless otherwise stated. You will receive an email with the lesson attached. The following lesson/s will arrive one week after the previous lesson.

A high speed internet connection is recommended, and you must have basic computer and internet skills. You will need to be able know how to download and save a document to your computer’s hard drive, open it and print out a copy.

You can contact Christen with any questions pertaining to the class/class information throughout the length of the class.
Class fees will not be refunded.

Happy Stitching,

~Christen

Country Cottage Tussy Mussy: class/tutorial

Country Cottage Tussy Mussy: 2 lessons/$27.00

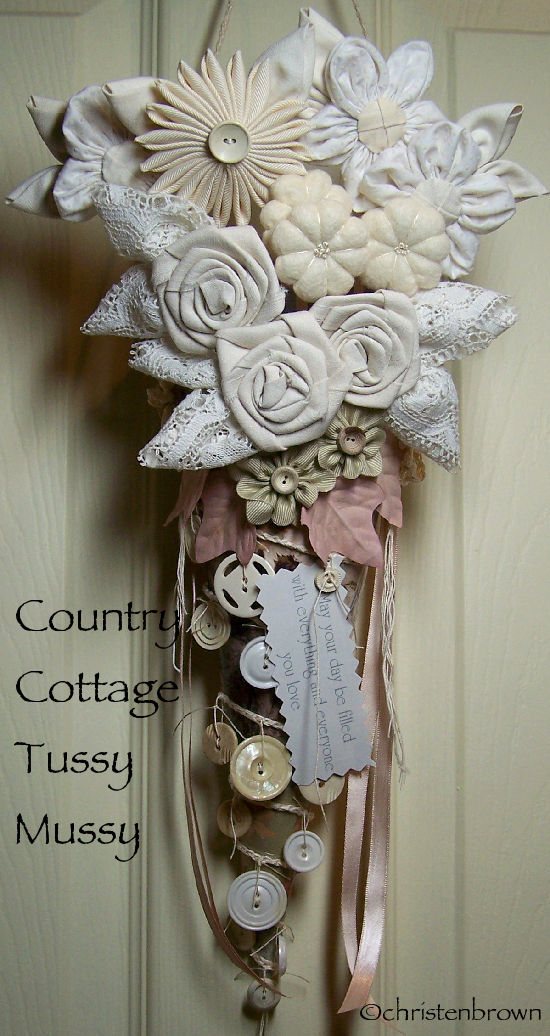
tussy mussyCreate a charming vintage, feminine or holiday decoration that will fit right in with any decor. Start with a cardboard cone that is covered with decorative papers, greeting cards, and other paper ephemera. This is further embellished with buttons, charms, and cords; ribbon and crochet flowers and more. The vessel will then be filled with fabric, ribbon, lace and felt flowers and leaves.

Skill Level Beginning: some hand sewing and embroidery skills needed

Lesson 1: In this lesson I will discuss themes, gathering, storing and choosing your components. Then the fun begins with paper collage including cutting and ripping techniques. The collaged vessel can be embellished with pens, stamps, trims, ribbons, lace, buttons and more!

Lesson 2: In this lesson you will learn how to make the flowers and leaves, then assembling them in the cone. The flowers include the shabby rose, five-petal flower, spiked sunflower, stuffed posy, ricrac daisy, crochet mum and lace leaves.

Class Information

These classes can be purchased at any time, there is no set schedule.The class can be ordered by contacting Christen: thestoreonthecorner@gmail.com. She will send you an invoice through PayPal.

Once the class is paid for, the supply list will be sent out. The lessons will begin one week after the purchase of the class, unless otherwise stated. You will receive an email with the lesson attached. The following lesson/s will arrive one week after the previous lesson.

A high speed internet connection is recommended, and you must have basic computer and internet skills. You will need to be able know how to download and save a document to your computer’s hard drive, open it and print out a copy.

You can contact Christen with any questions pertaining to the class/class information throughout the length of the class.
Class fees will not be refunded.

Happy Stitching,

~Christen

Embellished Silk Treasures: class/tutorial

Embellished Silk Treasures: 3 lessons/$30.00

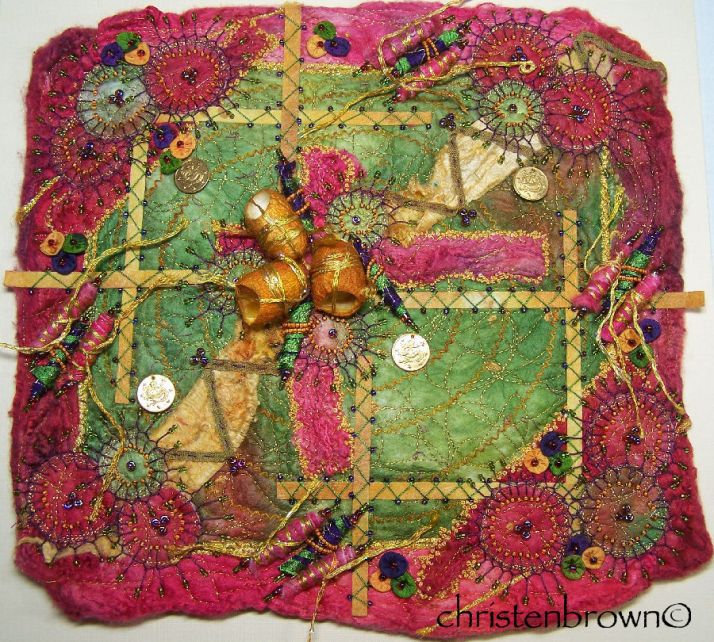
silk painter's hankiesIn this class you will take a two silk painter’s hankies and turn them into a work of art! The hankies will be split, sandwiched, then machine stitched into a framed silk canvas base. This silken canvas will be embellished with a Painter’s Potpourri Pack full of threads, cocoons, a silk carrier rod and assorted threads. But the embellishments do not stop there! You will make your own beads and button shapes; and cut the pelmet Vilene into strips. These components will then be embroidered to the silk canvas with silk buttonhole twist. Directions will also be given to make silk ribbon pods and additional fabric beads. A few simple embroidered and beaded stitches will add that final touch, turning this unusual group of materials into a one of a kind Embellished Silk Treasure.

Skill Level Intermediate: sewing machine and embroidery knowledge needed

Lesson 1: In this class you will take the silk hankies and create a canvas with a backing material and lots of machine stitching. One hanky will form the center of the canvas, and another will form the frame. Paint and the dyed yarns from the Painter’s Potpourri pack will be used to further embellish the surface of the canvas.

Lesson 2: In this class you will cut the pelmet Vilene into strips or shapes; and make button rounds and fabric beads from the machine stitched hankies. Other embellishment options will be discussed along with the design of these components. Silk ribbon pods, with thread embellished beads and cocoons will help to complete the design.

Lesson 3: In this class you will learn the embroidery stitches which include: straight, herringbone, Cretan, and colonial knot. These are used to attach the design components to the canvas. A few simple beaded stitches such as single, double, detail bead and long loops will be added to finish the design. Suggestions for backing the canvas will also be included.

Class Information

These classes can be purchased at any time, there is no set schedule.The class can be ordered by contacting Christen: thestoreonthecorner@gmail.com. She will send you an invoice through PayPal.

Once the class is paid for, the supply list will be sent out. The lessons will begin one week after the purchase of the class, unless otherwise stated. You will receive an email with the lesson attached. The following lesson/s will arrive one week after the previous lesson.

A high speed internet connection is recommended, and you must have basic computer and internet skills. You will need to be able know how to download and save a document to your computer’s hard drive, open it and print out a copy.

You can contact Christen with any questions pertaining to the class/class information throughout the length of the class.
Class fees will not be refunded.

Happy Stitching,

~Christen

Cameos and Lace

cameos and lace

Cameos and Lace

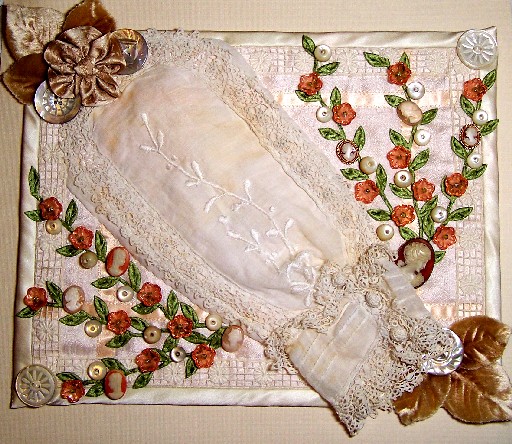
The vintage sleeve was found at an antique store, I don’t know who wore it, but she must have looked very lovely if the lace and embroidery on her sleeve are any indication. I added in cameos because I always thought that they represented the best of a proper ladies jewelry. One set that was a brooch and a pair of earrings that had belonged to my husband’s grandmother; the other pieces are shell and resin that I gathered from here and there.

The lace around the picture was a gift from my husband’s brother’s wife’s mother’s husband (whew!), and there is a lot more where that came from and will be used in many projects to come. The Mother of Pearl buttons are all vintage; the tiniest of them are whistle buttons, the larger have a pink and green shimmer. The glass flowers add just the right amount of color here picking up some of the rose color of the cameos. The velvet milliner’s leaves are from an old hat and the ribbon flower is of my own design.

Happy Stitching! ~Christen

The Castle Door

The Castle Door

The Castle Door

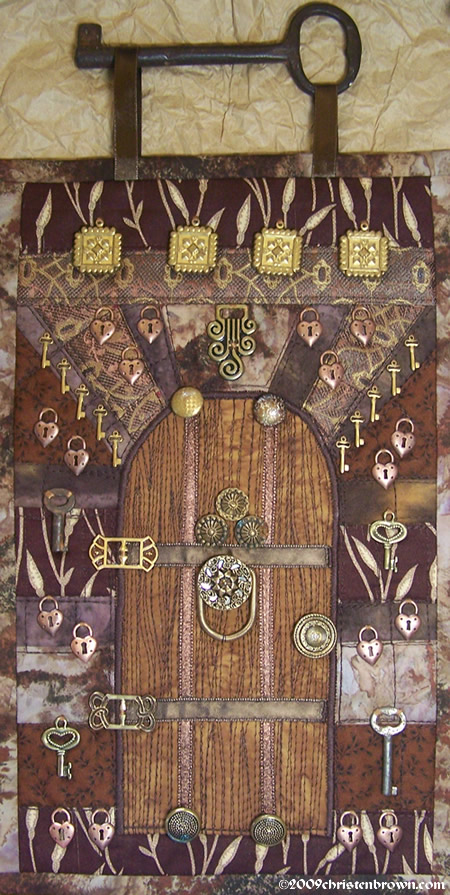
I thought of an image of an old castle door that had been weathered, with a big door knocker, a brass knob and big hinges. I searched Ebay and found this large old key that is used for the hanger here; I also found a few old skeleton keys to add in here and there with my newer keys and heart shaped locks. The base is machine pieced and machine quilted. The  charms, keys and buttons are attached with embroidery floss.

Happy Stitching! ~Christen

Through the Fairie’s Window

Through the Fairies Window

Through the Fairie’s Window

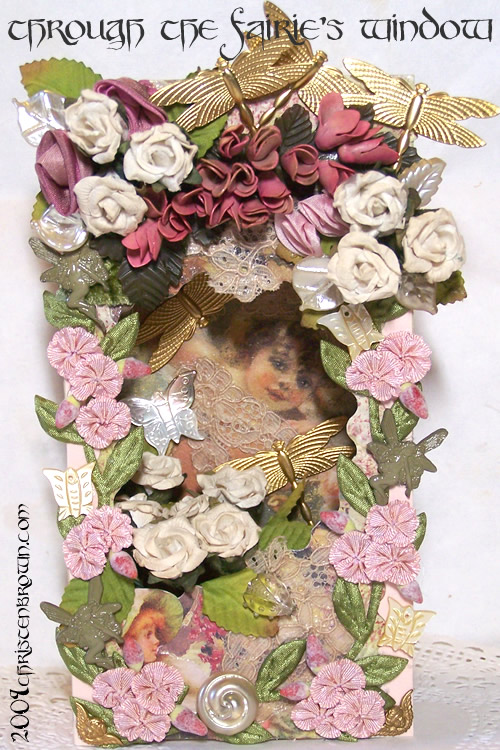
I started with a cardboard box from my face lotion which I had taken out the clear cellophane window. I gathered three greeting cards and cut, painted and cropped until I got the right length for each image. I glued these onto the box along with bits of vintage lace. I then added a clear glaze which crazed wonderfully (but I don’t think that it was supposed to!). The box is 6-1/2″ tall x 3-1/2″ wide x 1-3/8″ deep.

I added a vine of fabric leaves along the edges; a vintage celluloid pin of pink roses; vintage paper roses which are peaking out of the inside of the box and the top of the box; vintage painted glass leaves; mother of pearl butterfly charms; gold dragonfly charms; plastic fairy charms; a glass lady bug; and handmade flowers made from vintage ruffled ribbon.

Through the Fairie’s Window

Peering through the garden’s window
Amongst the roses and the garden vine,

I see you are already waiting there for me
Fairy fare dear friend of mine.

Who is looking through your window and asking you to play? Enjoy your day! Christen