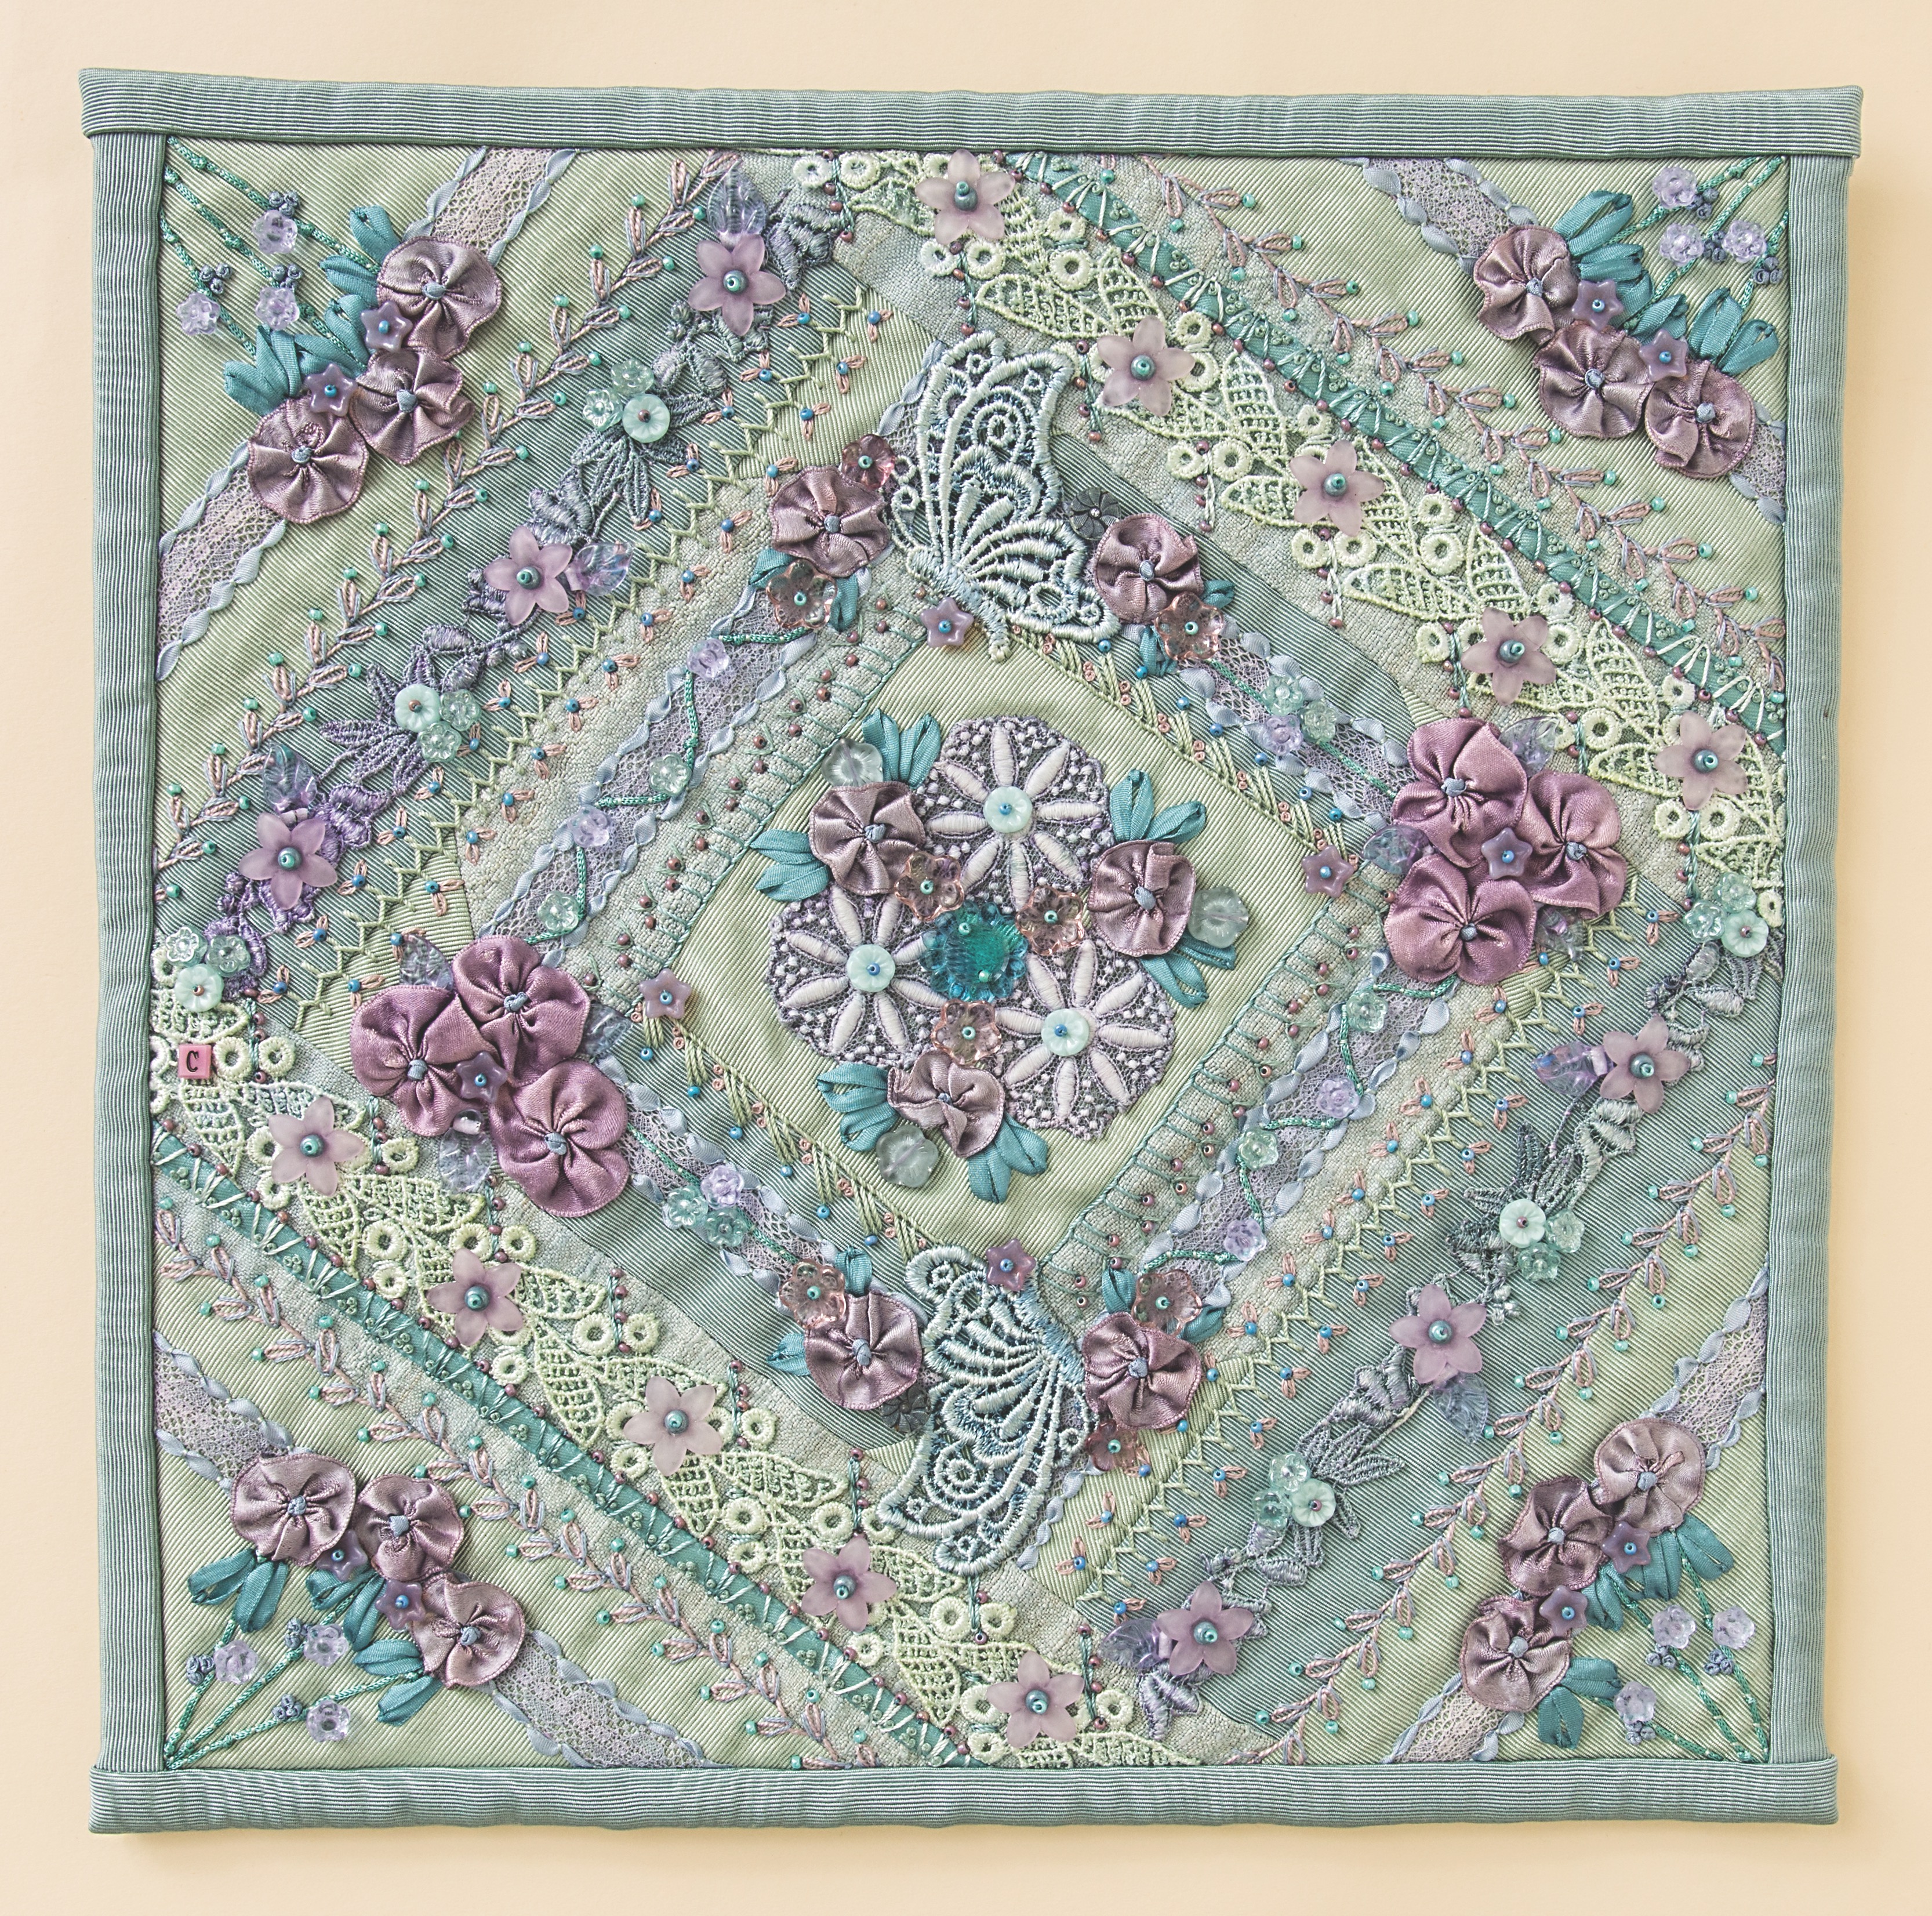
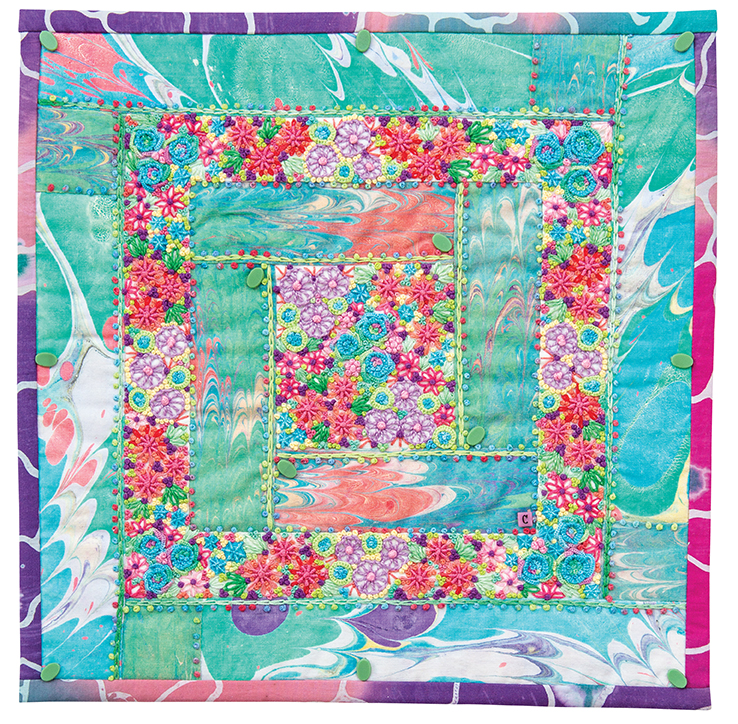
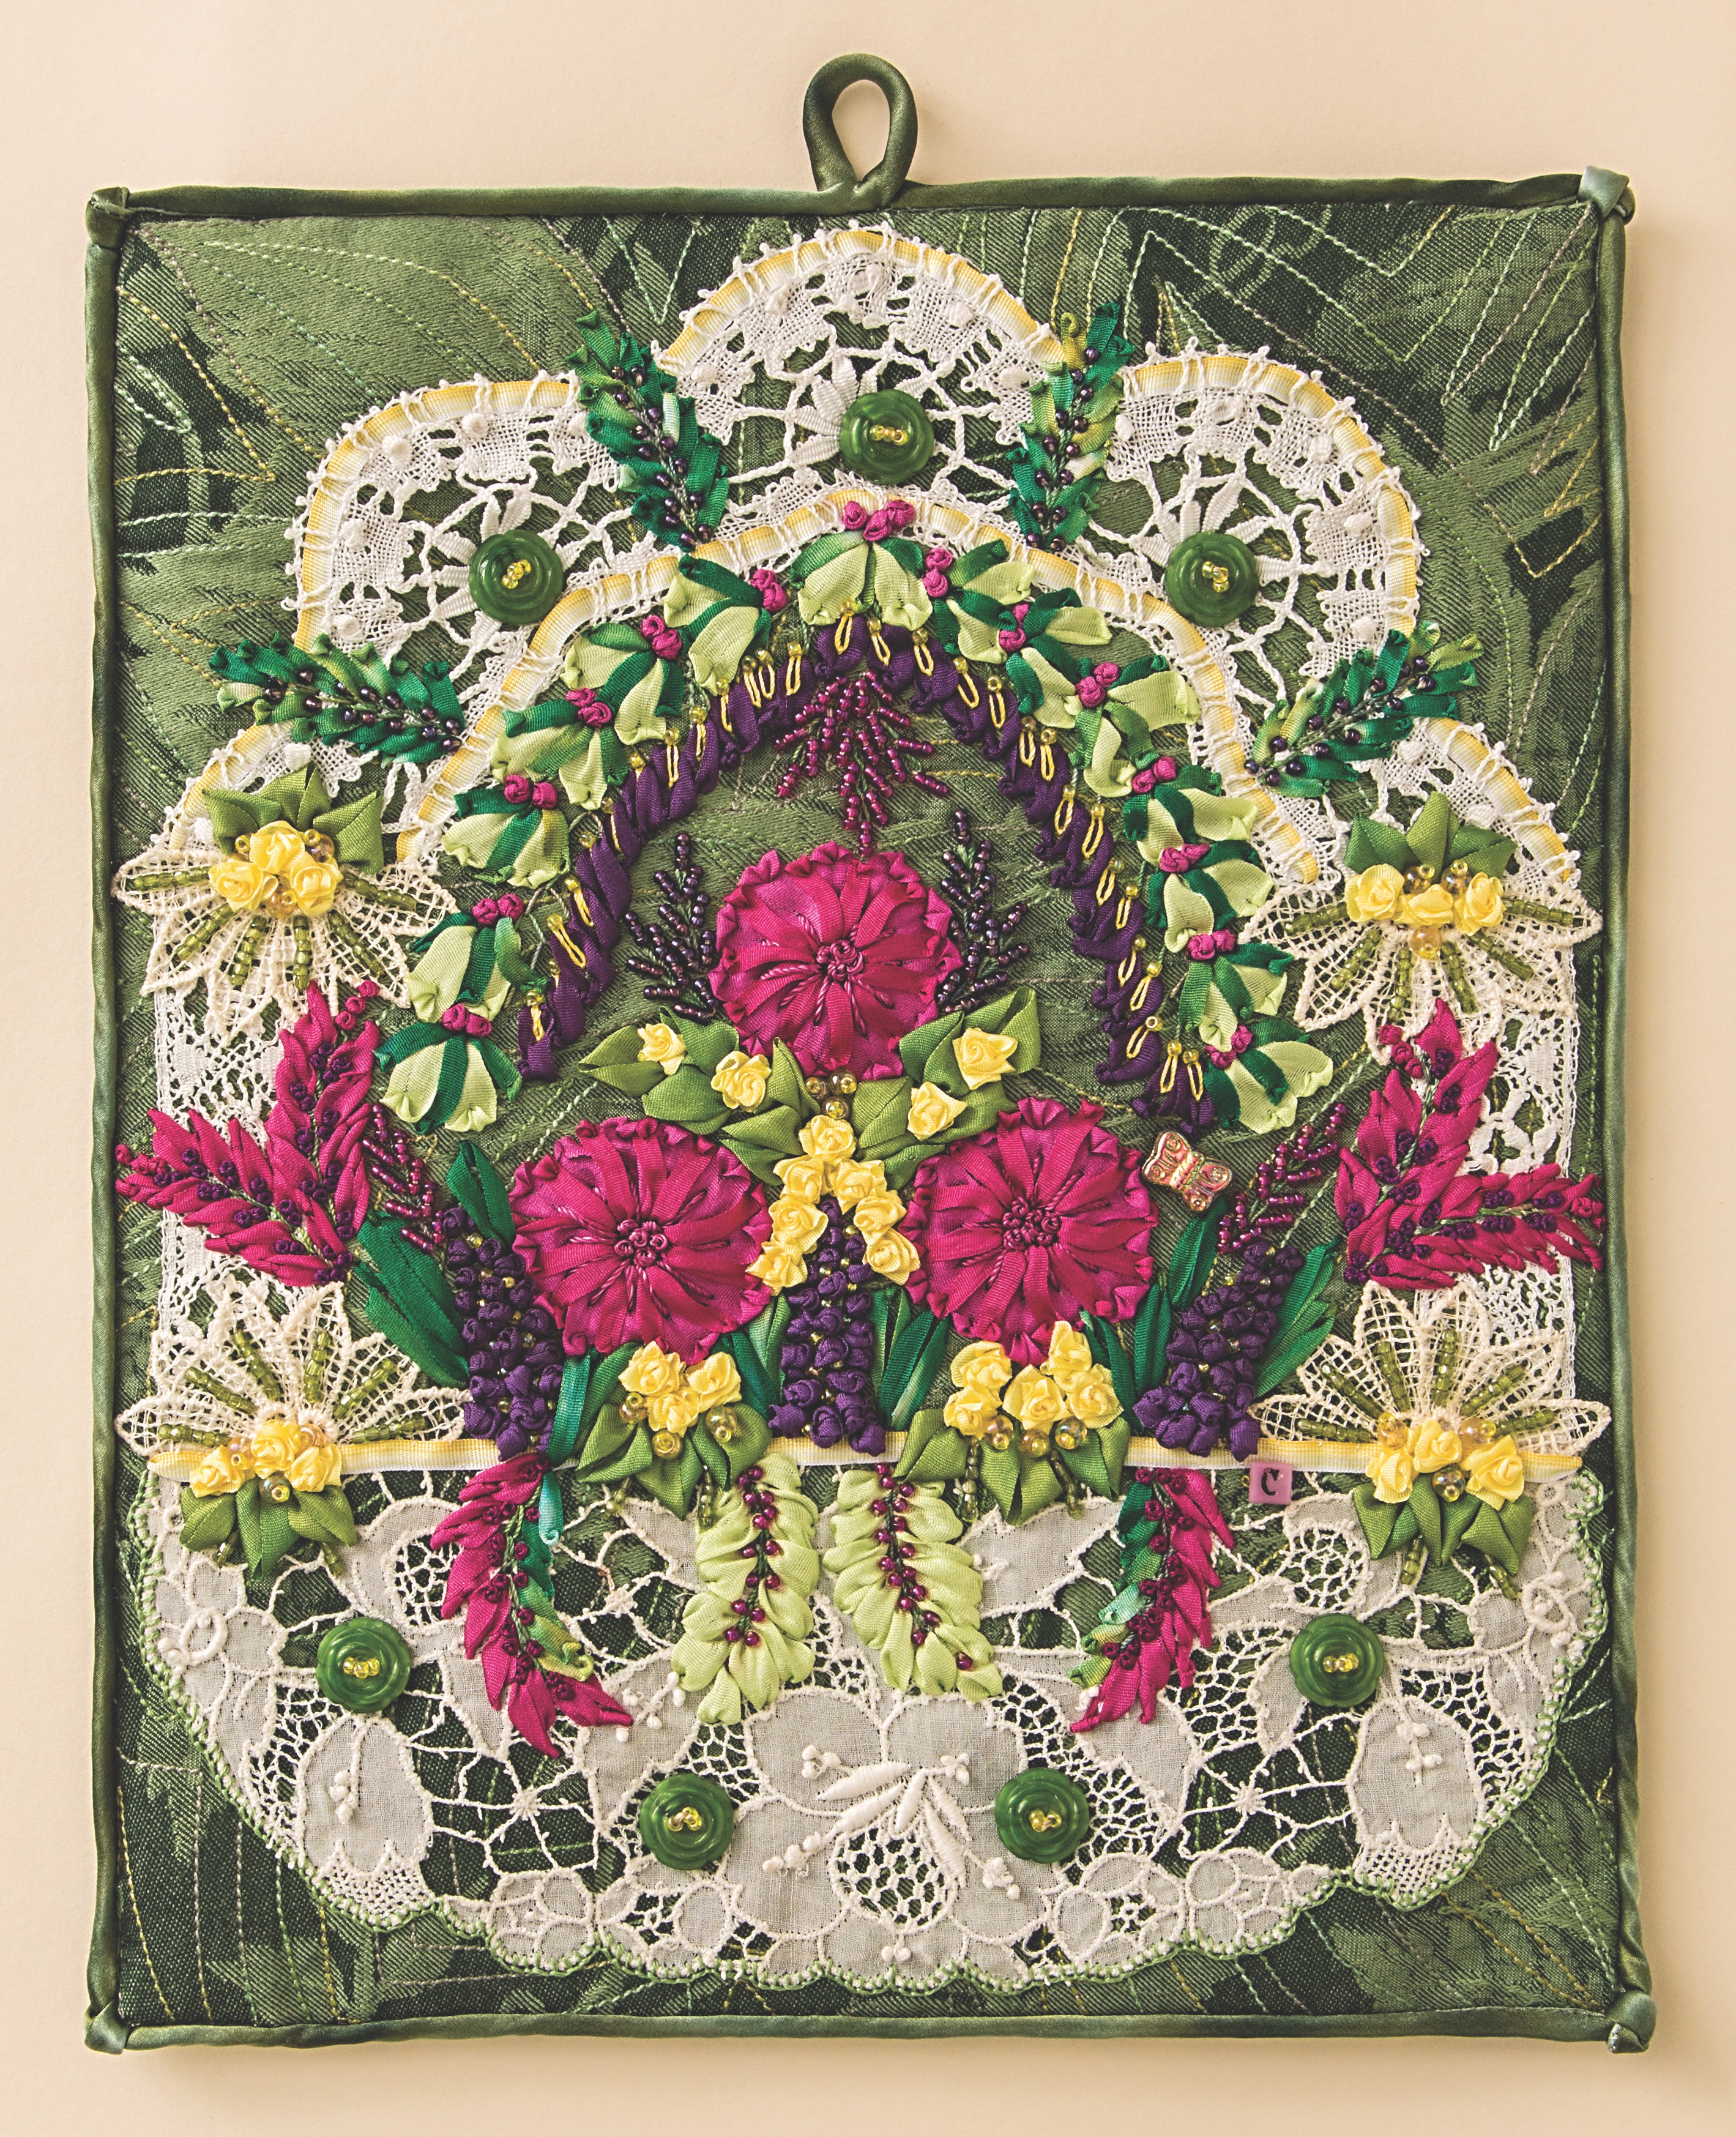
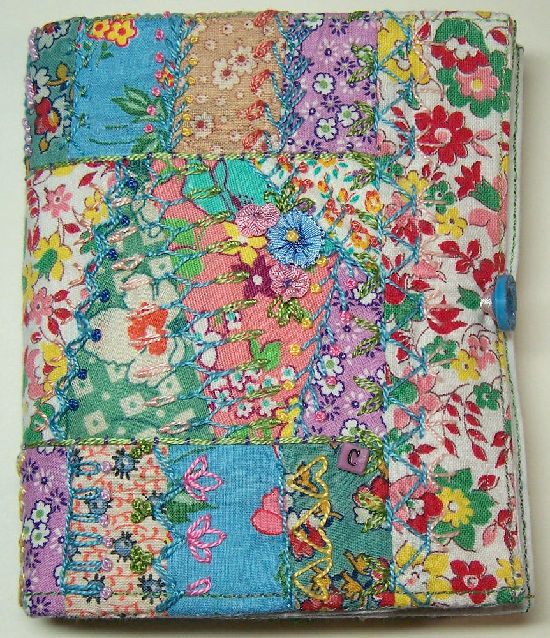
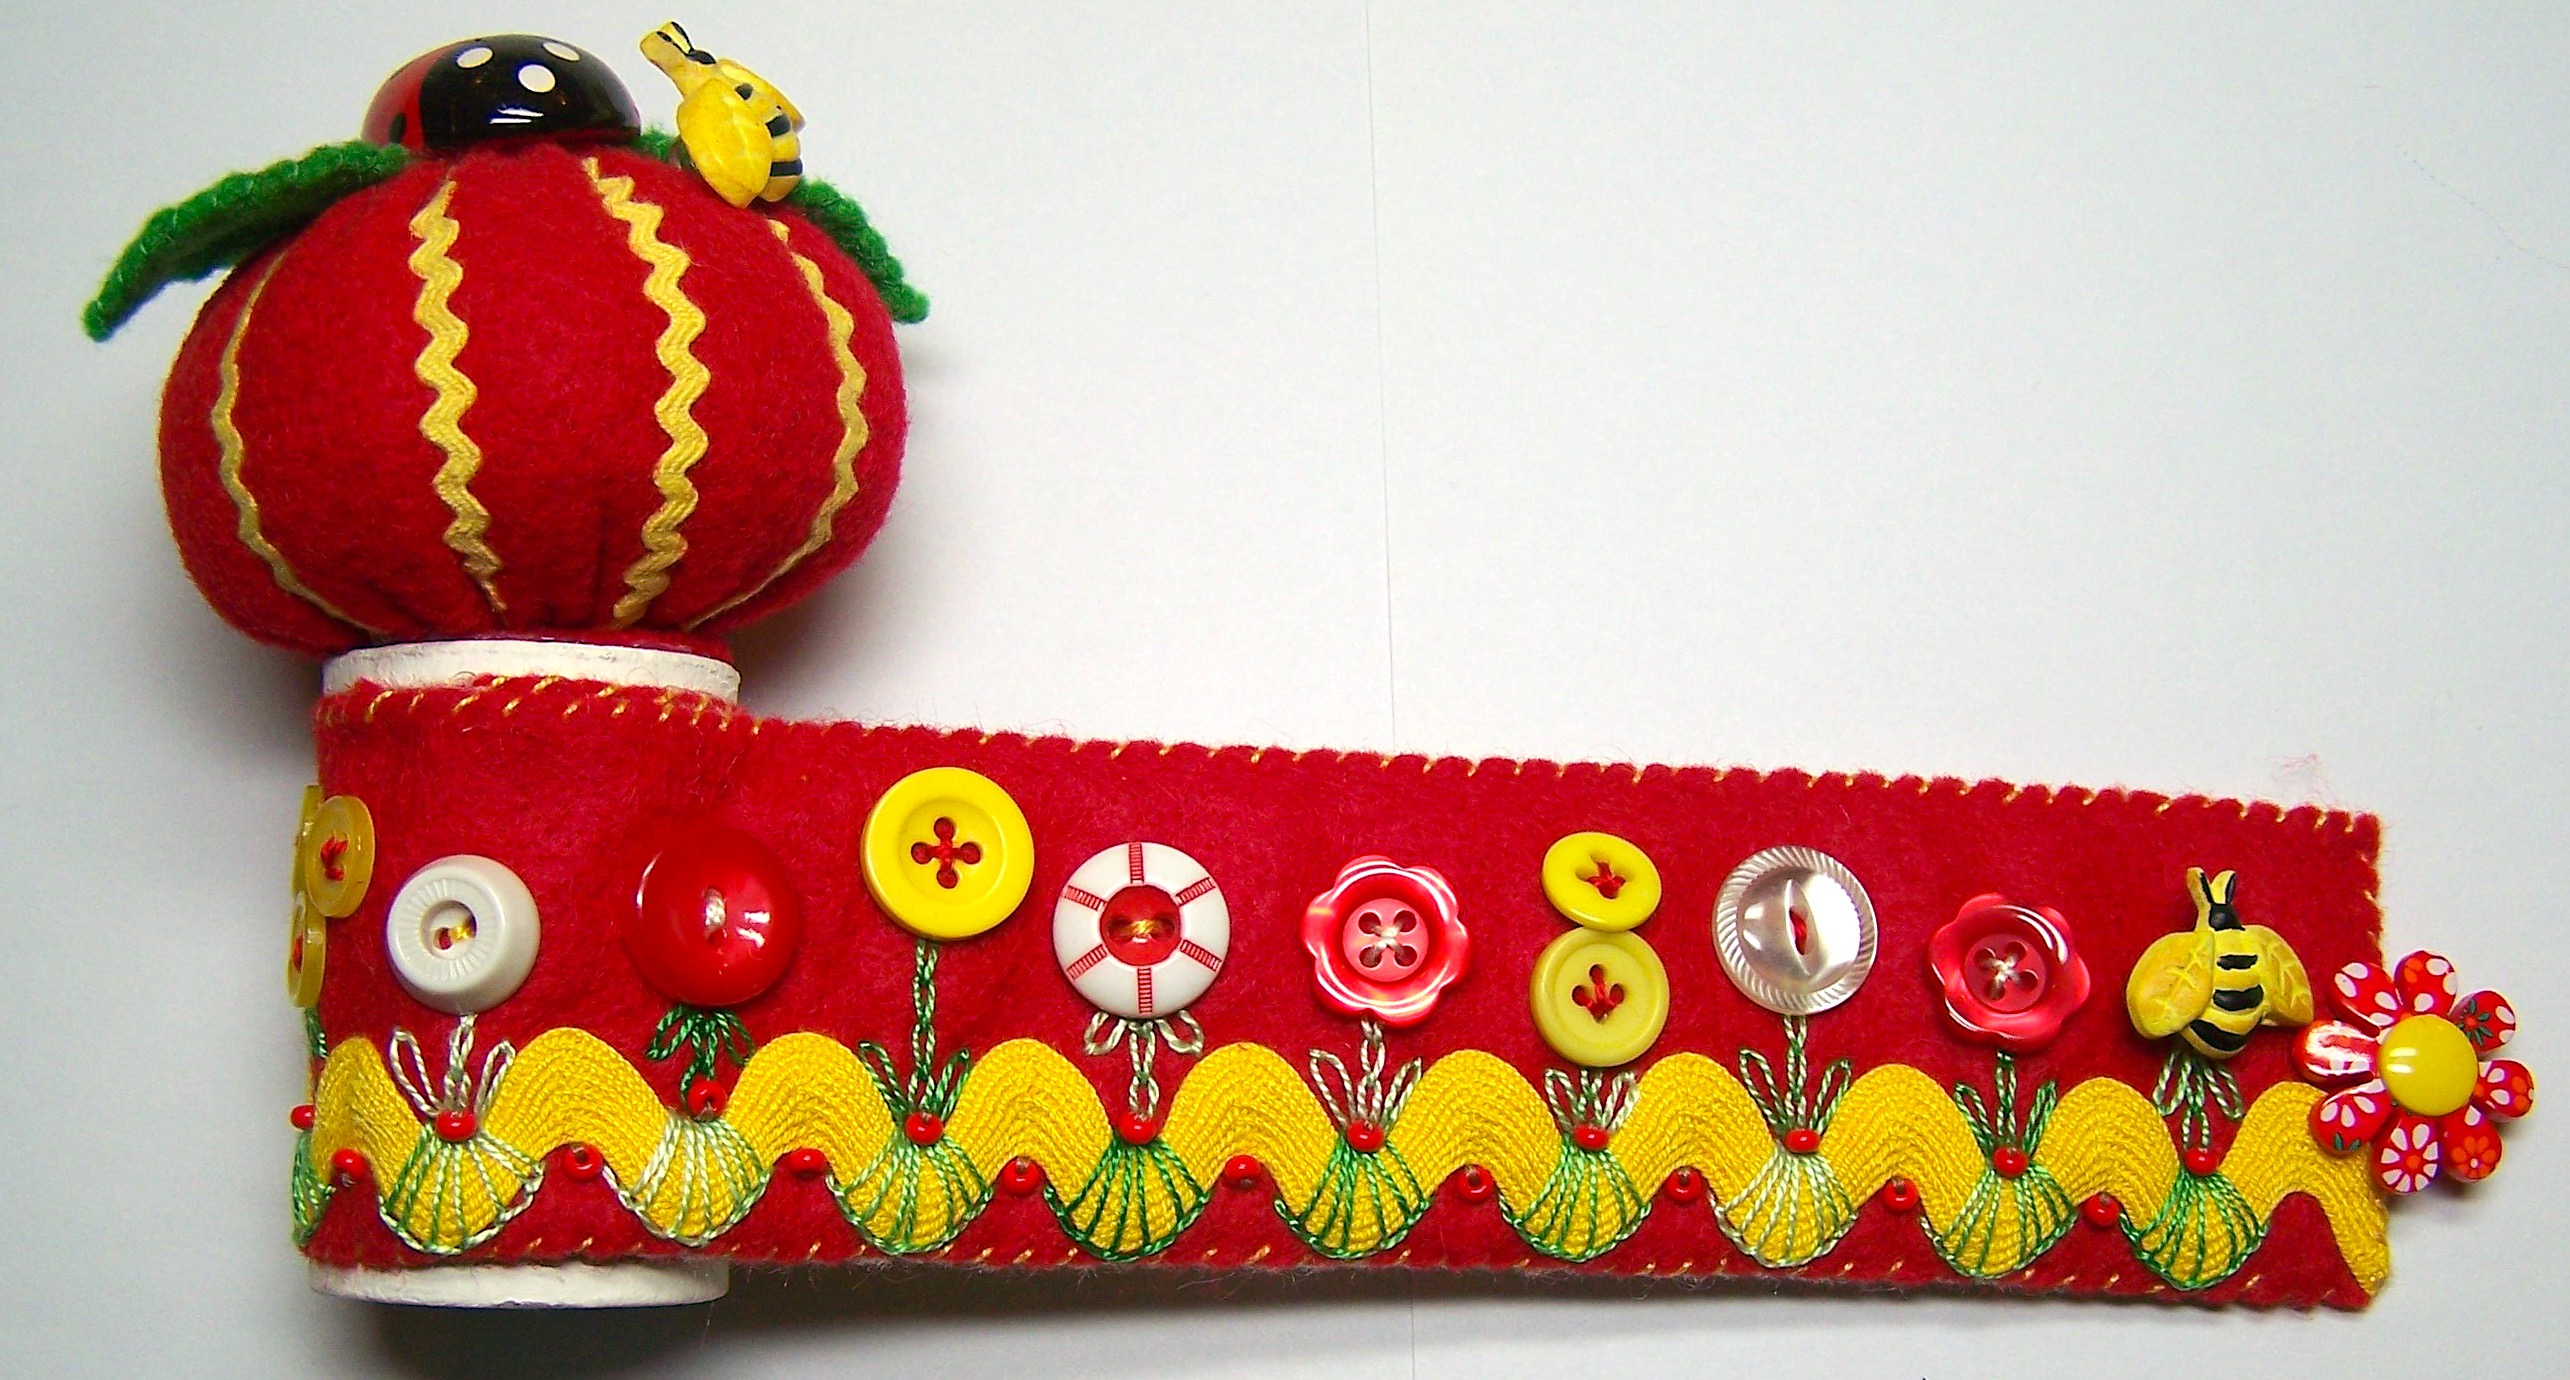
On Tips and Tea on Tuesdays, I will cover a topic and hopefully provide you with some tips that will be helpful! And just as an afterthought, tea may occasionally be a cup of Joe!

Tea today is Watermelon and Lime Zinger, an unexpected blend of hibiscus with notes of watermelon and lime, well just like the name I guess it is a “Zinger”. I paired it with some oatmeal and fruit today.
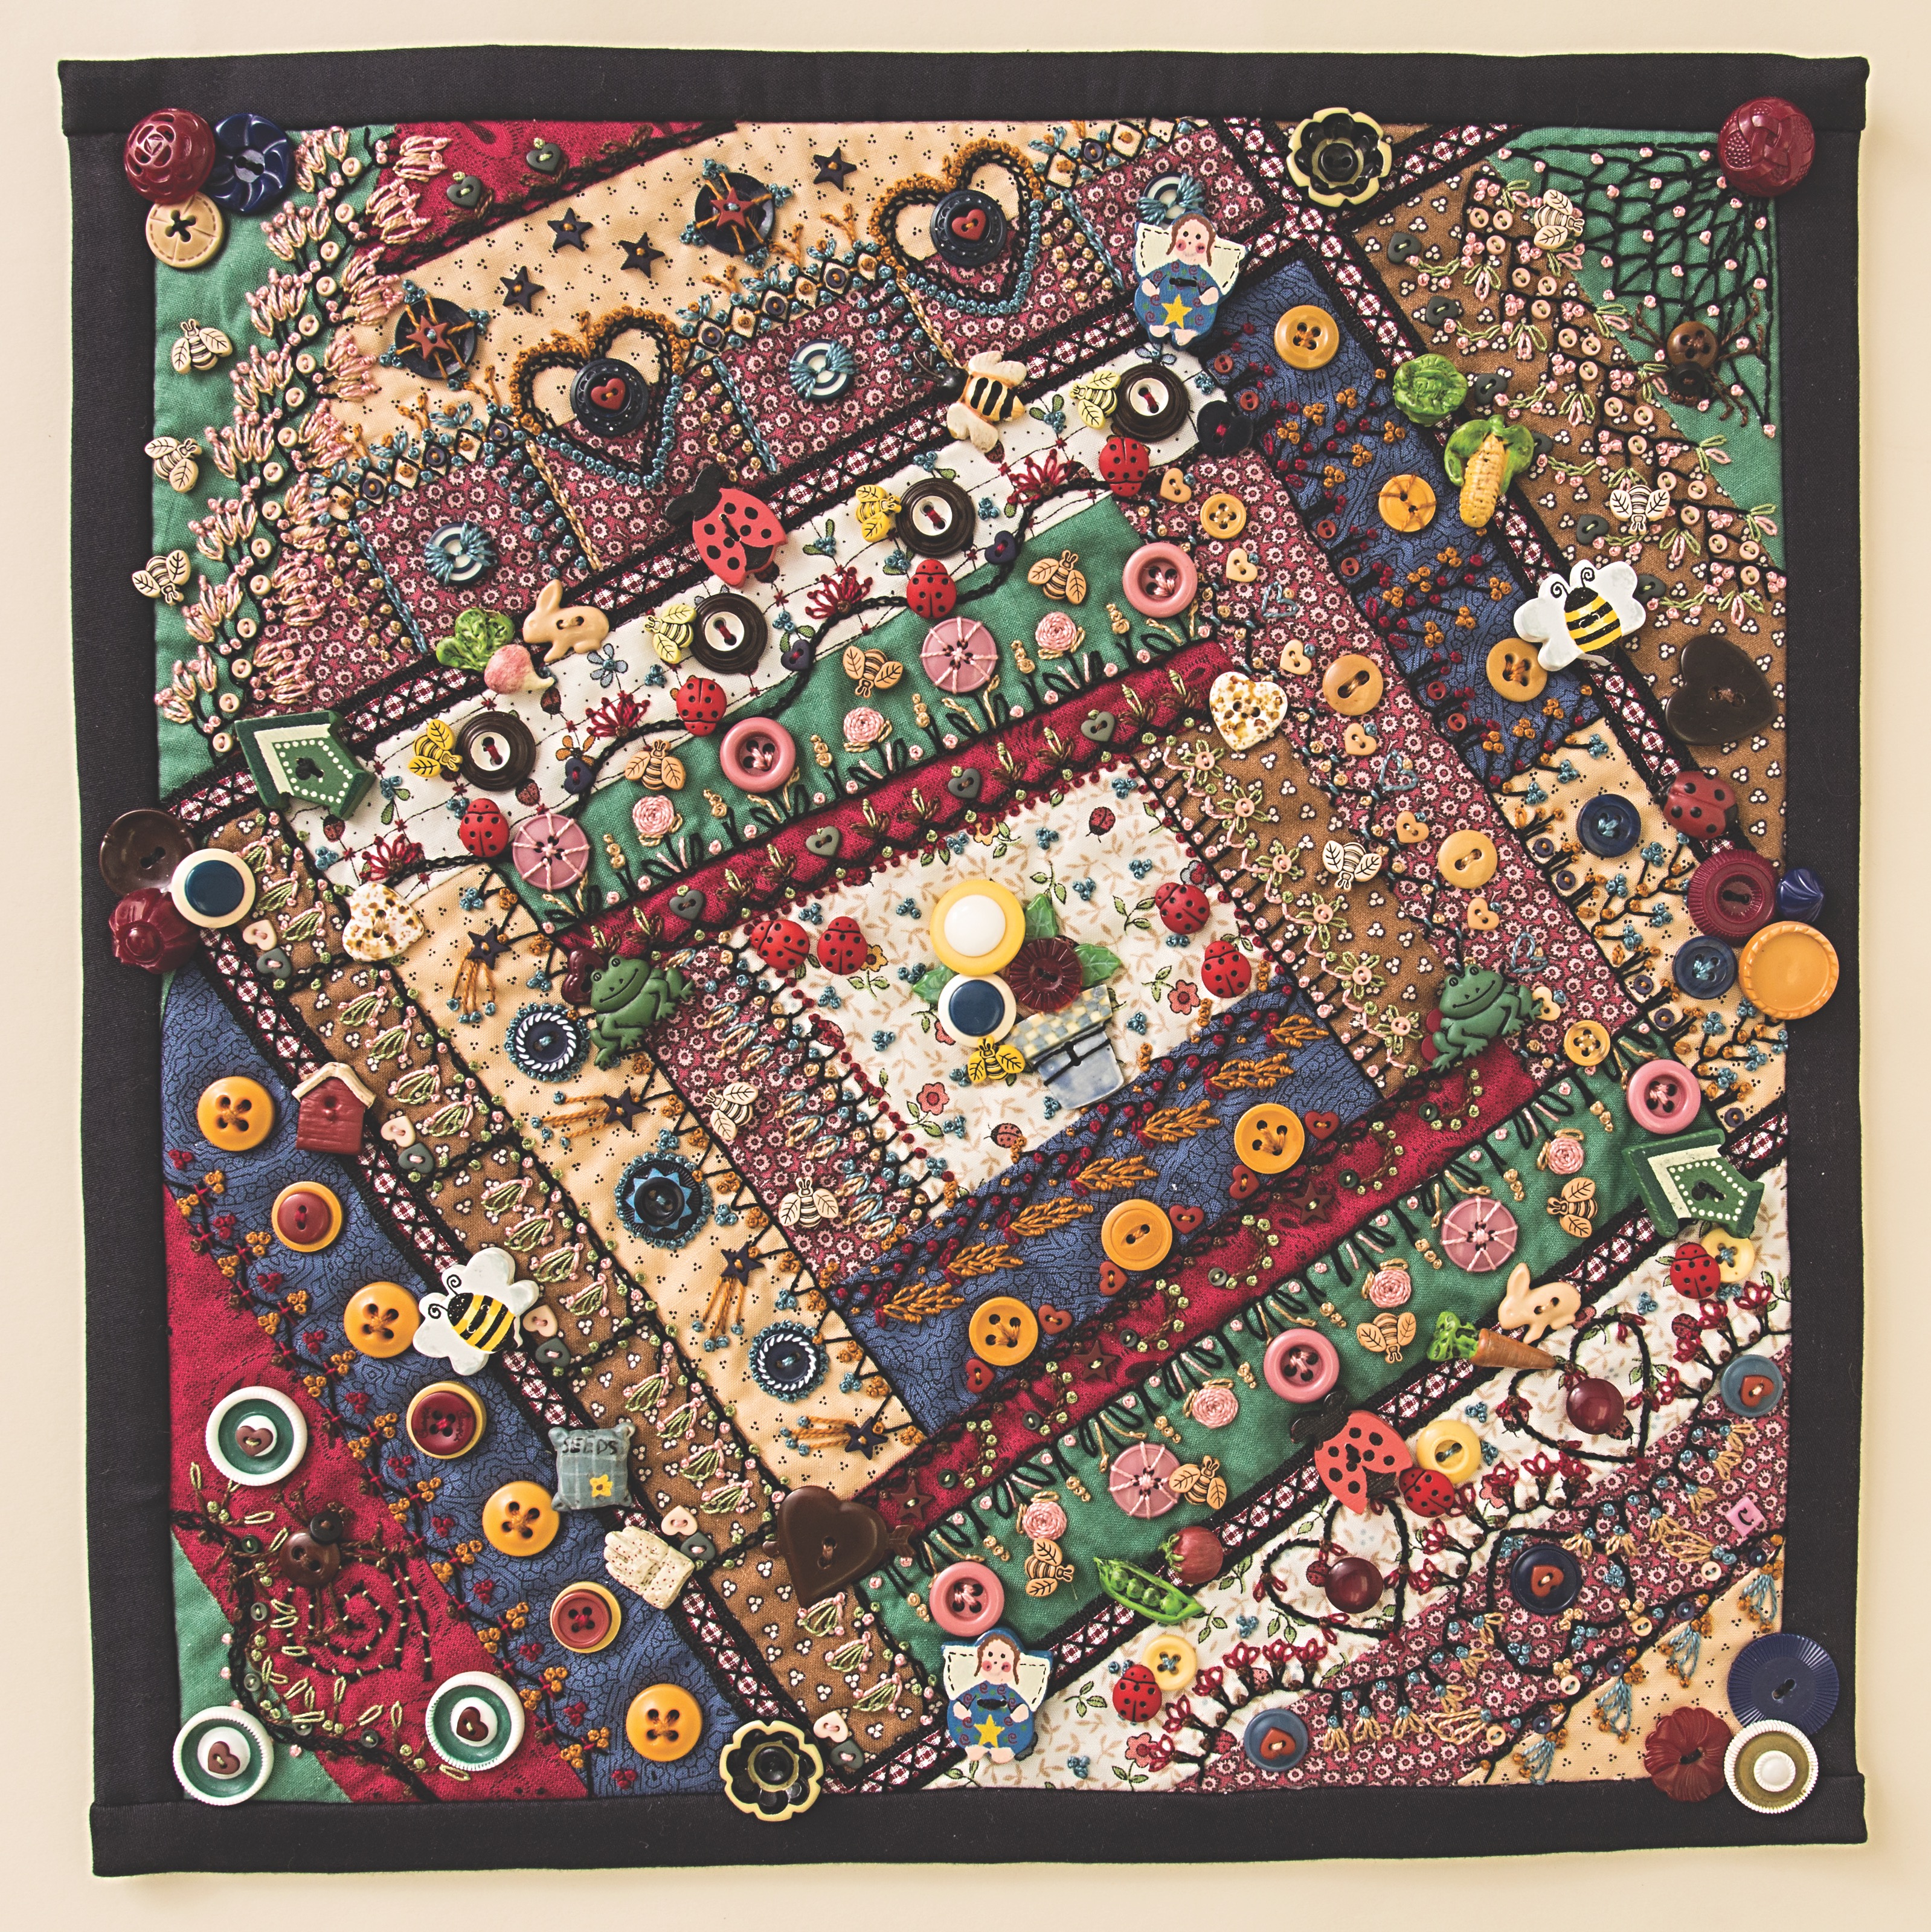
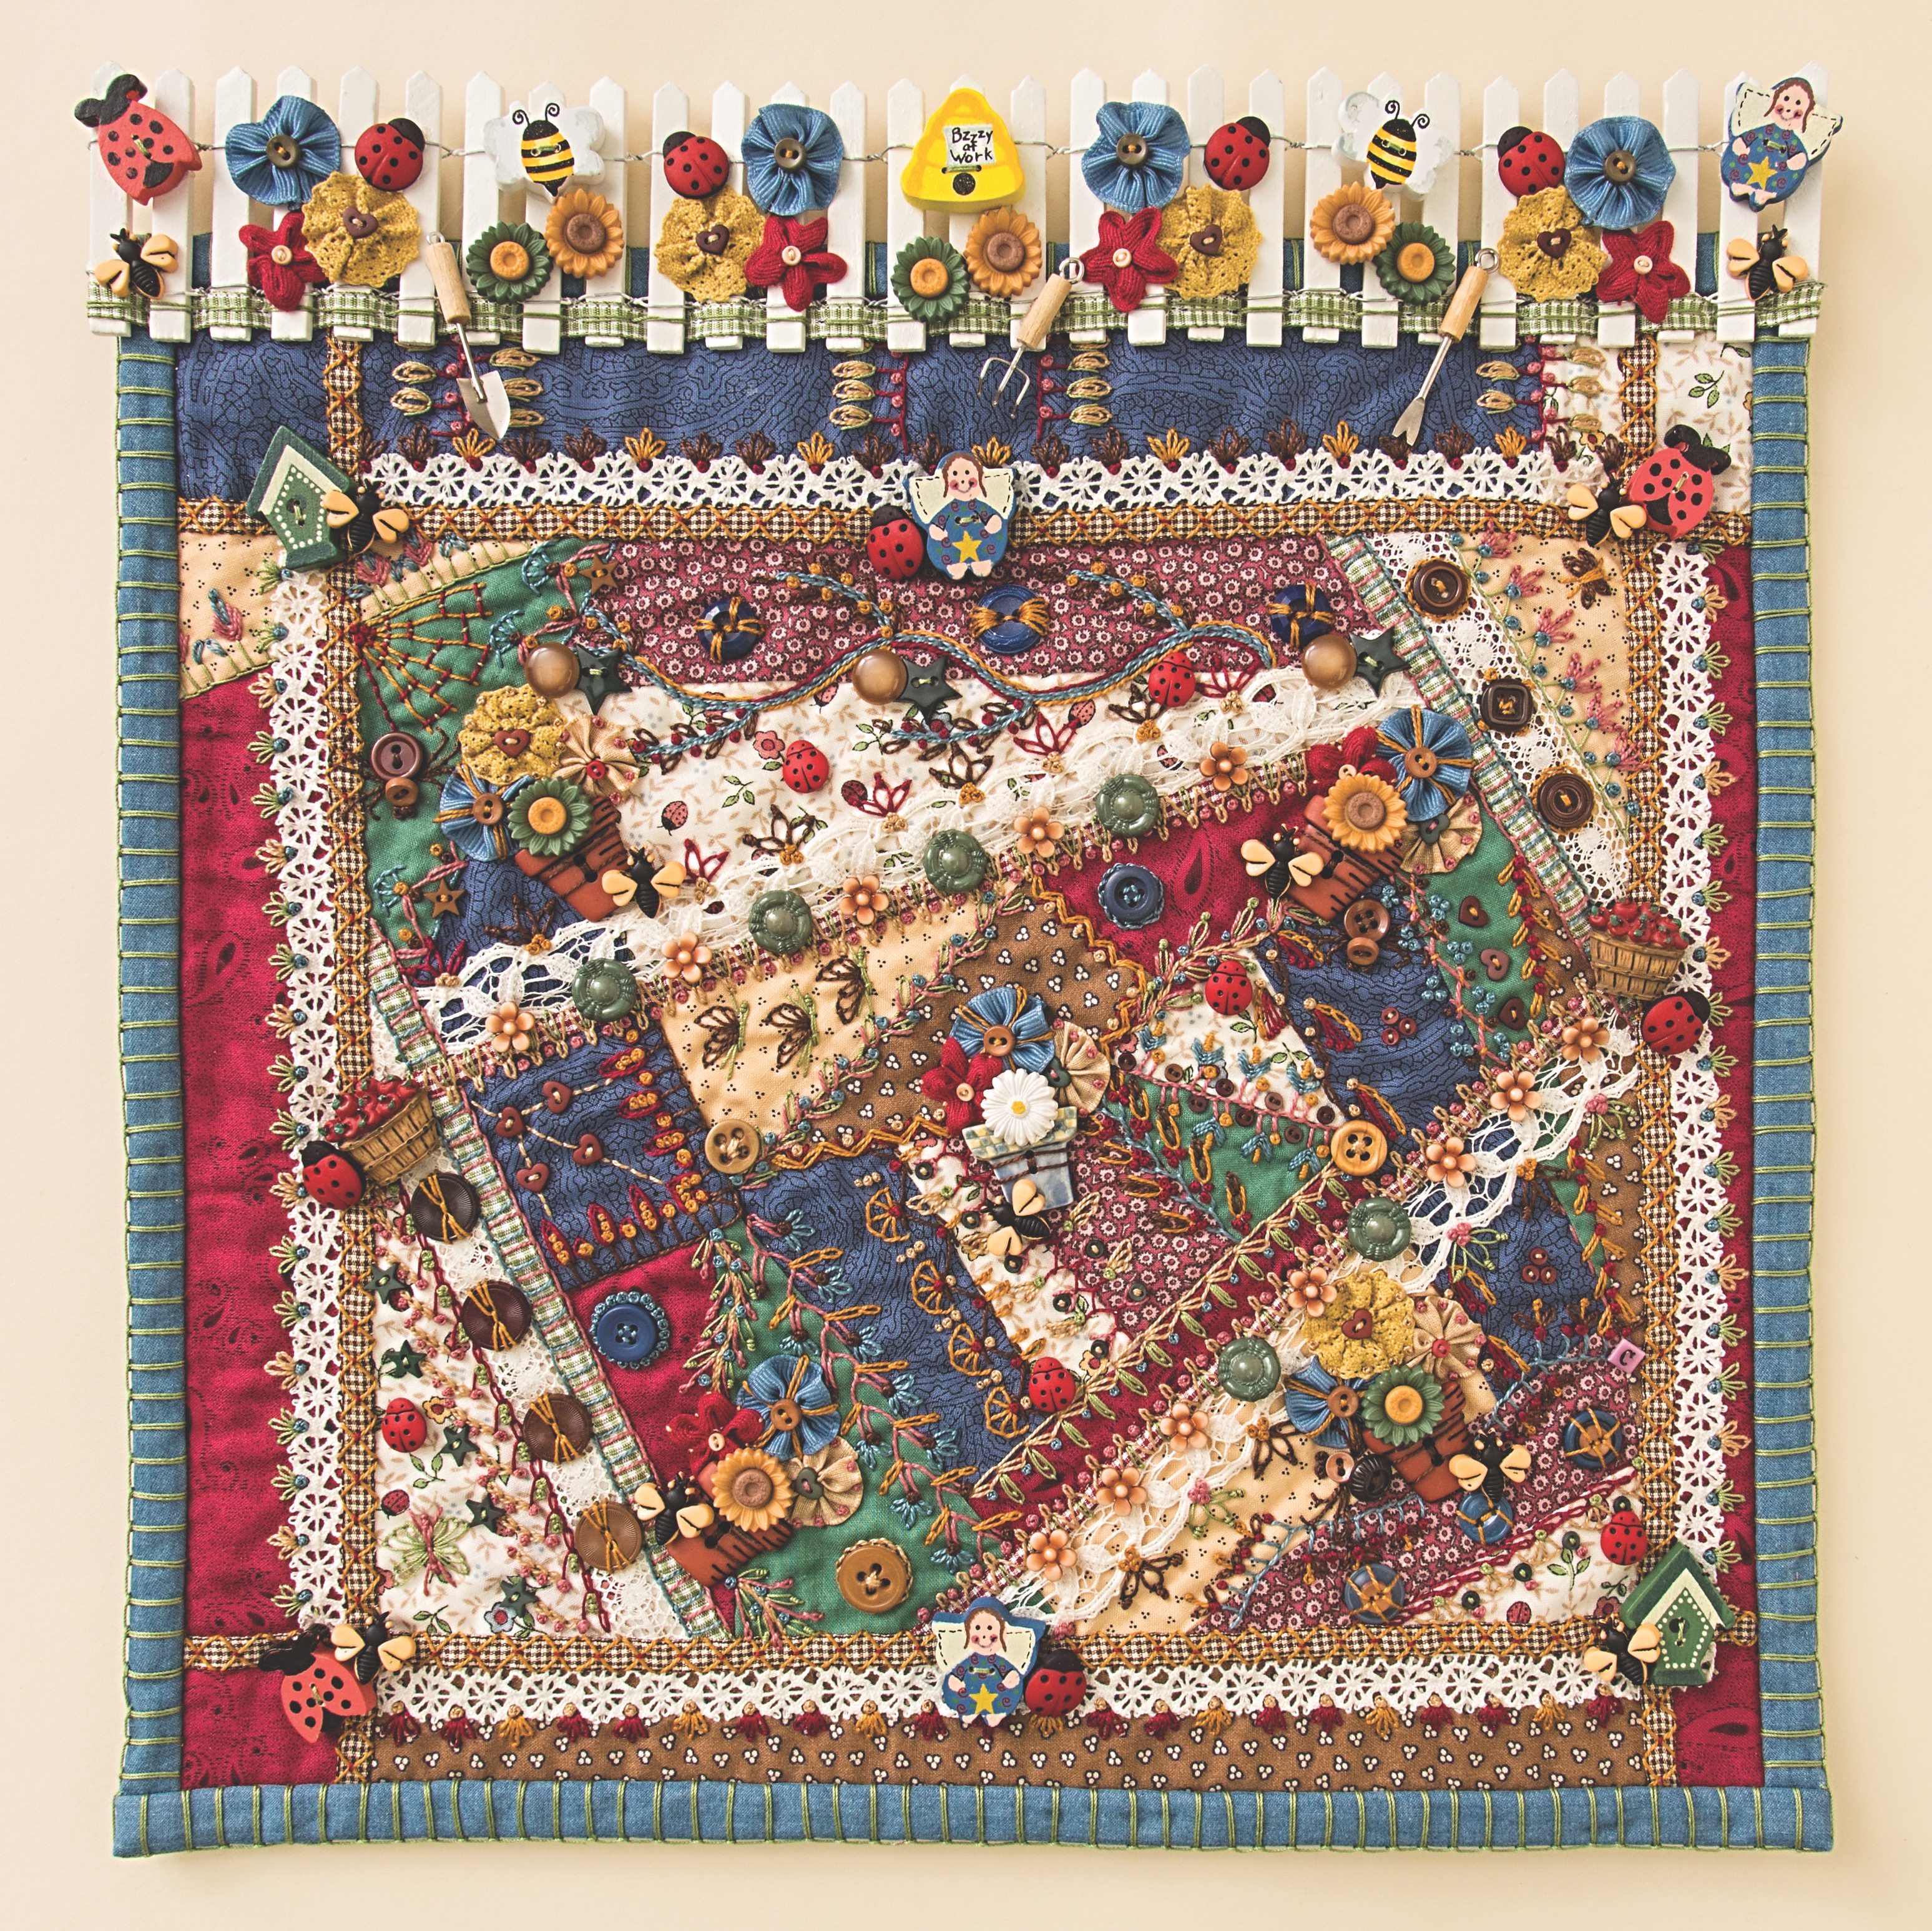
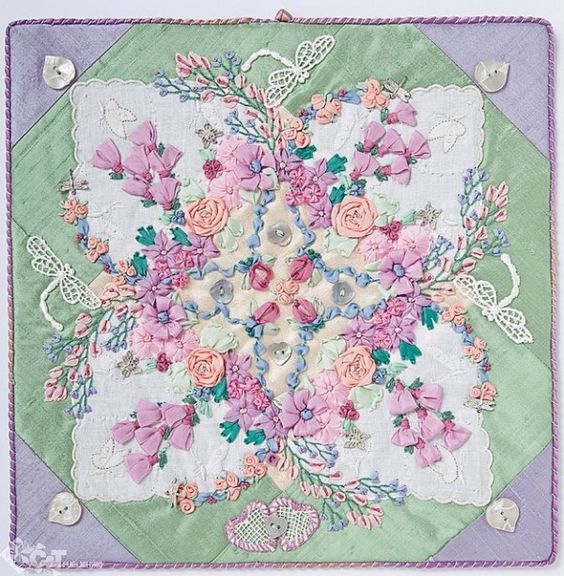
Today’s Tip: Is one that I think is worth repeating, keep those you love, close to your heart, treasure and treat any gift given to you as one coming straight from their heart.

Lady Rose
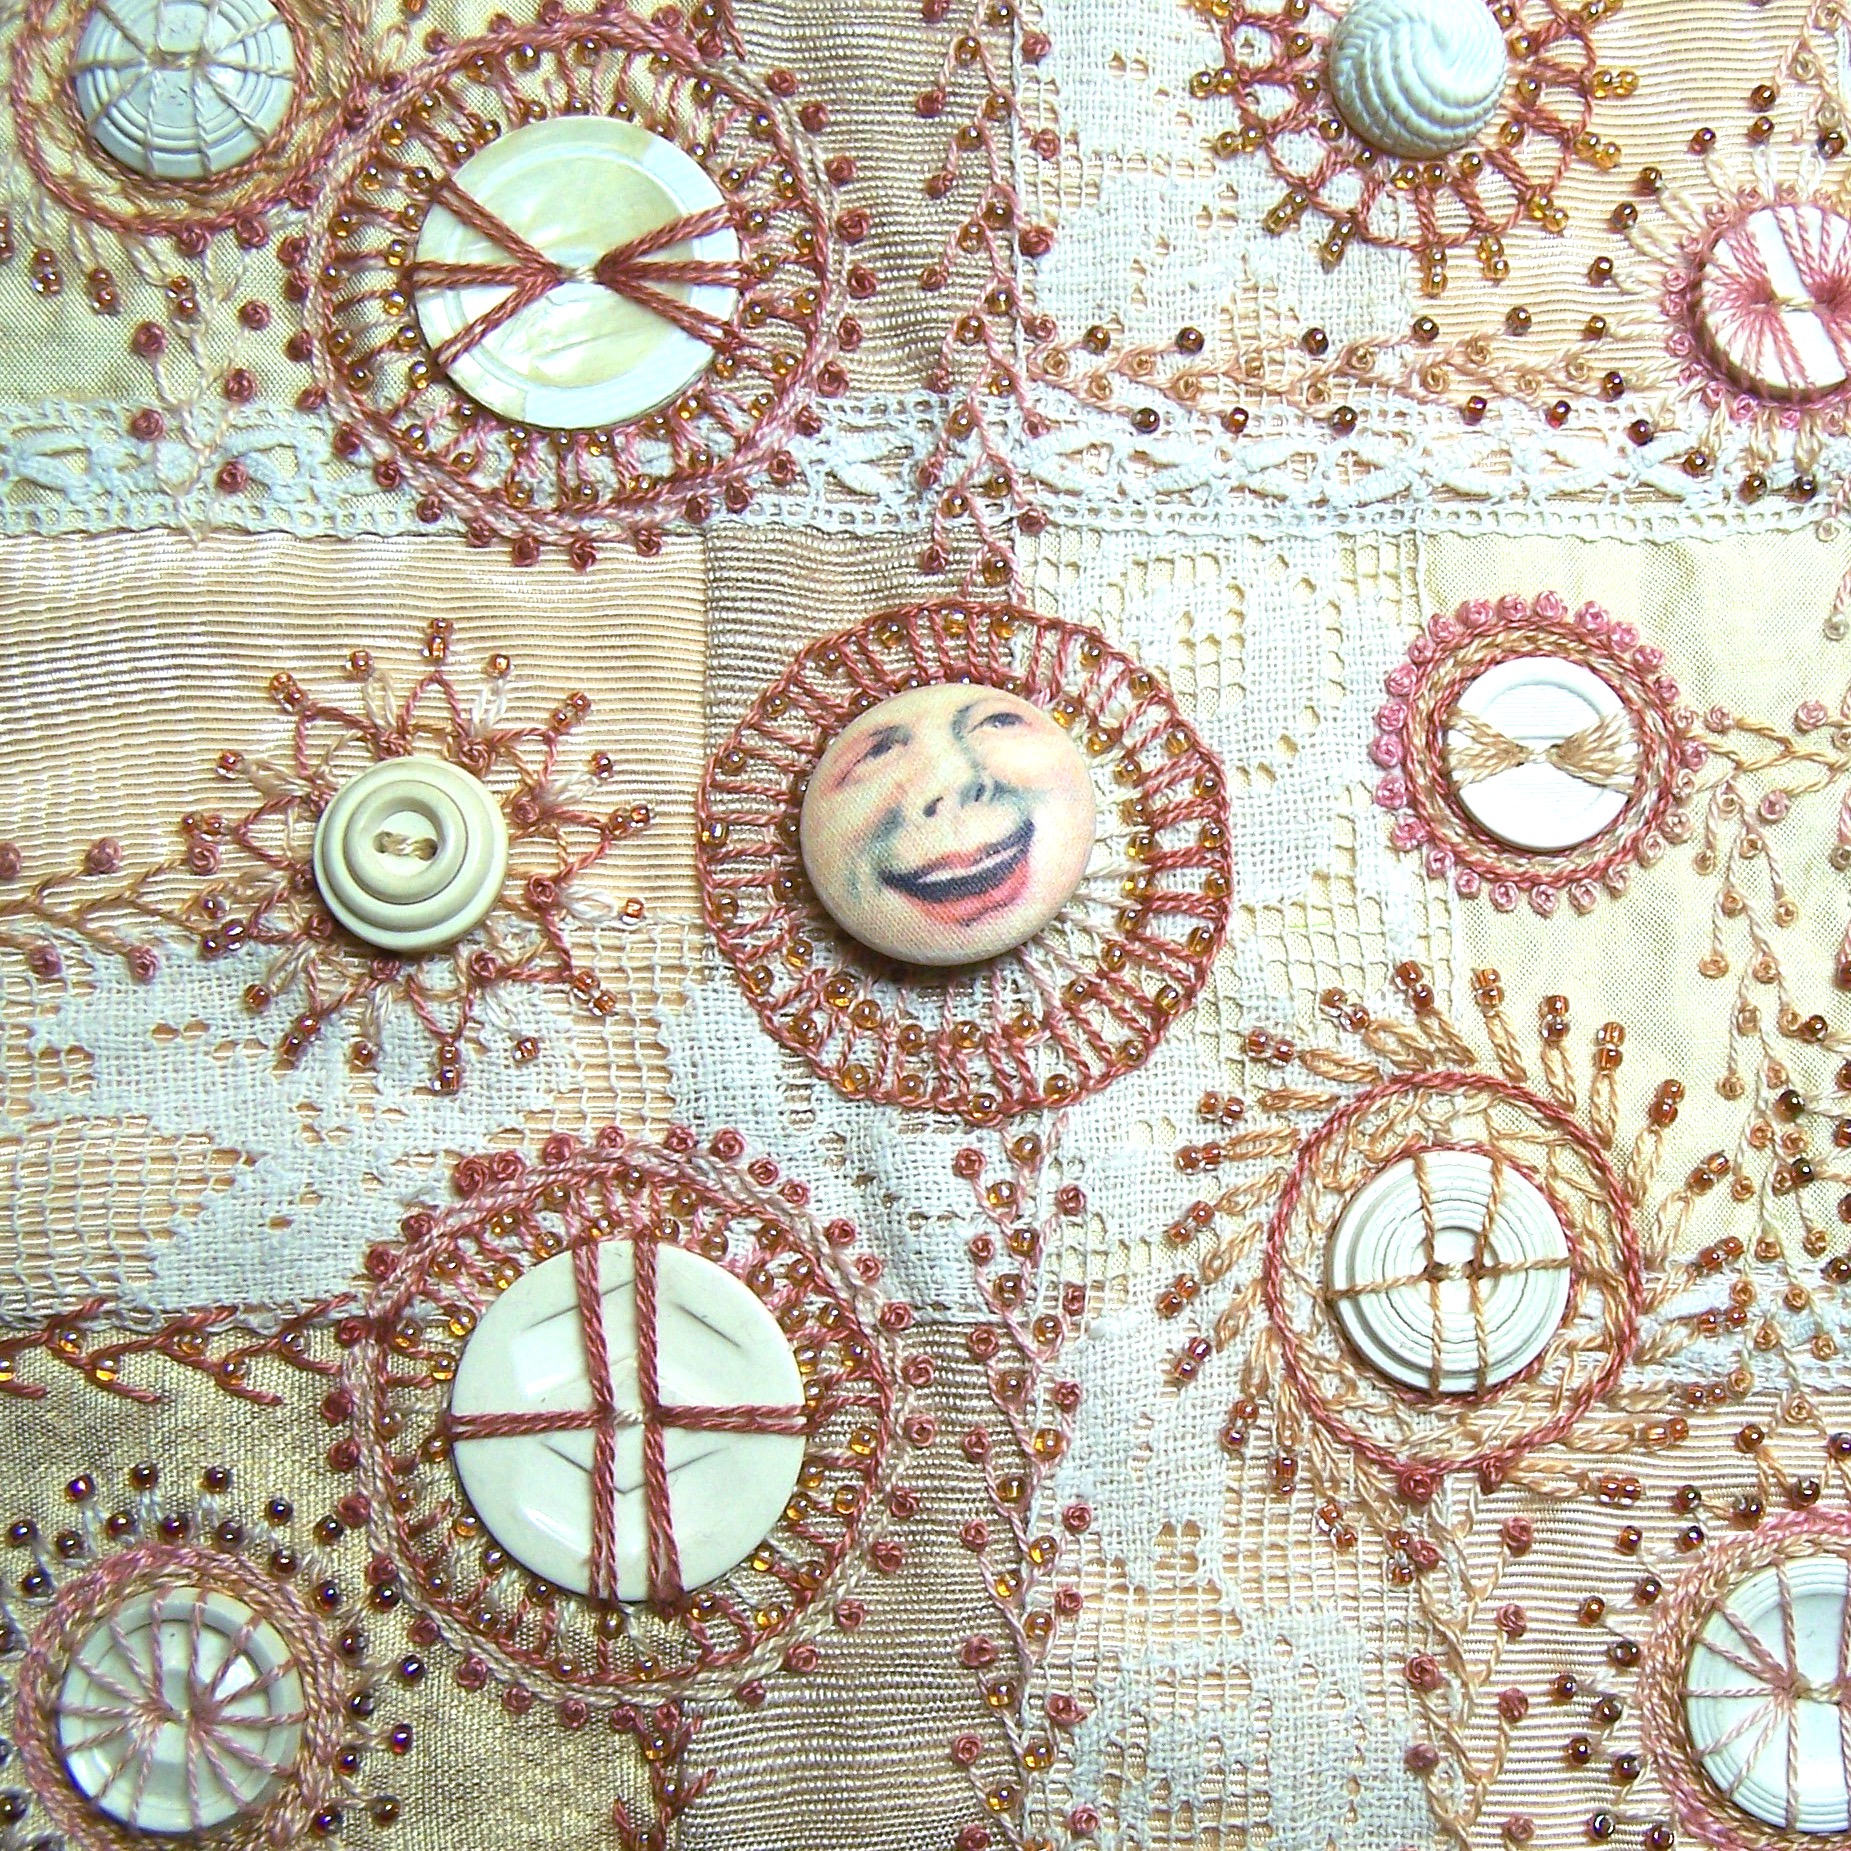
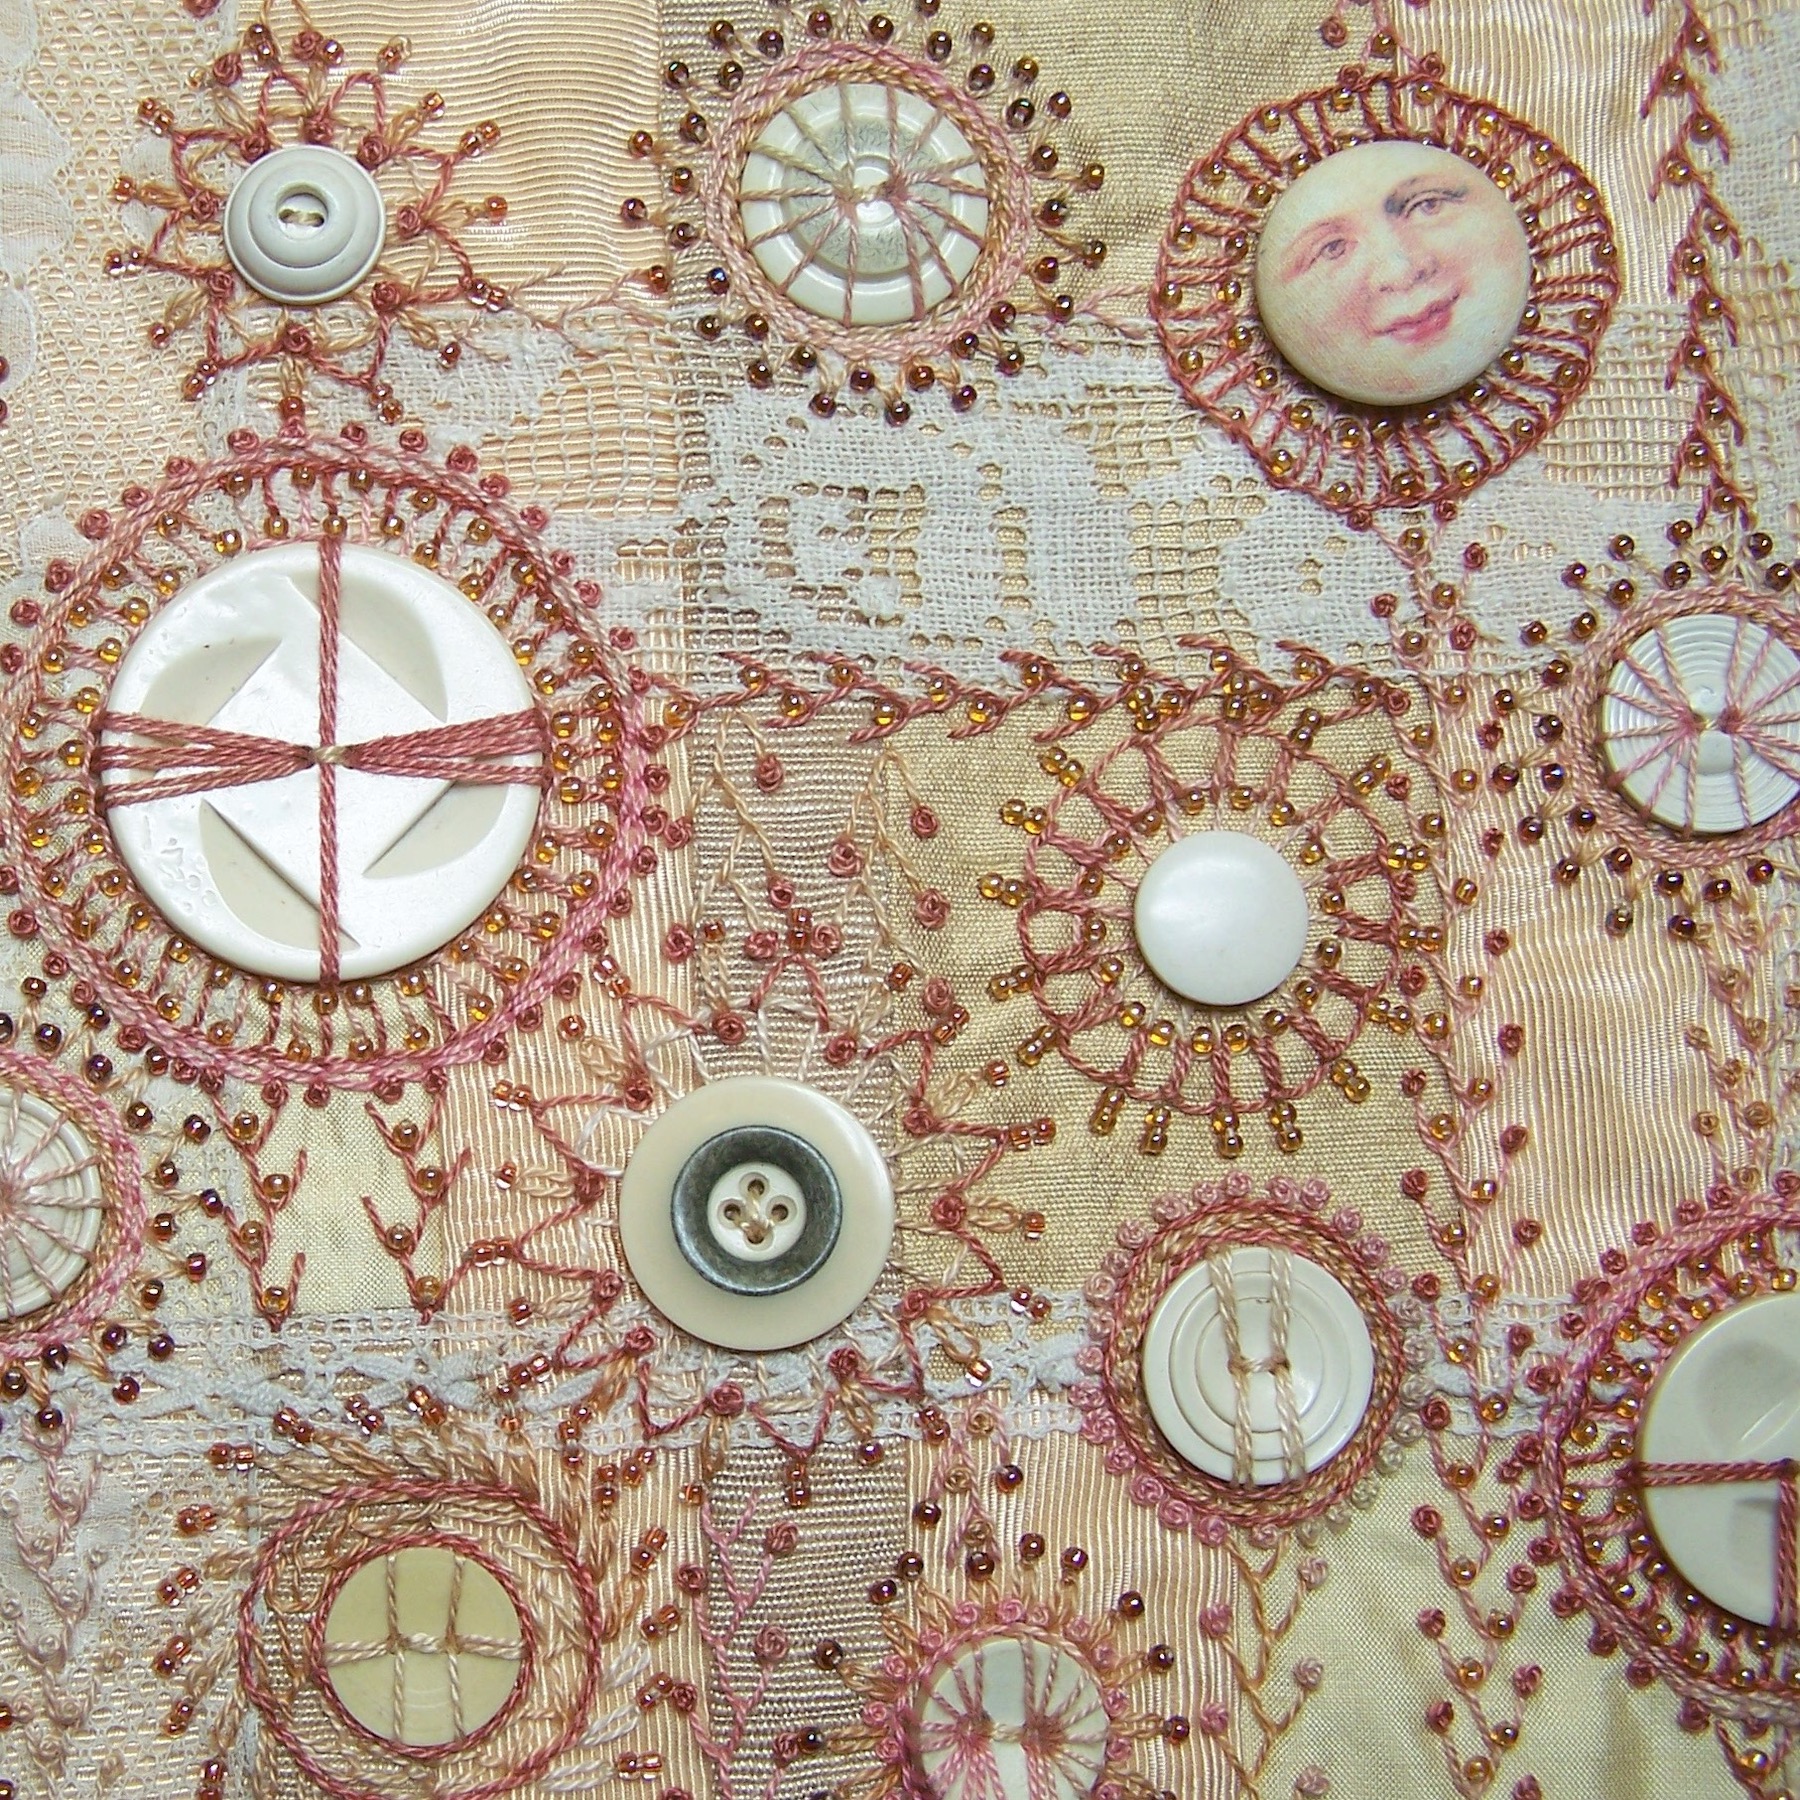
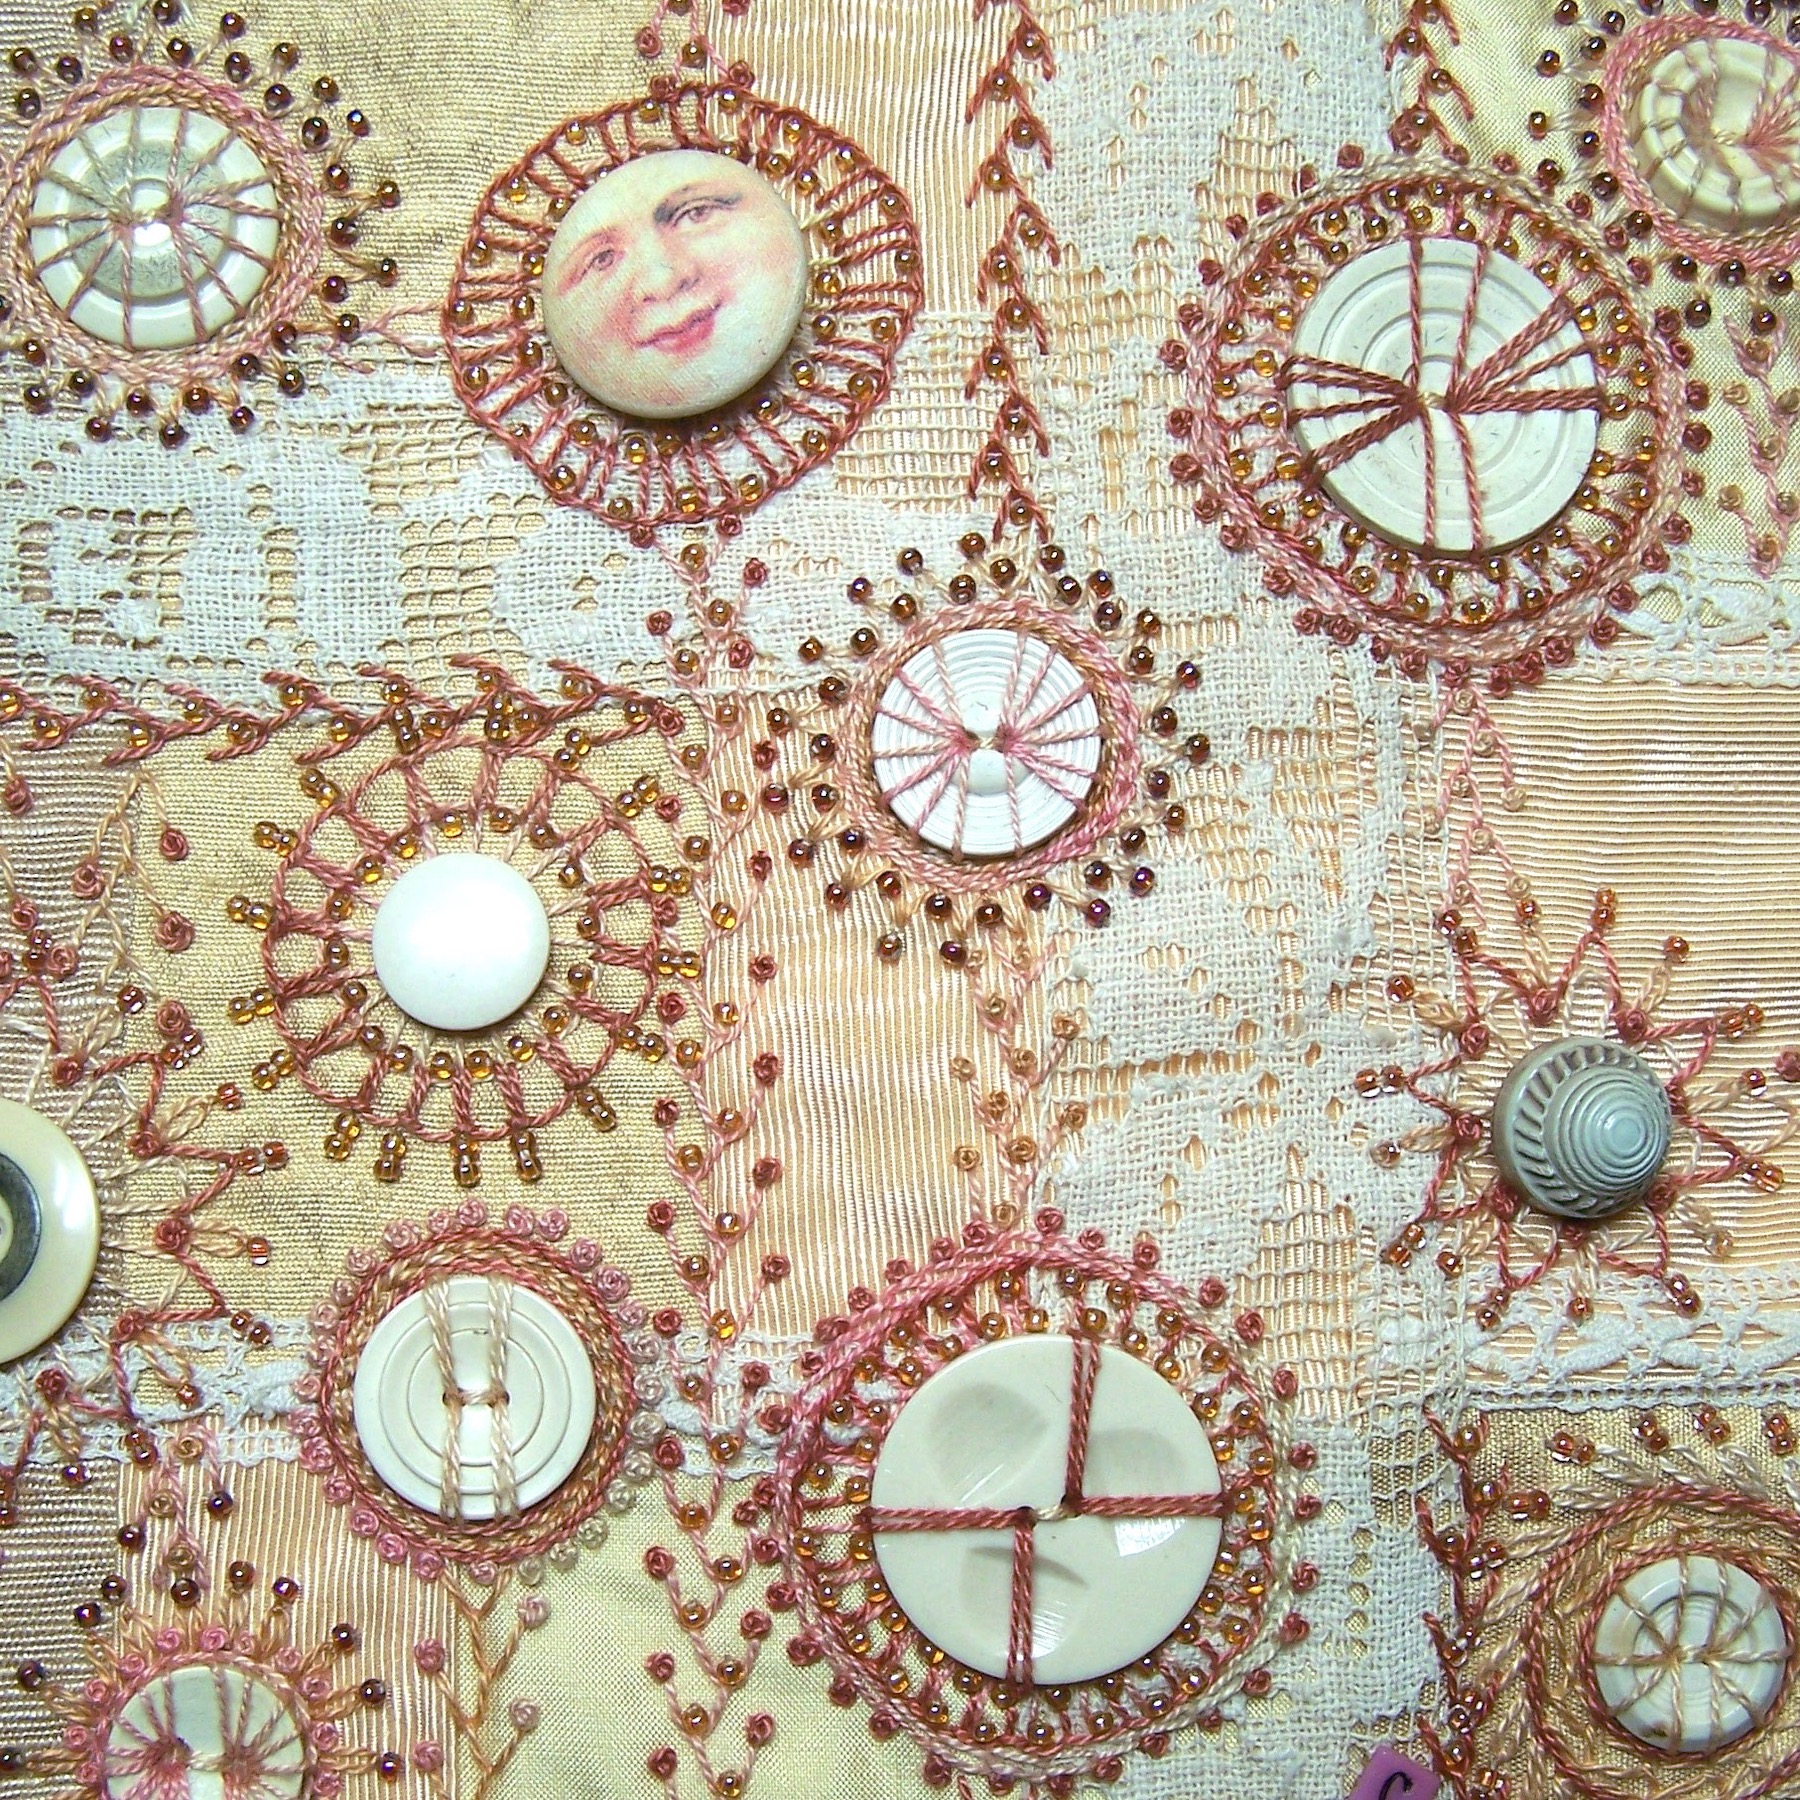
Is an art doll that I made from a variety of components. The base of the body is made from felt, with two heart-shaped crochet doilies, and one embroidered heart shape pin, all made by my mom. I painted her face, and added ballerina shoe and hand-shape charms to the body, as well as crochet roses with leaves, also made by my mom. She is embellished with satin ribbons in a variety of widths and colors; vintage rickrack trim and rickrack roses; and vintage and new buttons.
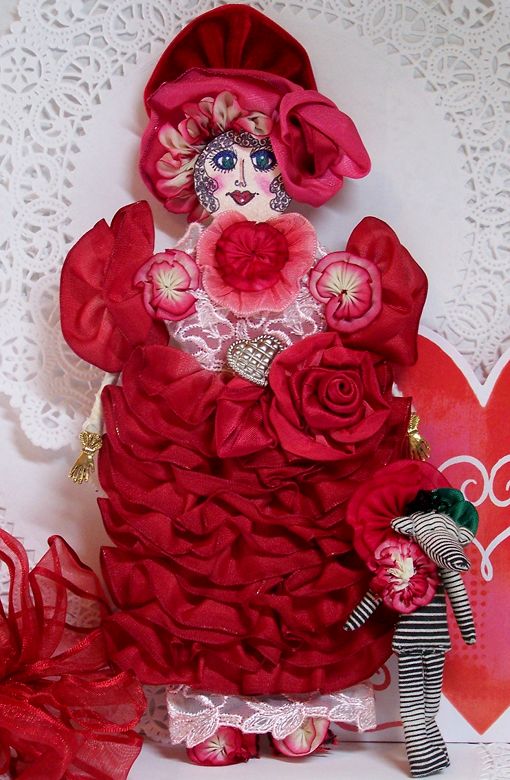
Lizbeth’s Dress for February
Lizbeth is an art doll that I designed, several years ago, for a monthly challenge called Dress UP. The goal was to create a mixed media dress each month. I decided that I wanted to make a mannequin form first, and then create an ensemble for her each month. Her dress for February is primarily made from French wire ribbon; the accents are made from silk bias, velvet, and satin ribbons; with a bit of pink lace, and a heart-shaped button (from my guy).
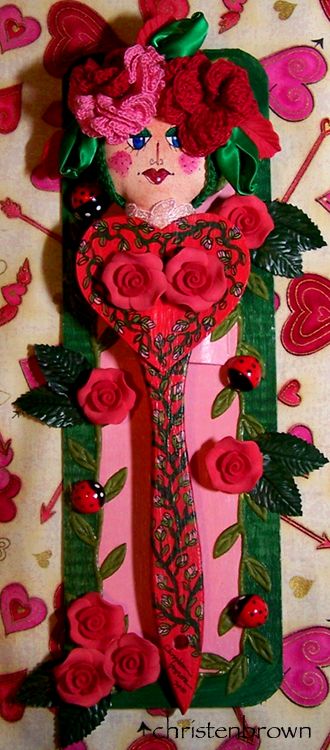
Rose Marie
This is an art doll that I have made using a paint brush, this one was actually our basting brush from the kitchen. I soaked it too long in the dish pan and all the bristles came out. OOPS! No worries, I knew that I could make something from this fiasco. I painted the brush-base, the wooden heart-shaped body, and the cardboard backdrop with acrylic paints. I painted her face, and added in the “Carmen Miranda”-like tiara made from some crochet flowers made by my mom, and some ribbonwork leaves. On the backdrop, I added in a vine and leaf trim, additional plastic flowers, florist wire leaves, and lady bugs. Why? read on!
Happy Stitching to you! ~Christen
PS: If you have any questions or thoughts, just leave a comment! See Tips, Tricks, the Basics, for more helpful ideas.