Today is Day Three of celebrating Earth Day, which I will be doing for the entire week! I hope to provide ideas and useful tips showing you how to use items that would either have been thrown out, dumped off at the thrift-store, or are just perhaps forgotten.
Today, I want to talk about Dyeing, changing COLORS, Updating, and making something more useful. It is a great way to change out something, and it is pretty fun! These examples all use Colorhue Dyes, and they can be found at Dharma Trading Co. Many of the ideas below can be found in my book Creative Embroidery, Mixing the Old with the New.
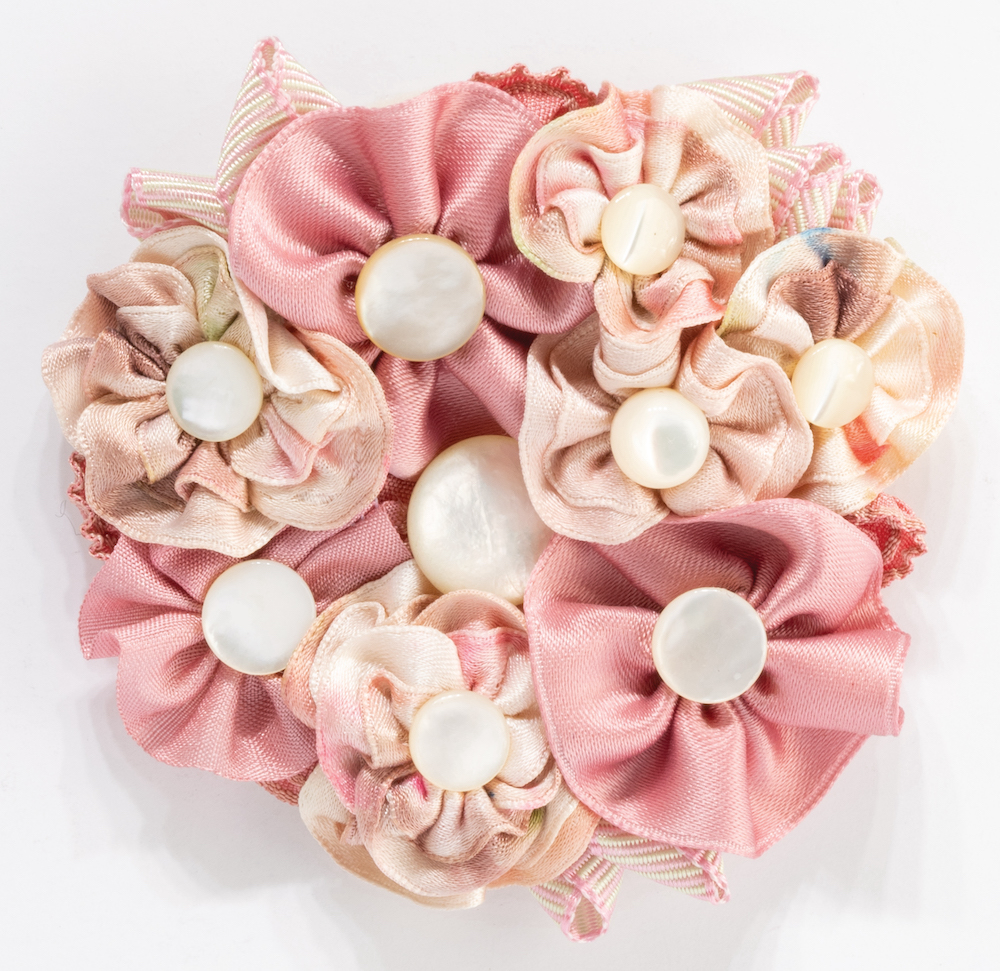


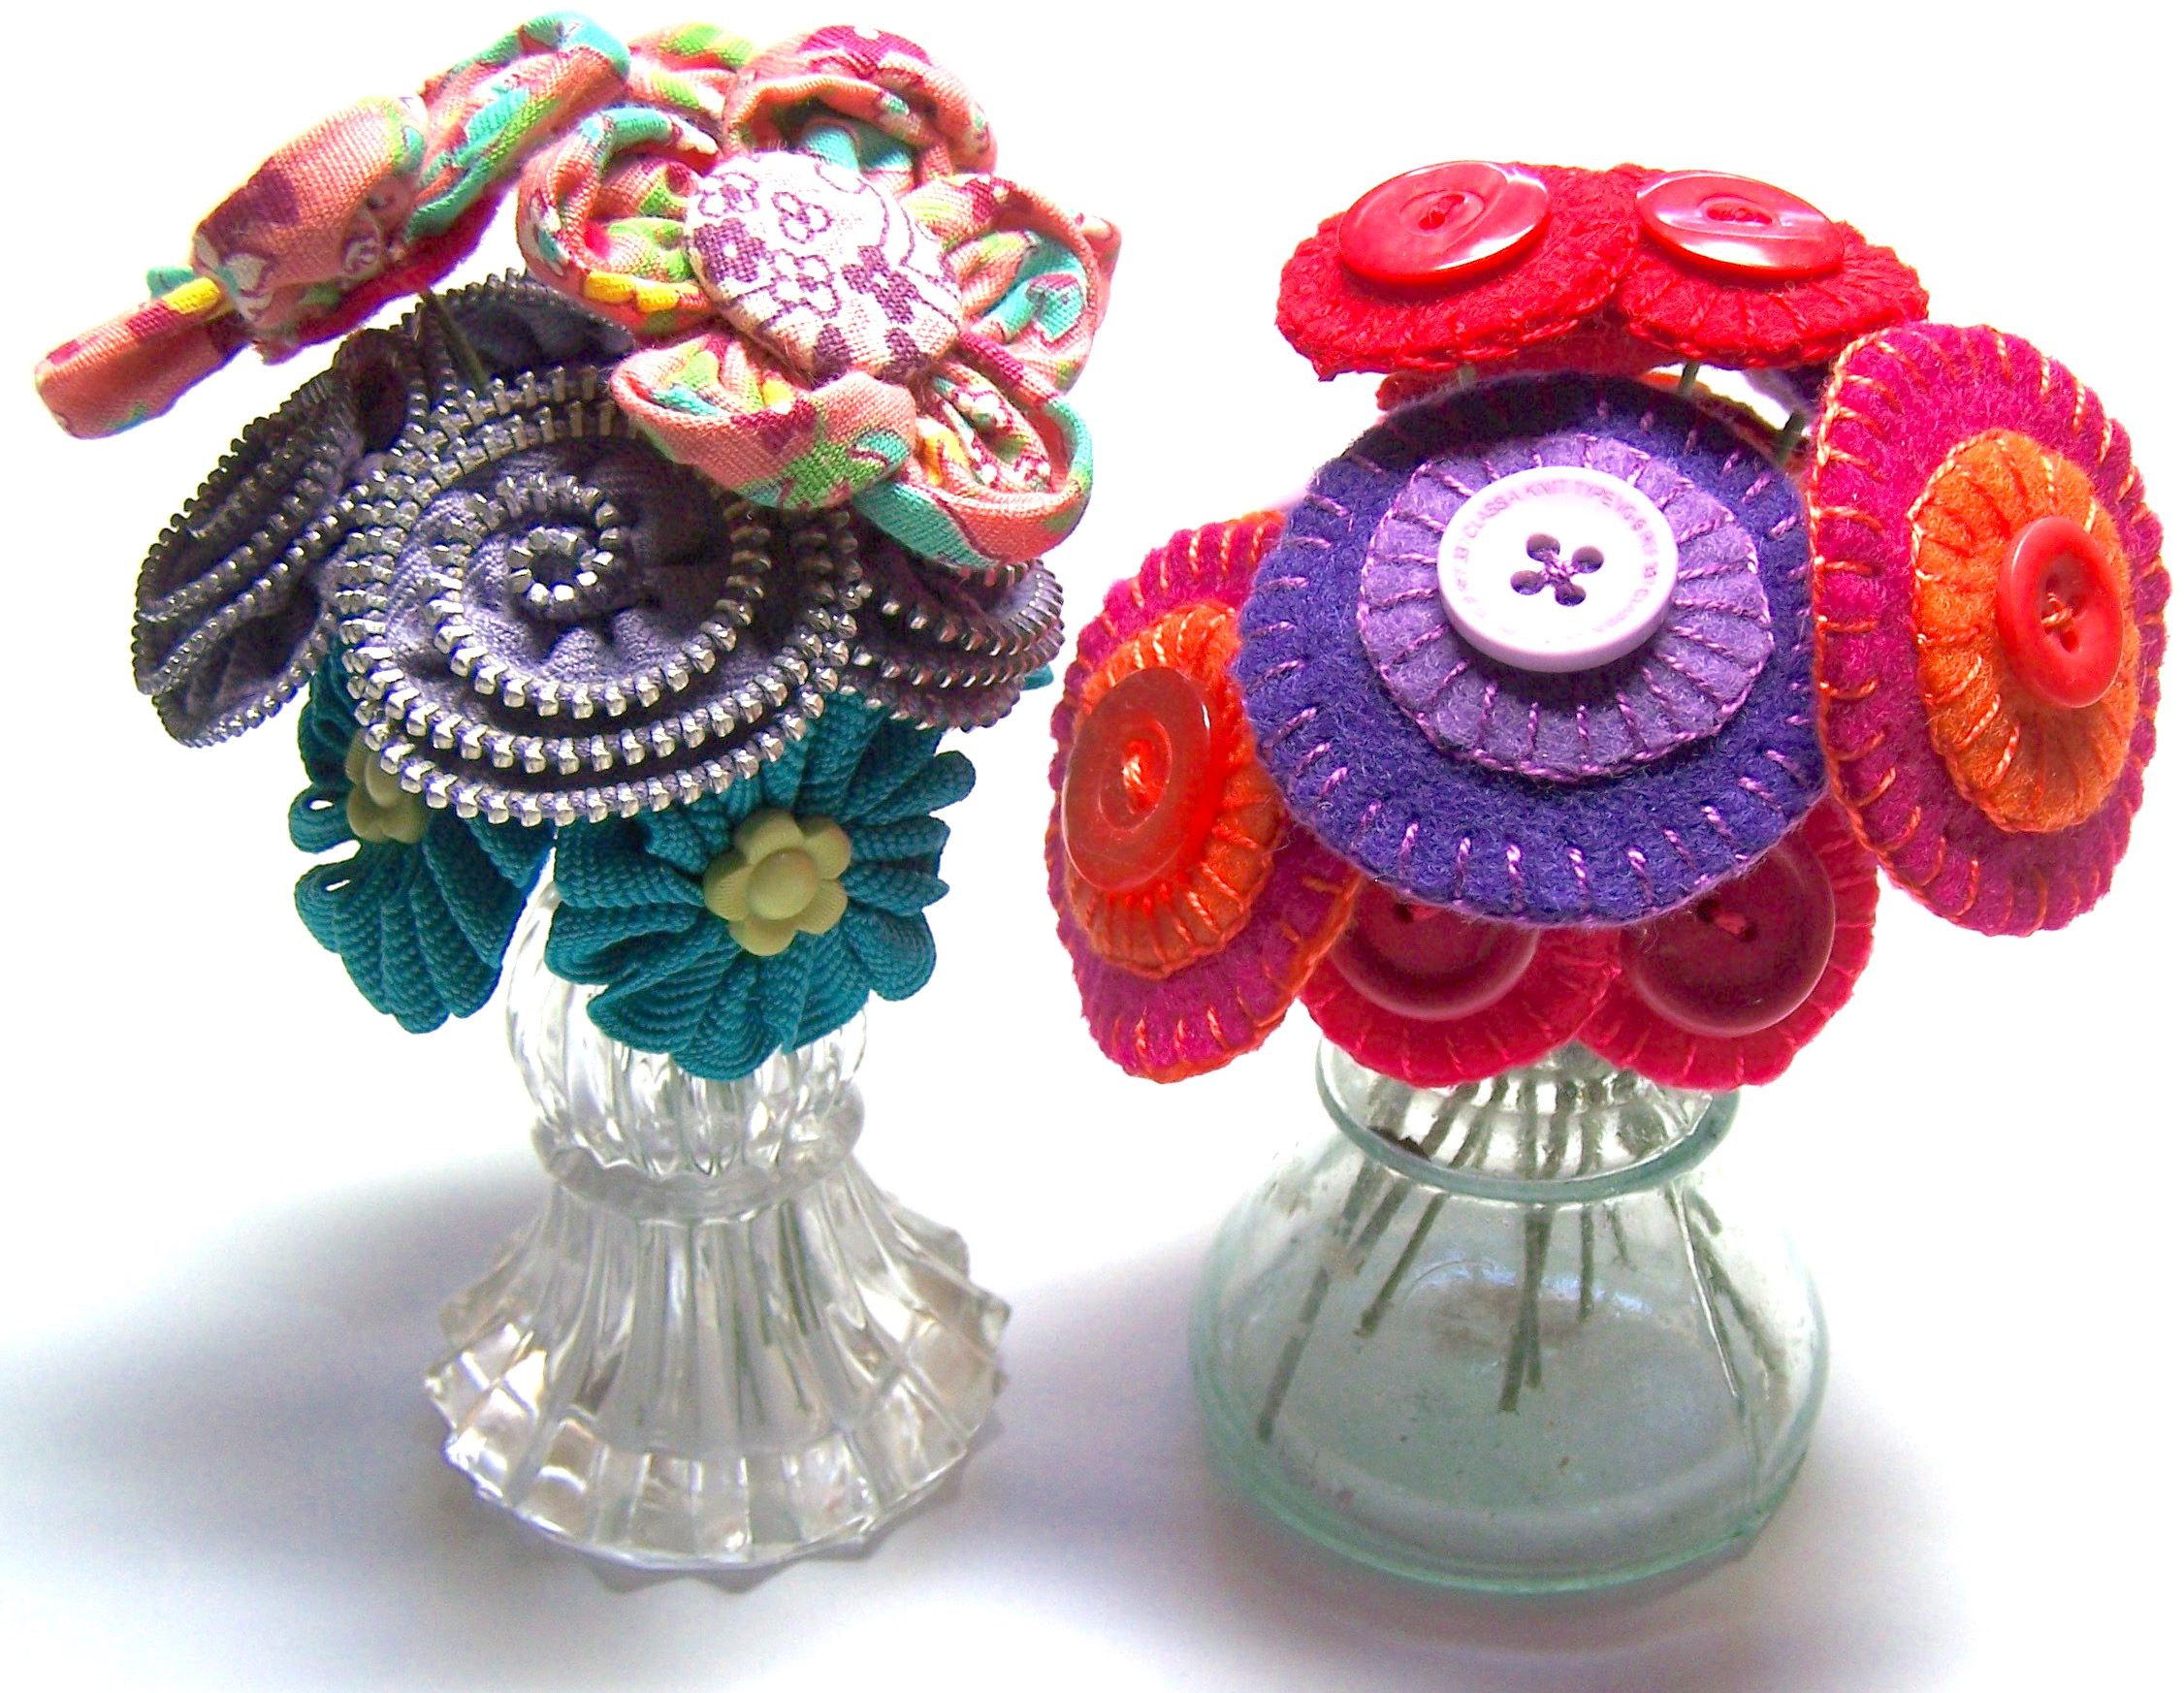
- Dyed Posies Brooch: This is an example of ribbonwork flowers made from hand-dyed silk satin ribbons.
- Morris Gardens: This is an example of a hand-dyed linen napkin that I used for the base of an embroidery design.
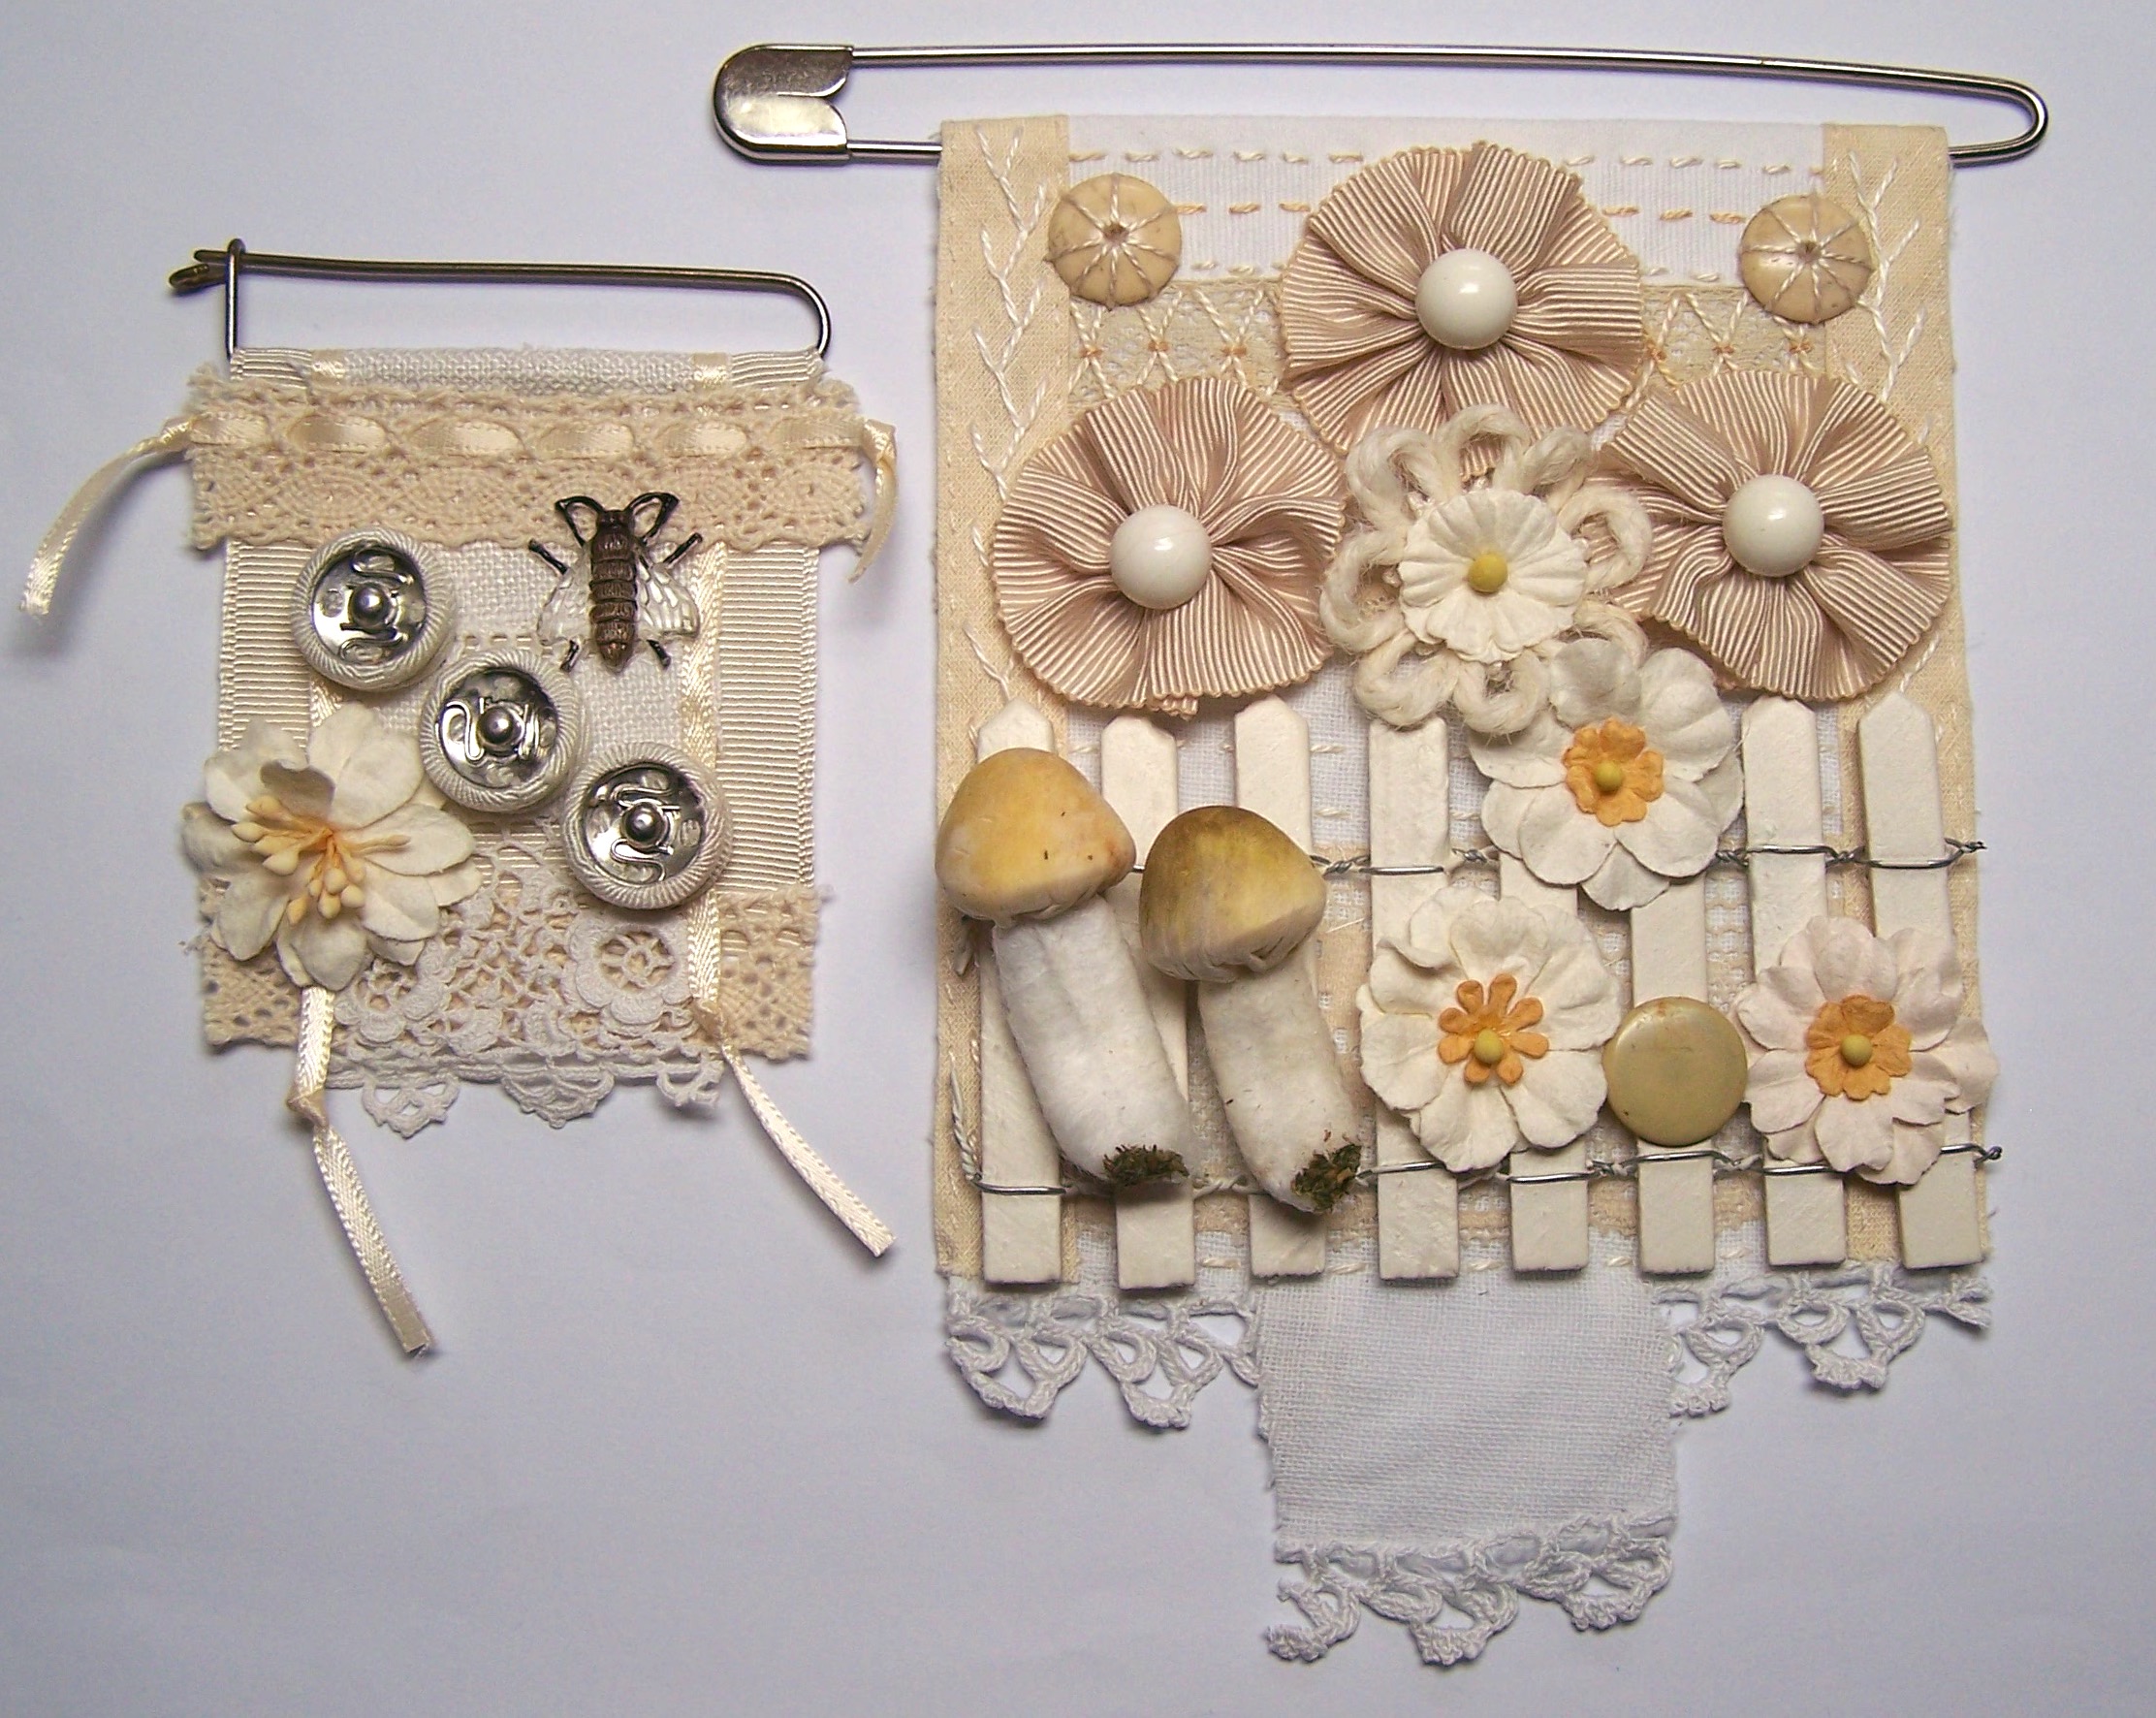
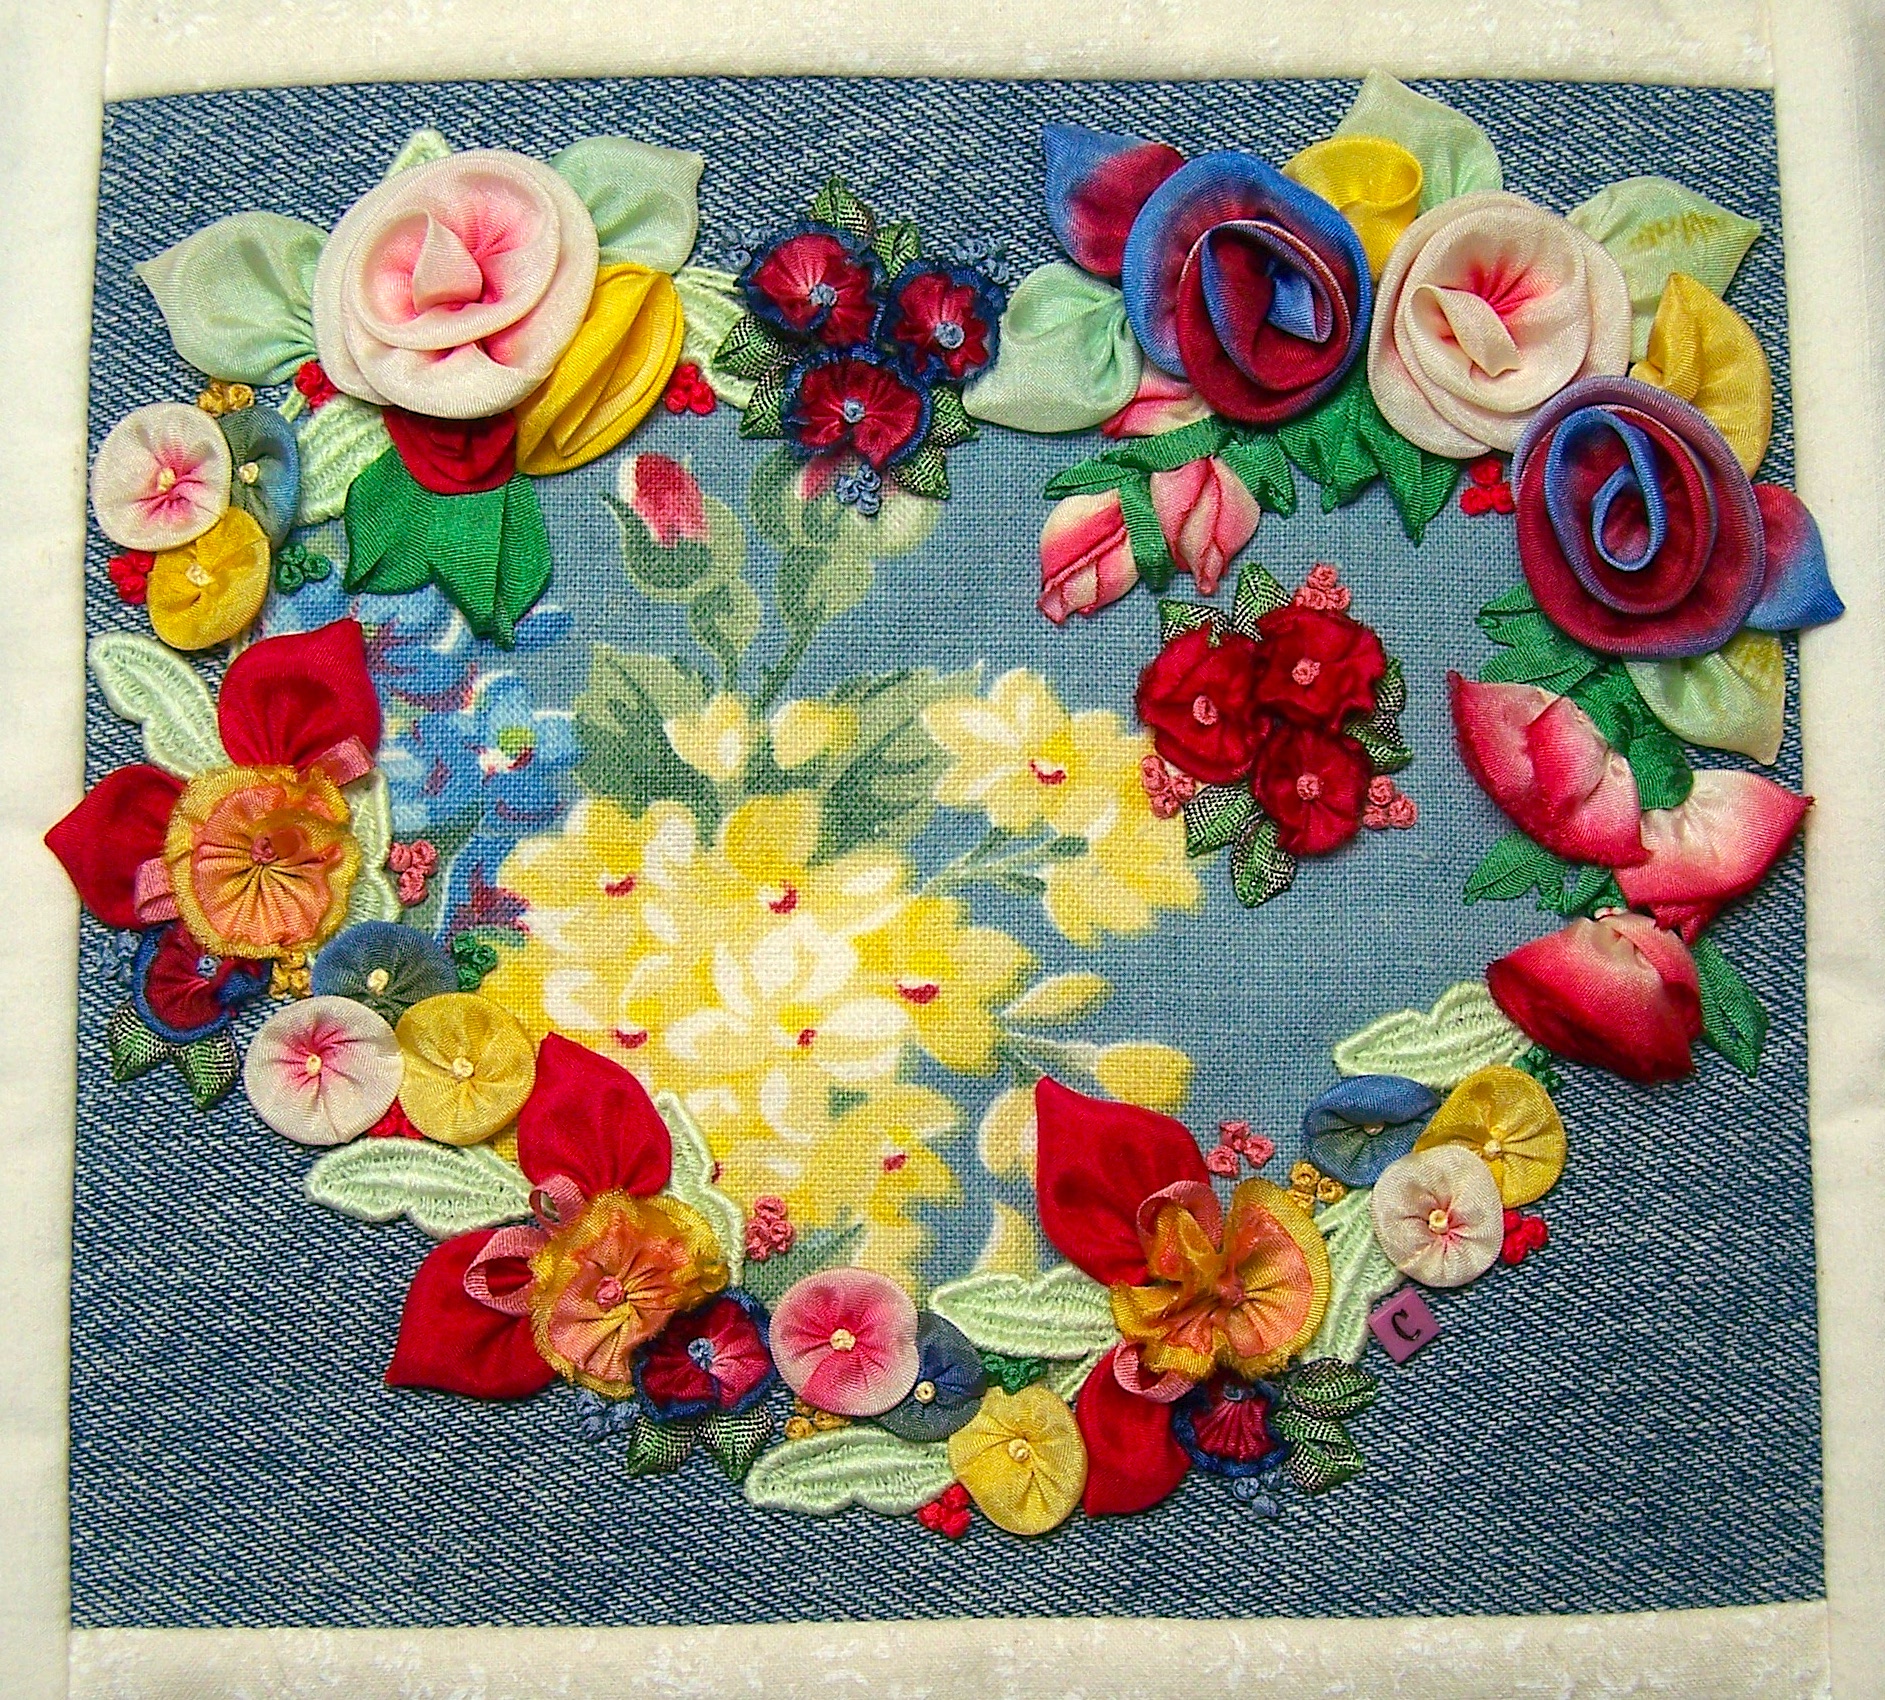
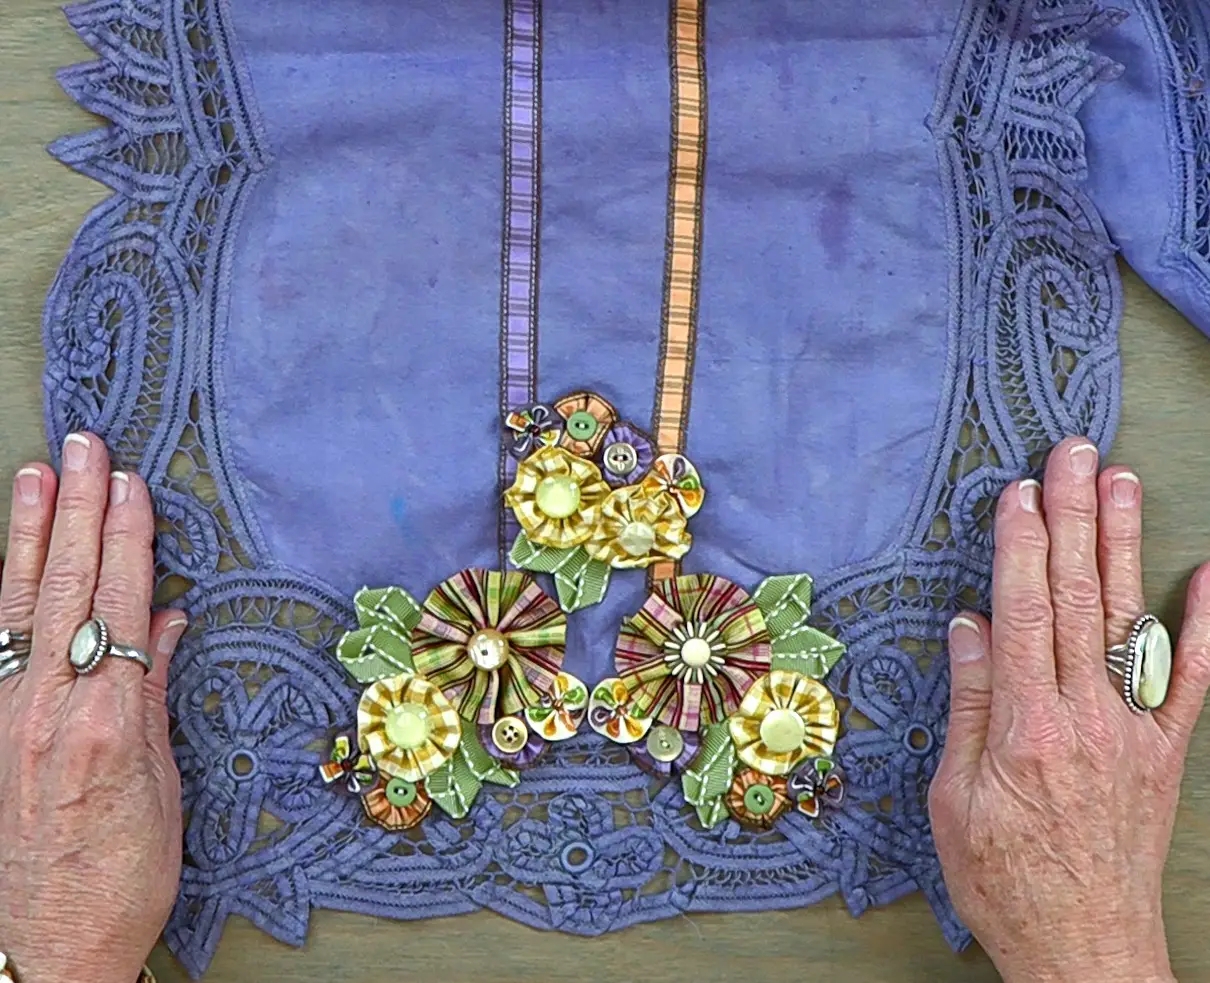
- Flowers in a Cuff: This is an example of a hand-dyed vintage lace cuff used for a basket filled with hand-dyed cotton grosgrain ribbonwork flowers and vintage buttons.


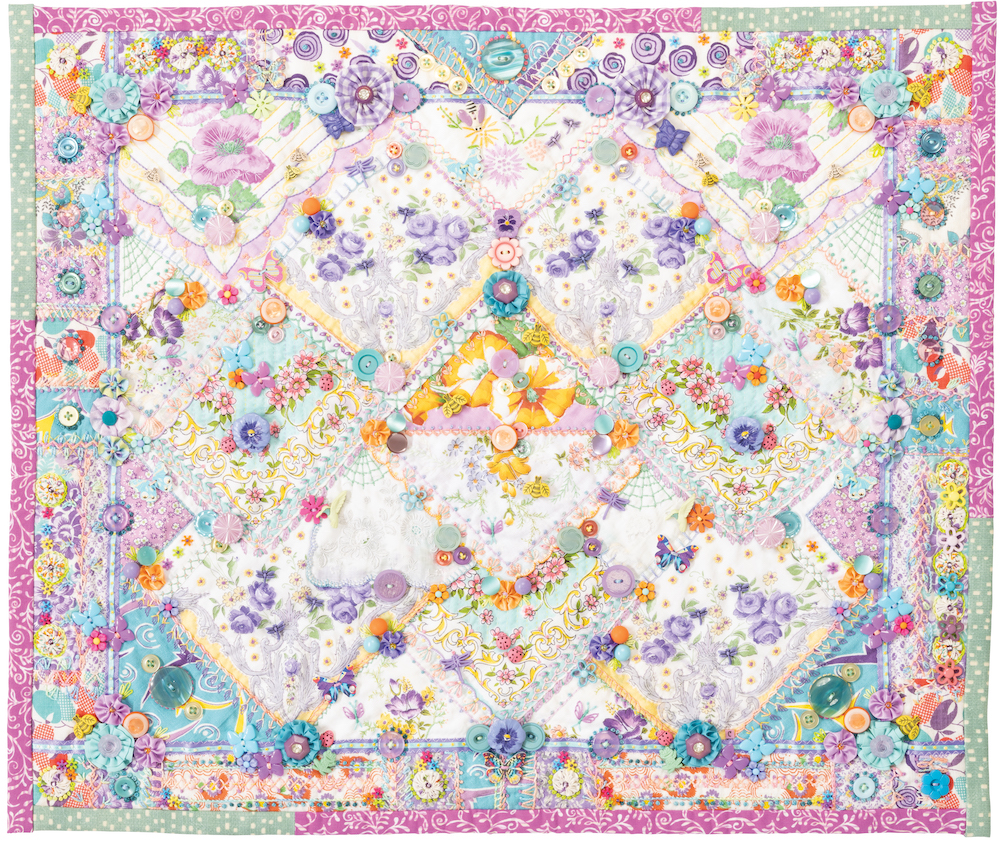
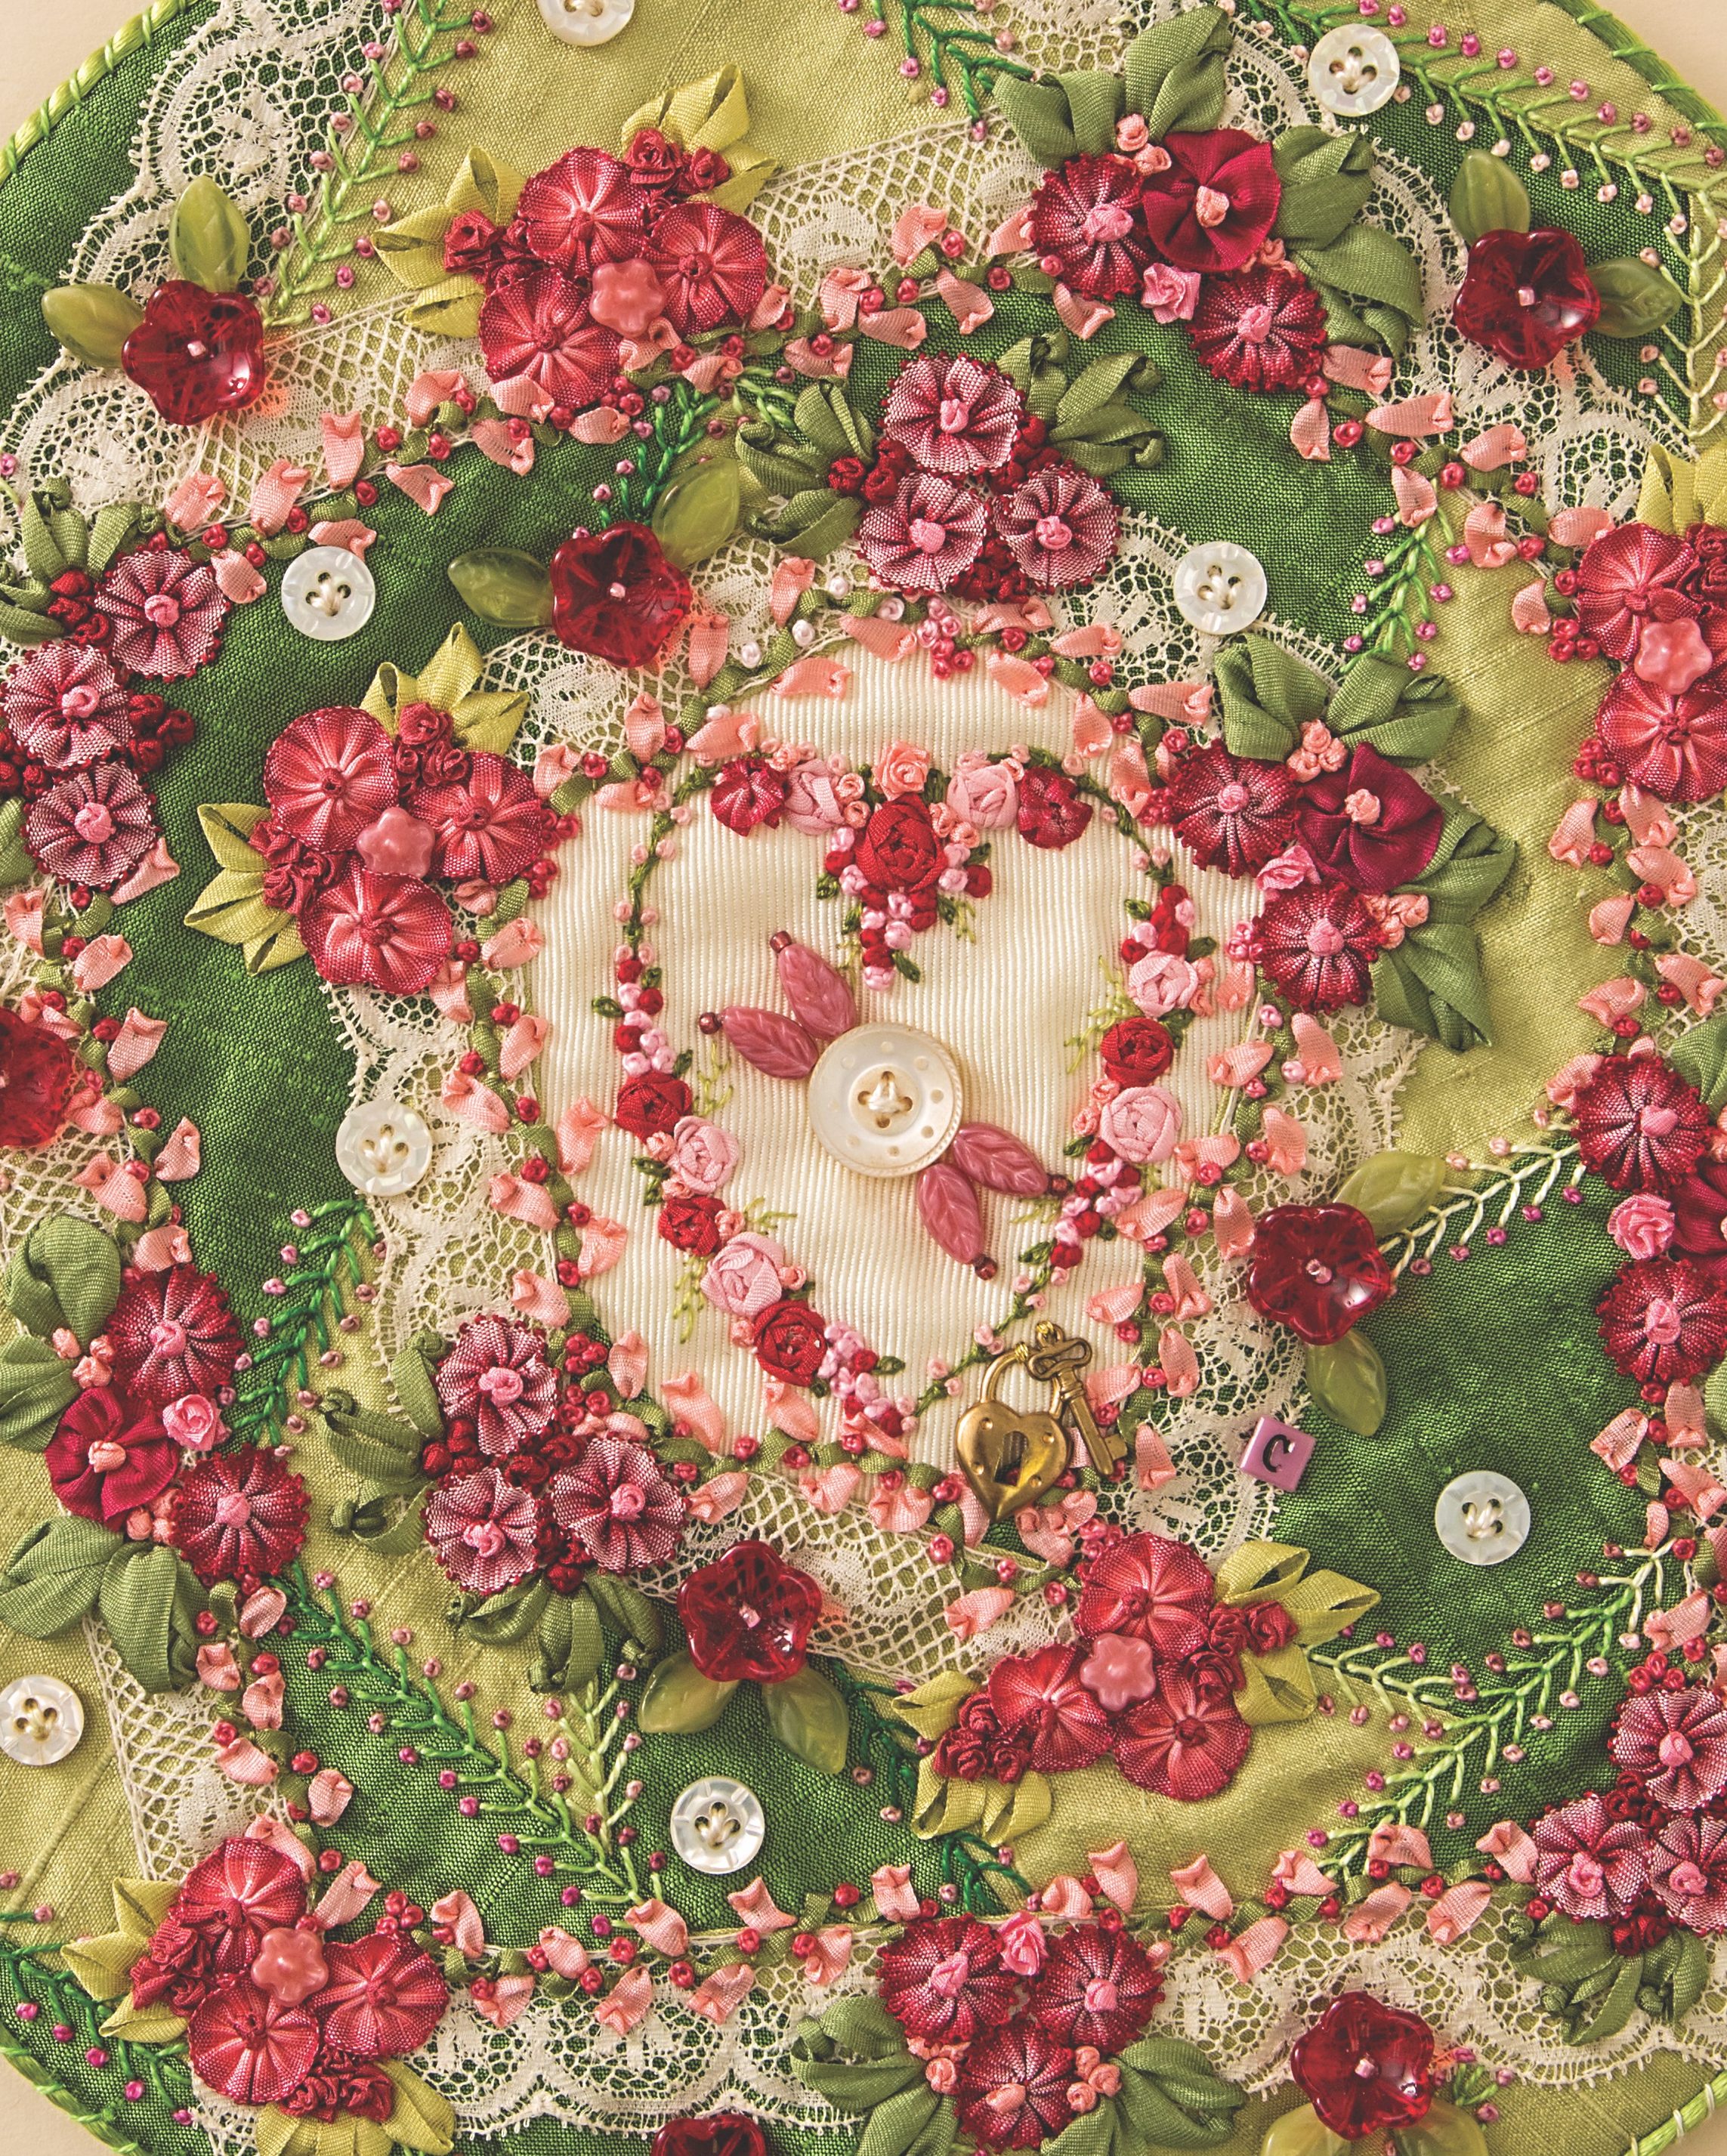
- Pistachio Moss: This is a gallery piece in my book Creative Embroidery, Mixing the Old with the New. The pieced background is worked around a center section of silk charmeuse and several pieces of vintage lace and appliqués that were hand-dyed using Colorhue dyes. For more details, see my post that shows you how I choose colors for a project.
- Dyed Table Runner: I took an old battenburg lace table runner, and dyed it with Rit Dye. I added in a host of ribbonwork flowers, using the directions from my books Ribbonwork Gardens, and Ribbonwork Flowers.
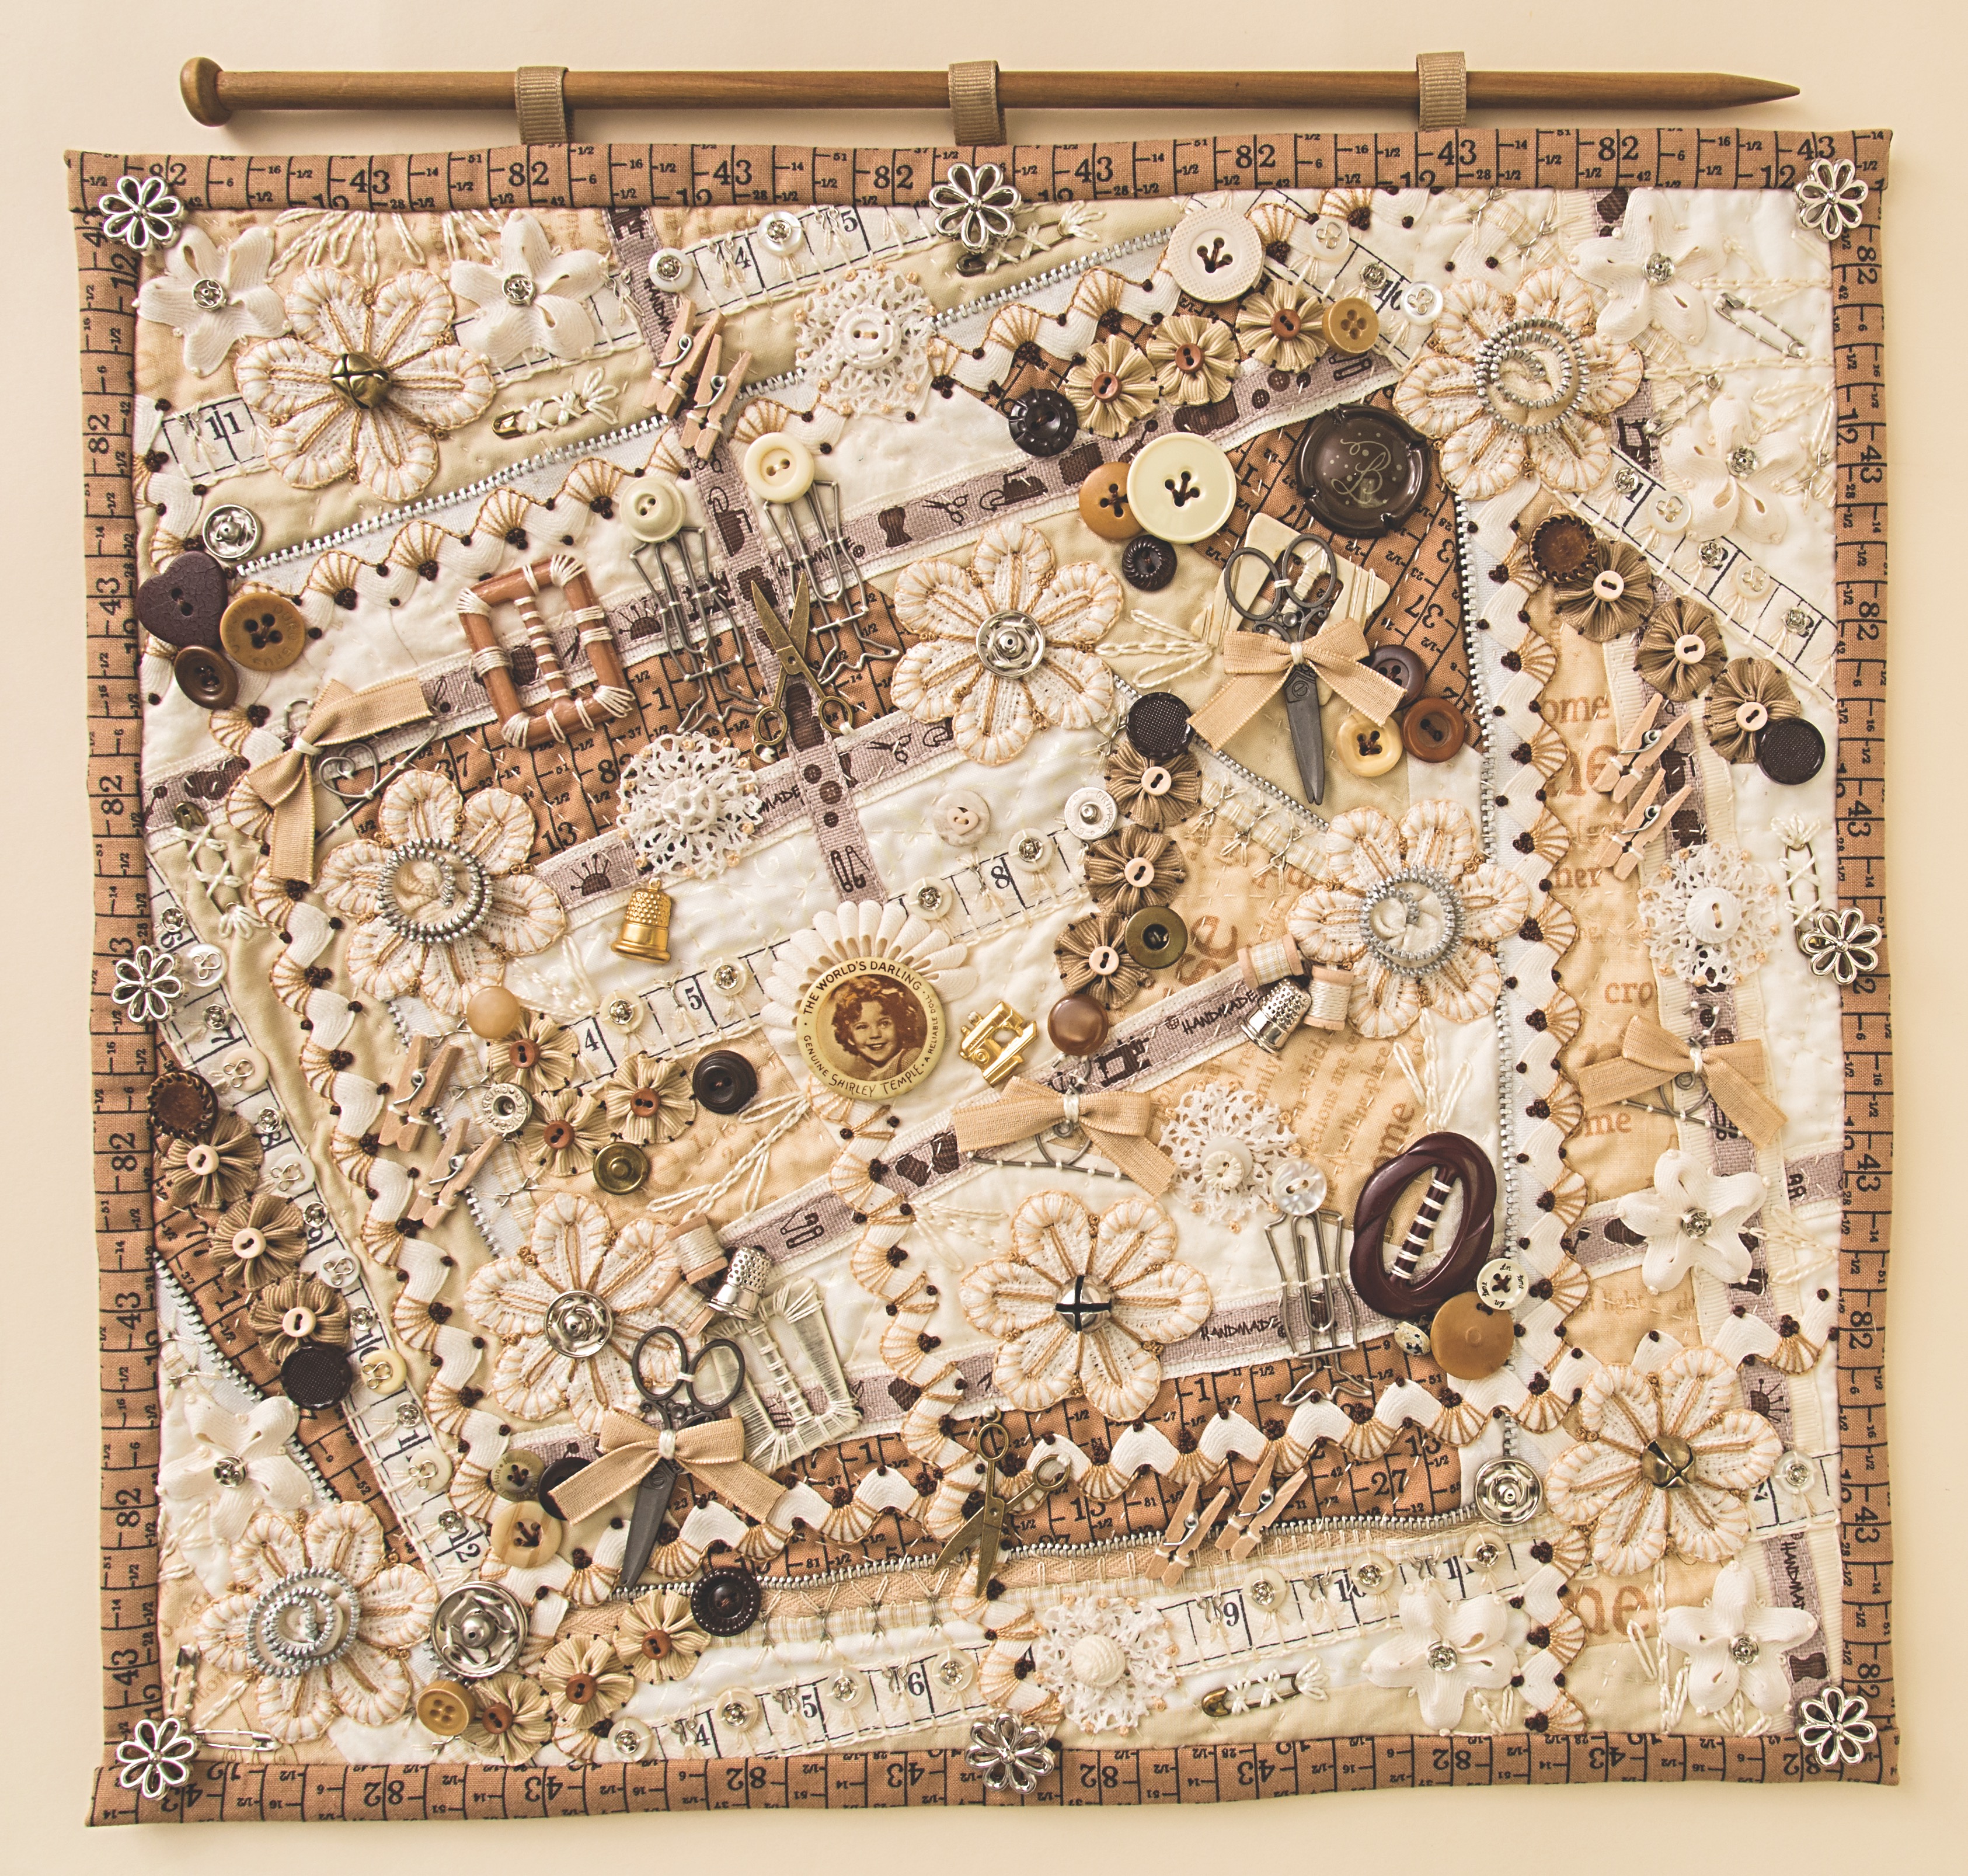
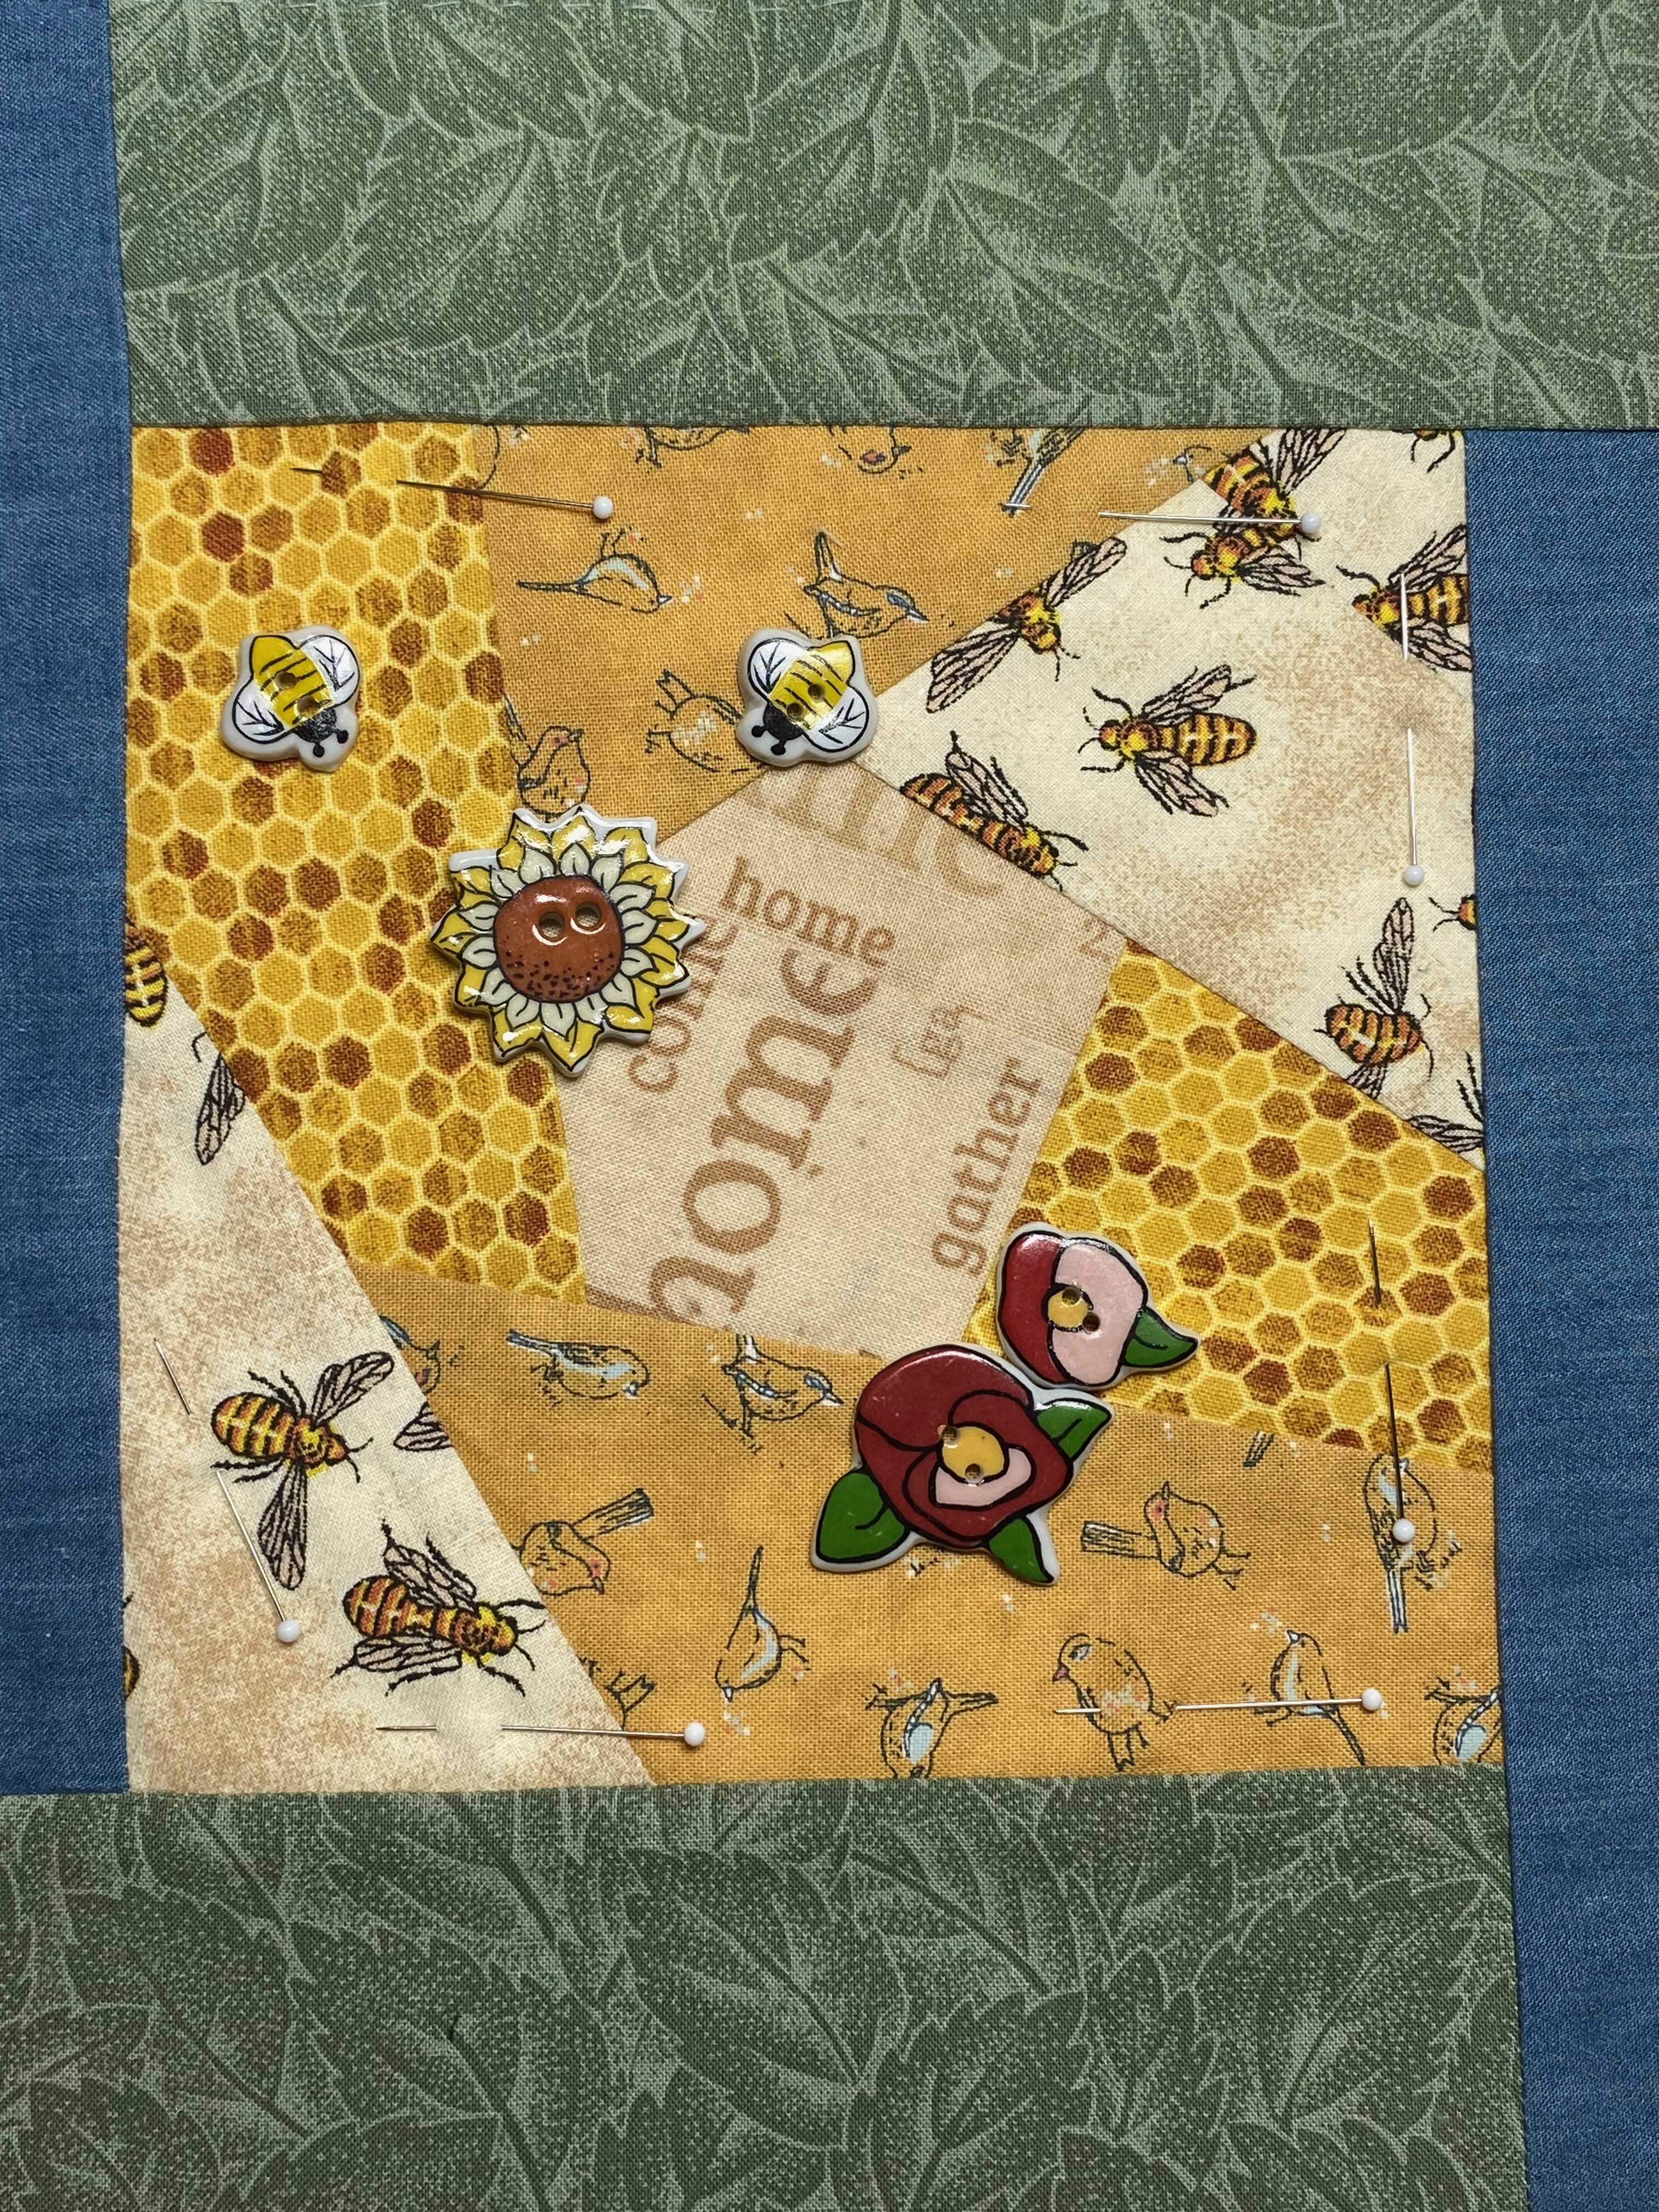
- Scattered Splattered Tatters: This is a gallery piece, from my book Creative Embroidery, Mixing the Old with the New. Left-over pieces of muslin fabric were crazy-pieced together, then hand quilted with perle cotton #12. Crochet and mother-of-pearl buttons are nestled into the lengths of tatted and machine-made lace, scattered crochet, and tatted appliqués. The finished piece was hand-dyed using Colorhue dyes, using a formula I call “Rustic Aging”.
I also have several classes that explore creative ways to use the Colorhue Dyes:
- Color Me Happy
- Dyeing to Be Beautiful
- Corsages to Dye For I
- Corsages to Dye For II
- Lace in Bloom
- Scarves to Dye For
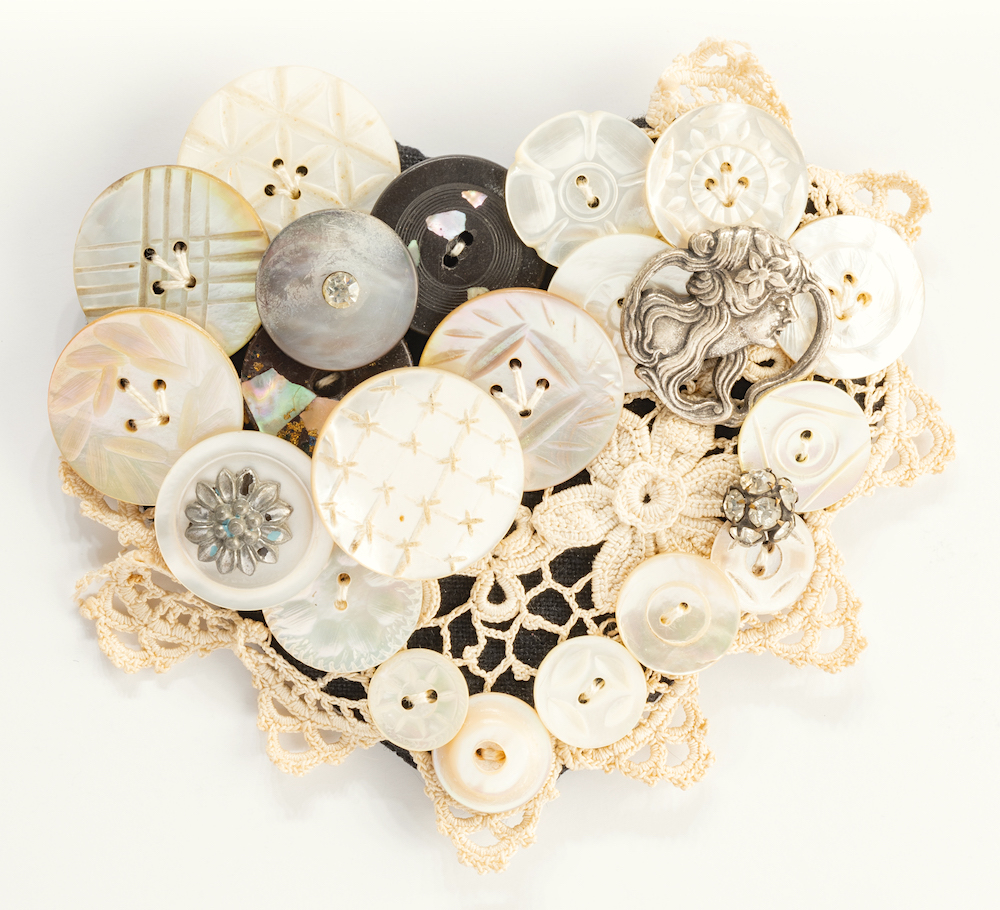
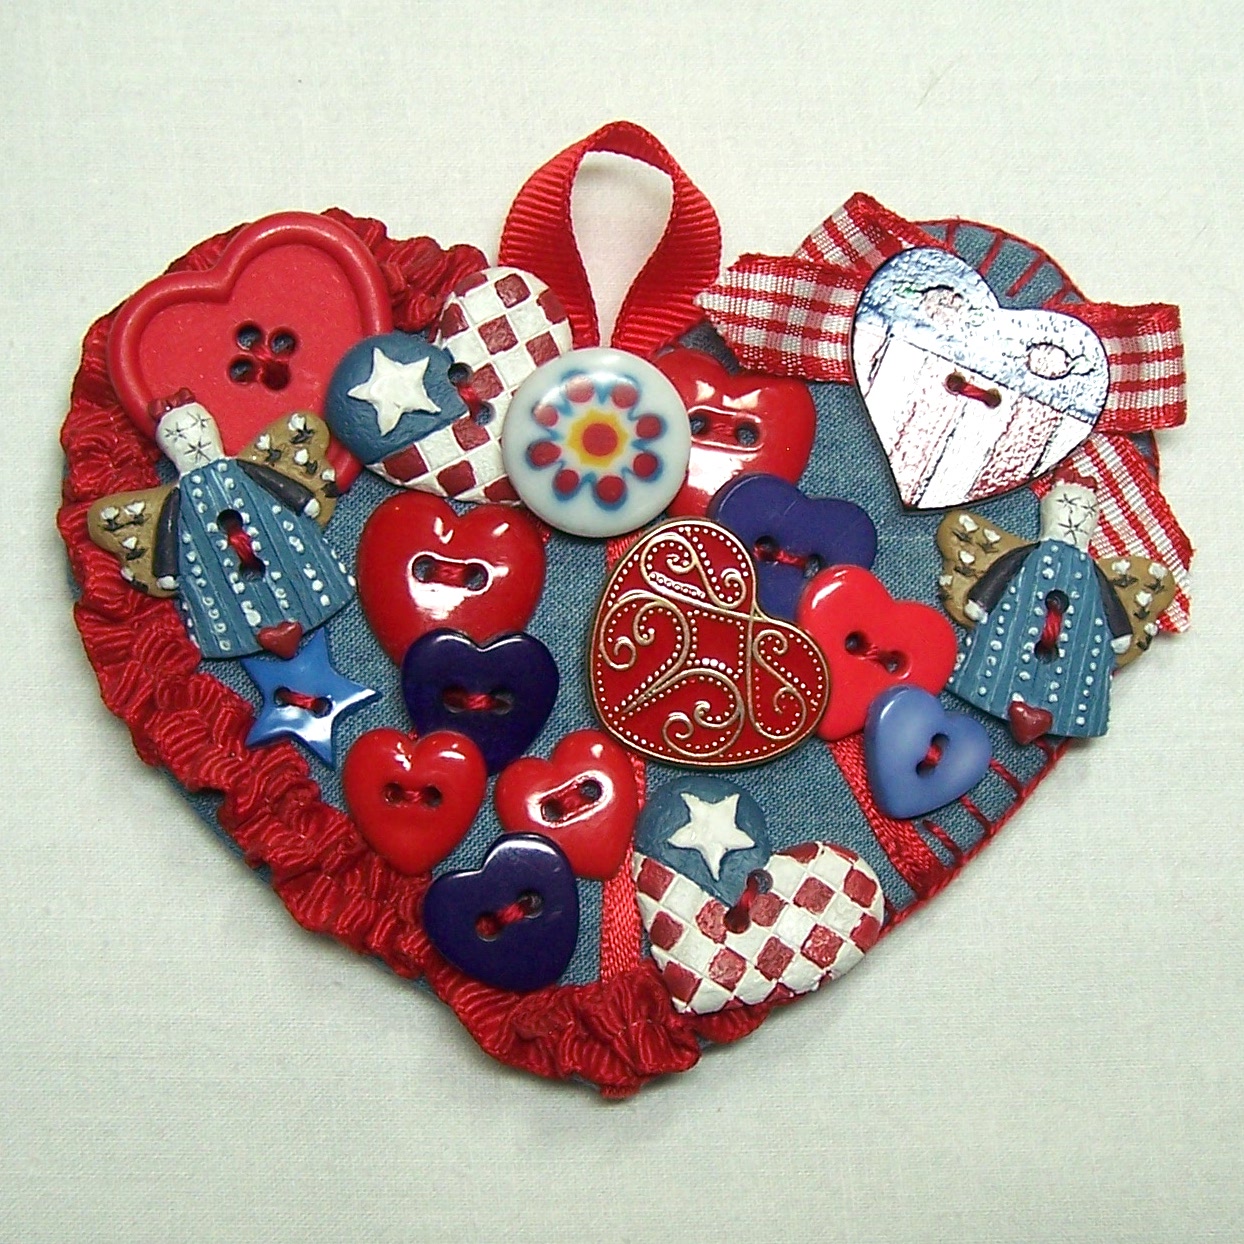
- Scrumptious Hearts
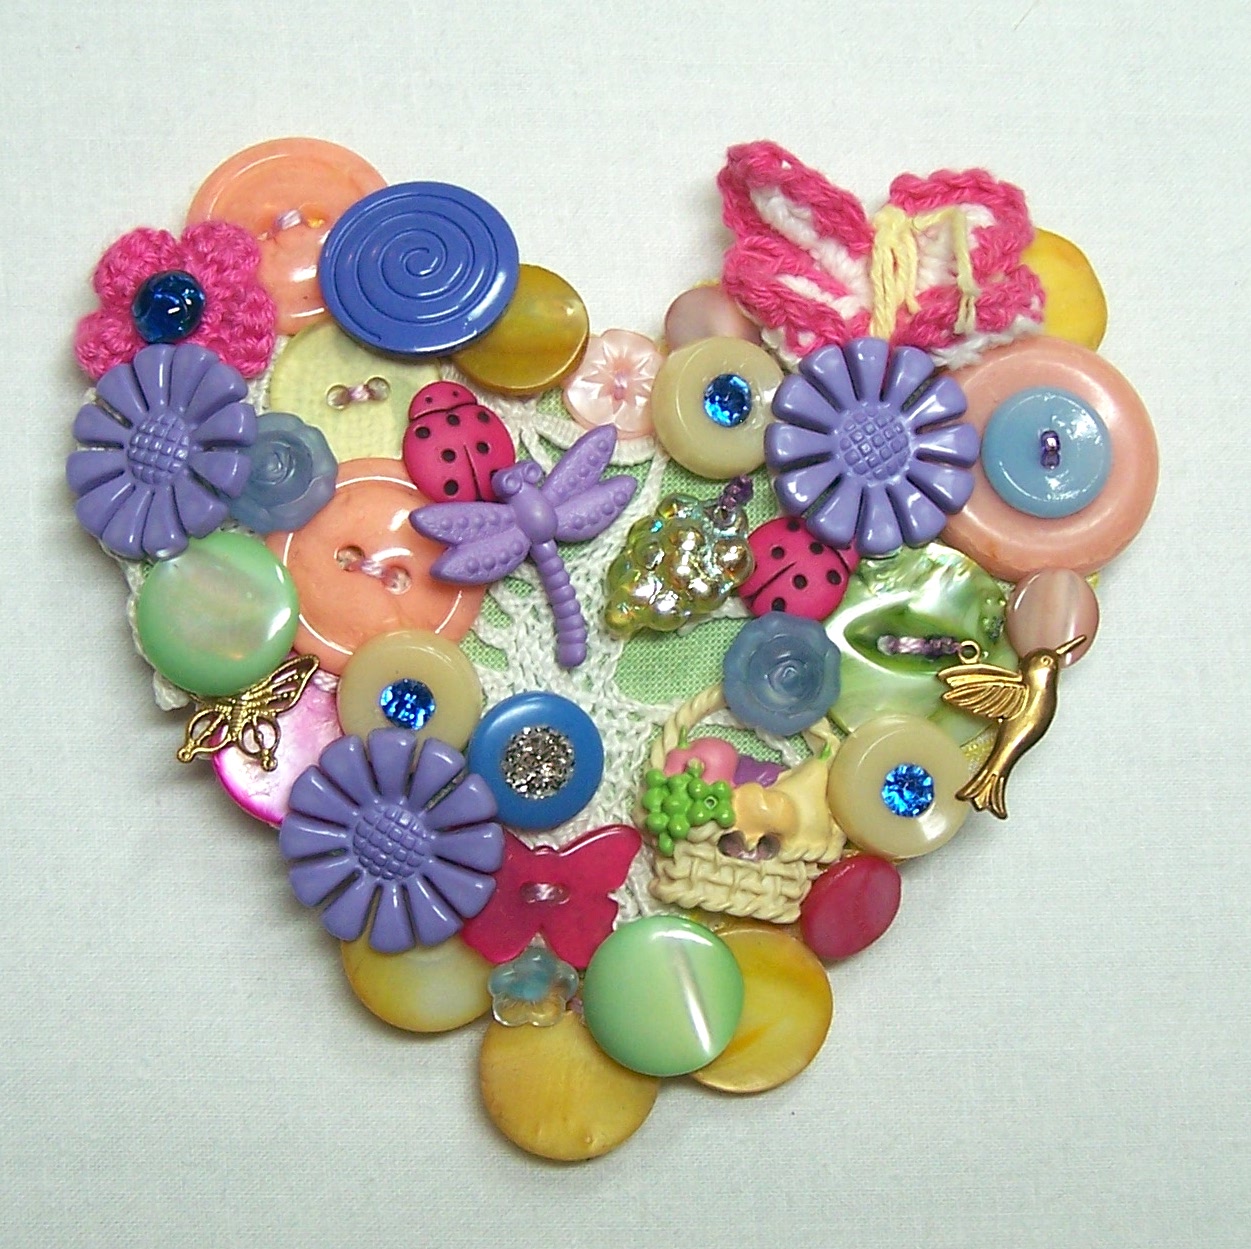
- Scrumptious Scraps
Here are some other tips to live by:
- Use products that are friendly to the environment, like Colorhue Dyes are.
- Re-use twist ties and rubber bands from packing when space dyeing.
- Recycle the paper and plastic products that you use when dyeing.
Happy Earth Week, be kind to her, she is the only one we have. ~Christen